As the leaves turn and the air becomes crisp, it’s that enchanting time of year—Halloween! With all the excitement around costumes and decorations, why not add a personal touch to your home this season? Today, I’m thrilled to share a delightful craft project that’s perfect for you and your little ones: creating a decoupage pumpkin and skull! The best part? This craft only took us an hour to make!

What You’ll Need:
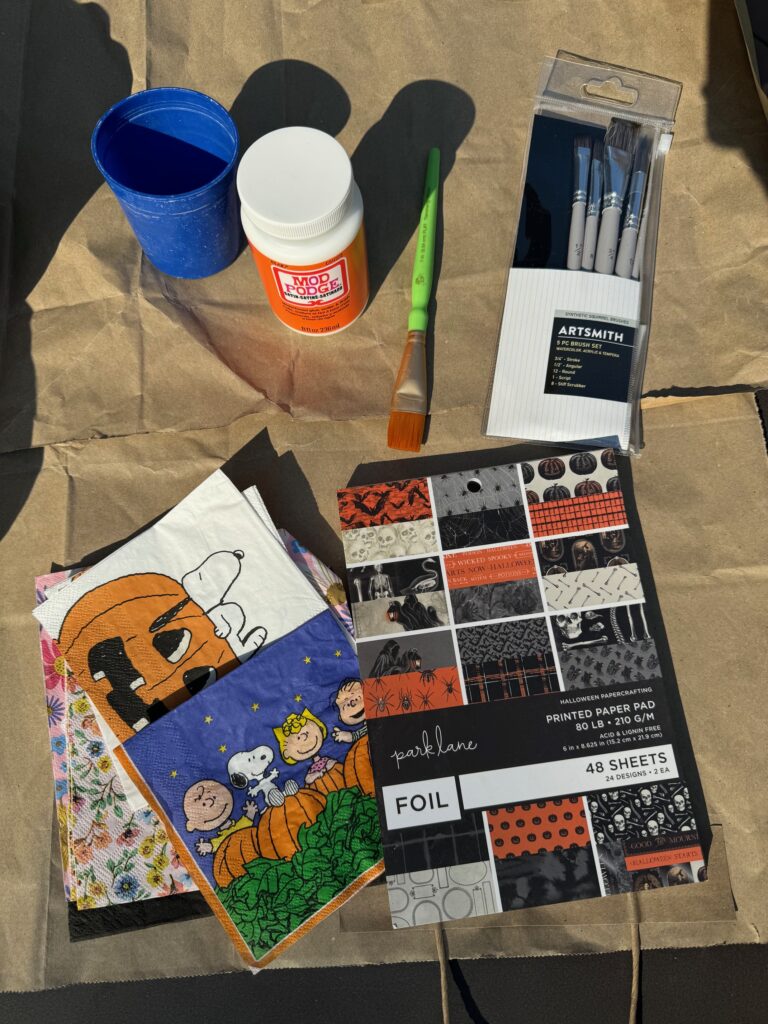
Before we dive into the fun, let’s gather our supplies for this decoupage pumpkin craft. You’ll need:
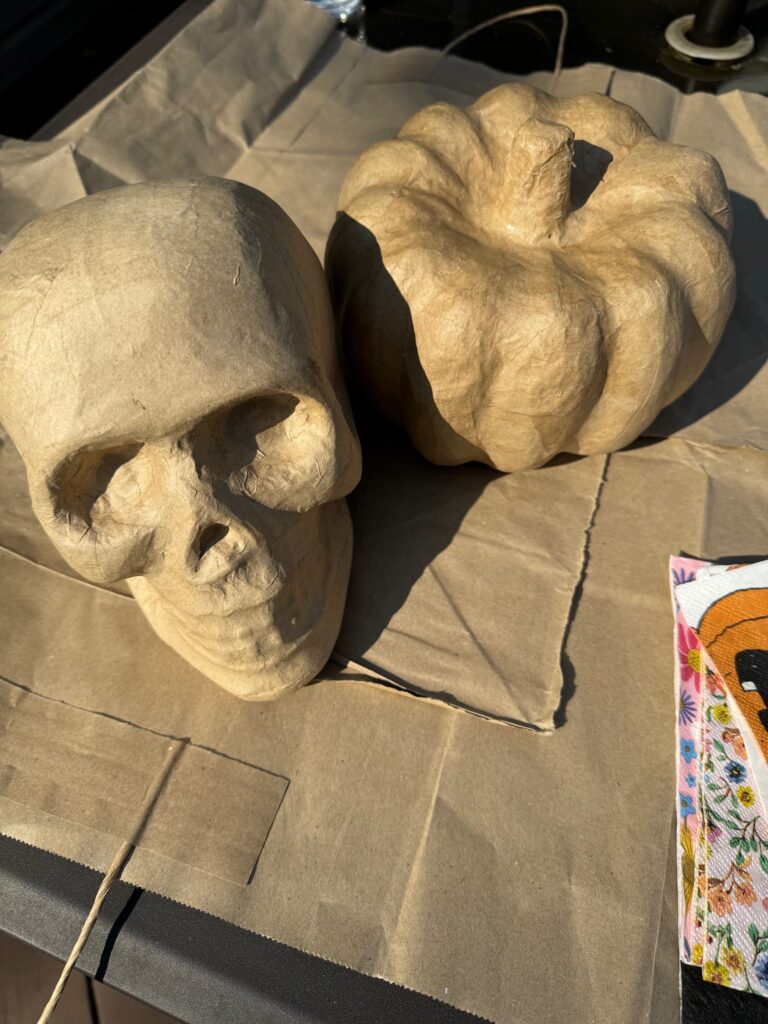
- Cardboard pumpkin and skull shapes (available at your local craft store)
- Mod Podge
- Paintbrush (I liked this better than a sponge brush)
- Colorful scrapbook paper, napkins, or tissue paper (Napkins and tissue paper work best but we has success with halloween paper too!)
- Latex gloves (our hands were a MESS and these helped a lot)
- Optional: glitter, stickers, or other embellishments
- A clean, flat workspace (don’t forget to cover it with newspaper or an old tablecloth!)


Getting Started: Prep Your Workspace
First things first—let’s set the stage for your decoupage pumpkin craft! Clear off a table or counter and lay down some protective covering. This project can get a bit messy, but that’s part of the fun! Invite your kids to join in, letting them unleash their creativity while you guide them through the process. We tore up a pile of pieces of paper and napkins to prep for when things got messy with the Mod Podge.
Apply Mod Podge
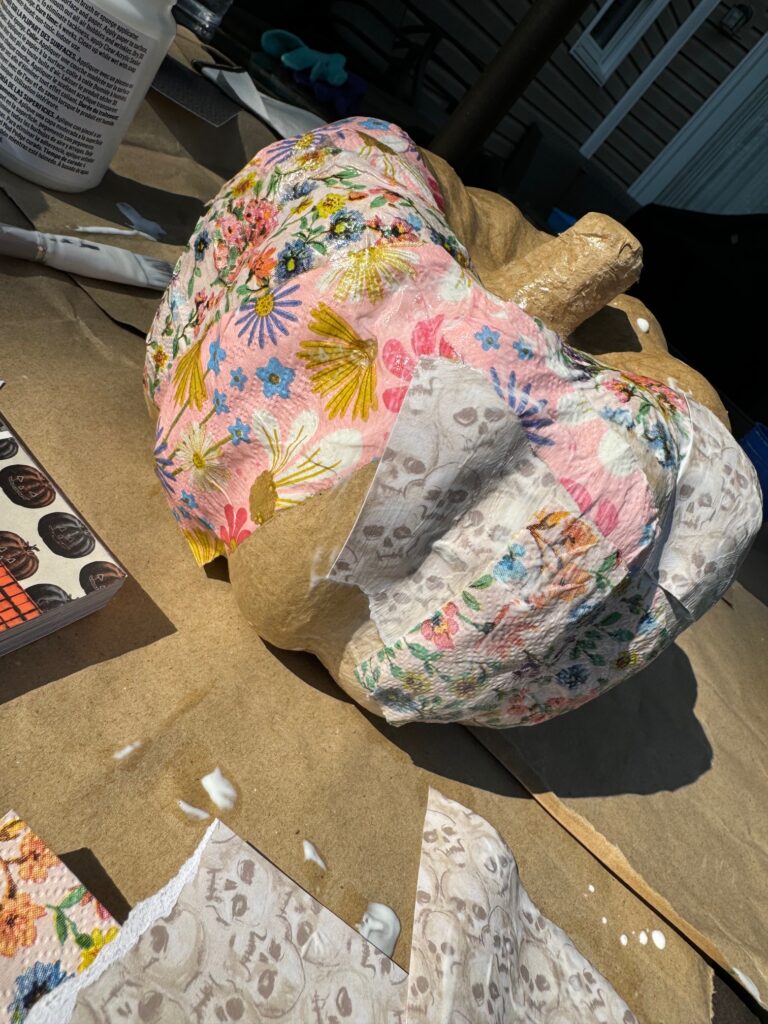
Next, grab your paintbrush and some Mod Podge. Apply a thin layer onto the surface of the cardboard pumpkin or skull. Only paint on where you plan on sticking paper, otherwise it will dry as you go.
Add Your Paper Pieces
Now it’s time for the kids to shine! Have them place their cut paper pieces onto the glued surface. Encourage them to overlap the shapes for a layered, whimsical look. If they’re feeling extra creative, they can even sprinkle on some glitter or add stickers to give their creation that special sparkle.


Seal the Design
As you stick on paper and tissue, apply another layer of Mod Podge over the top of each piece to be sure everything sticks. A lot of people say to seal everything after you stick, but as these surfaces are not flat, seal AS YOU GO. This step is crucial, otherwise paper will be slipping off and your kids will get upset (learn from my mistake!).
Drying Time
Now, let’s be patient! Place your decoupaged pumpkins and skulls somewhere safe to dry completely. This might take a few hours, so it’s the perfect time to grab a snack or dive into a Halloween-themed storybook with your kids.

Display Your Masterpieces
Once dry, your creations are ready to be showcased! Place your decoupage pumpkin and skull on your porch, decorate your mantel, or even use them as centerpieces for your Halloween gatherings. Creating a decoupage pumpkin is not just about making decorations; it’s about building memories with your kids. This simple, enjoyable craft promotes creativity, fine motor skills, and teamwork. Plus, if you aren’t a super crafty person (like me) this is a quick, fun, one that everyone will enjoy!
Wishing you a spooktacular Halloween filled with creativity and joy. Happy crafting! 🎃✨
Latest posts by Meredith (see all)
- The Dollhouse Academy Book Club Discussion - February 14, 2025
- Somewhere Beyond the Sea Book Club Discussion - January 10, 2025
- Here One Moment Book Club Discussion - November 8, 2024


Leave a Reply