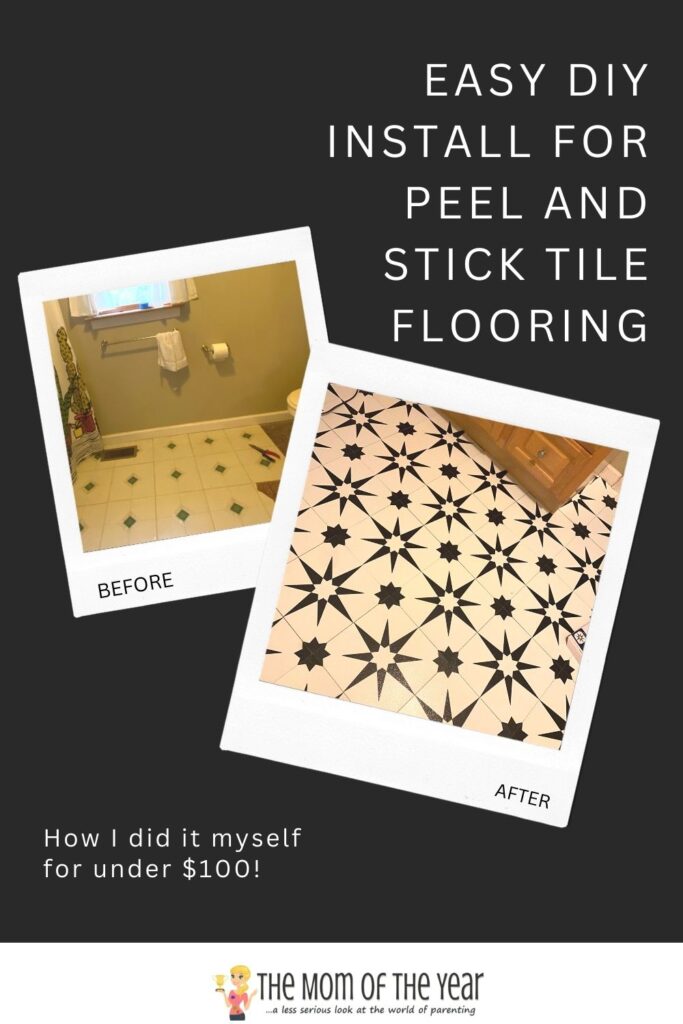
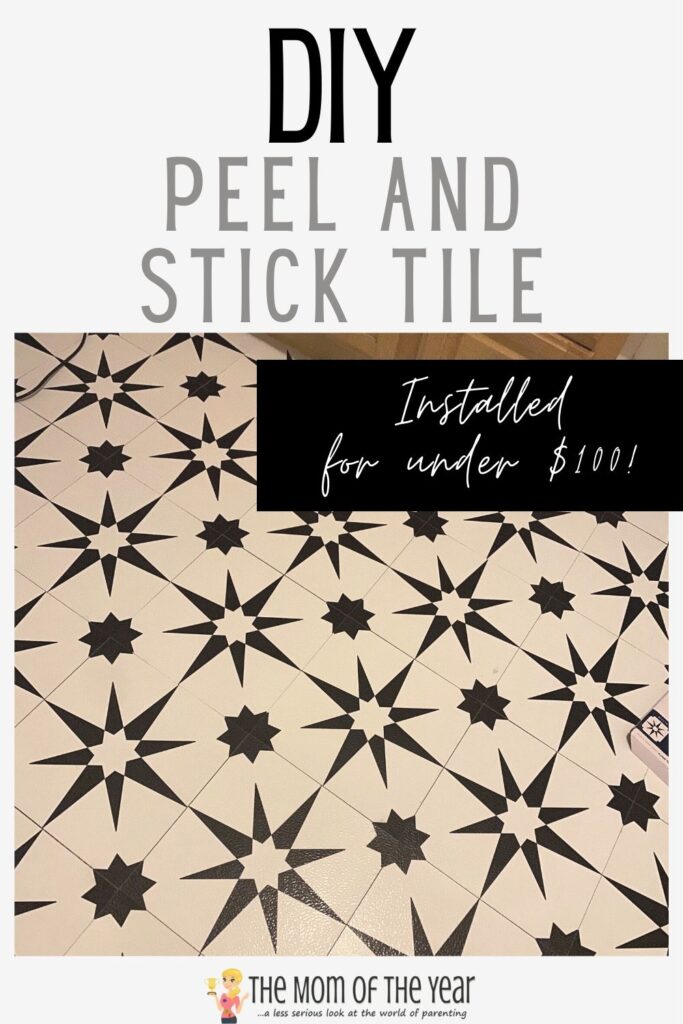
In case you don’t know me, I am not a good candidate for sitting still. In the spring and summer months, this bodes well for me as there is plenty to do outdoors but when winter hits- I have a tendency to get cabin fever. One day, while bored inside, I decided I hated my bathroom floor. It was old, peel and stick tile and every time I walked in I felt like I was in my grandmothers house. Naturally, I did what every sane DIY loving person does in this situation. I rage tore up my flooring, purchased peel & stick tile, and decided to give myself one day to redo my entire bathroom floor. Turns out, I installed my entire floor in a few hours, for under $100, and I’m going to give you a tutorial for an easy DIY peel and stick tile flooring install!

You will need:
- Floor tiles (be sure to measure your square footage before buying)
- Floor tile adhesive (I used a thin spread tile adhesive by Henry that I found at Home Depot)
- Gloves (not latex/medical or they will stick to the tiles)
- Sharp X-Acto knife
- Tape Measure
- Paintbrush
I didn’t lie on the title of this post, this is level EASY DIY peel and stick tile flooring. Once you have all of your items on the list, you’ll begin to demo your old flooring. Once you are demoed you will be down to your subfloor and ready to lay the new peel and stick tile!

I worked from one wall to another so I could lay nice, straight lines. As I opened the boxes of DIY peel and stick tile, I would lay out a full line before taking off the adhesive paper backing. Once I had a line laid out, I would then see if I needed any cuts. When I determined a cut, I would measure the distance of where I needed to cut on the tile, then use an X-Acto knife to cut into the tile. It’s important to note, the X-Acto knife probably won’t be able to cut through the entire peel and stick tile. Instead, I would cut through the top layer and then snap the tile at the cut to break it into the size needed. As long as your cuts are even and halfway through the tile face, the break should be sharp and even.
Once you have the line laid out perfectly, it’s time to start sticking! Using your paintbrush, paint a thin layer of adhesive on the floor then tile by tile, peel off the adhesive backing and place on the floor. You do not need adhesive in some situations but if you are laying your DIY peel and stick tile on plywood, it is highly recommended or it could potentially come up after a month of use.

Continue the rest of the flooring line by line and before you know it, you will have a full floor! Honestly, this was an impulsive DIY project that turned out to be easier than imagined! I have been happy with the modern look and have had it for several months so far without issues. Try out this Easy DIY Peel and Stick Tile Flooring next time you need a quick home refresher and let me know how it goes!
Lindsay H
Latest posts by Lindsay H (see all)
- Easy DIY Peel and Stick Tile Flooring for Under $100 - February 9, 2023
- Tips for Visiting Dutch Winter Wonderland in December - December 21, 2022
- Caring for a Leopard Gecko – All you Need to Know! - December 7, 2021


Britt Owen says
Attempting DIY peel and stick tiles: Step 1 – Peel. Step 2 – Stick. Step 3 – Realize your floor now resembles modern art. Who knew my living room would become a masterpiece? Picasso, eat your heart out. #DIYFail #FloorGoneWild