This year is booking along, friends and St. Patrick’s Day is right around the corner. We have shared some fun St. Patrick’s Day ideas to do with the kids in other years–try making End of the Rainbow St. Patrick’s Day pancakes or crafting a DIY leprechaun trap for some lucky magic! This year, after our kid-friendly Valentine’s Day charcuterie board was such a hit, we decided to try our hand at another holiday-themed board–welcome the St. Patrick’s Day charcuterie board.
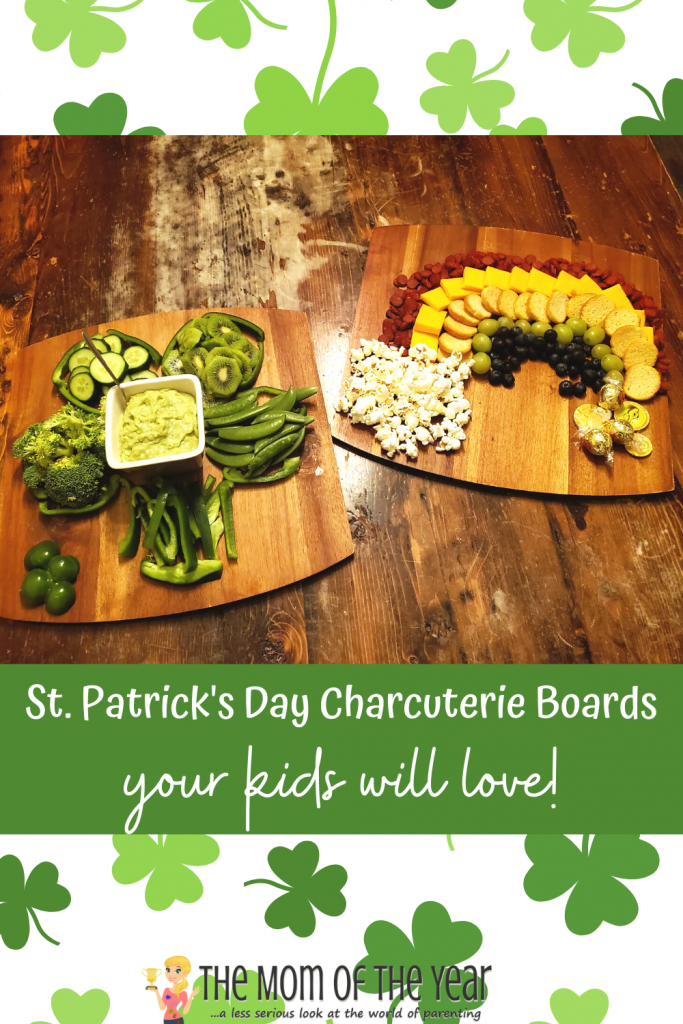
Making a Kid-Friendly St. Patrick’s Day Charcuterie Board
Just as with our Valentine’s Day board, I had goals in mind for this St. Patrick’s Day charcuterie board:
- easy to prepare
- foods my kids will actually eat
- affordable
- hearty proteins included to fill them up in a lasting way (because who wants to serve a lovely happy hour spread and then also make dinner??)
- general healthiness and at least a few food groups (so I can check a nice box on my #momgoals for the day 😉 )
- bonus points if you can specialize it or theme it out…like with a St. Patrick’s Day theme!
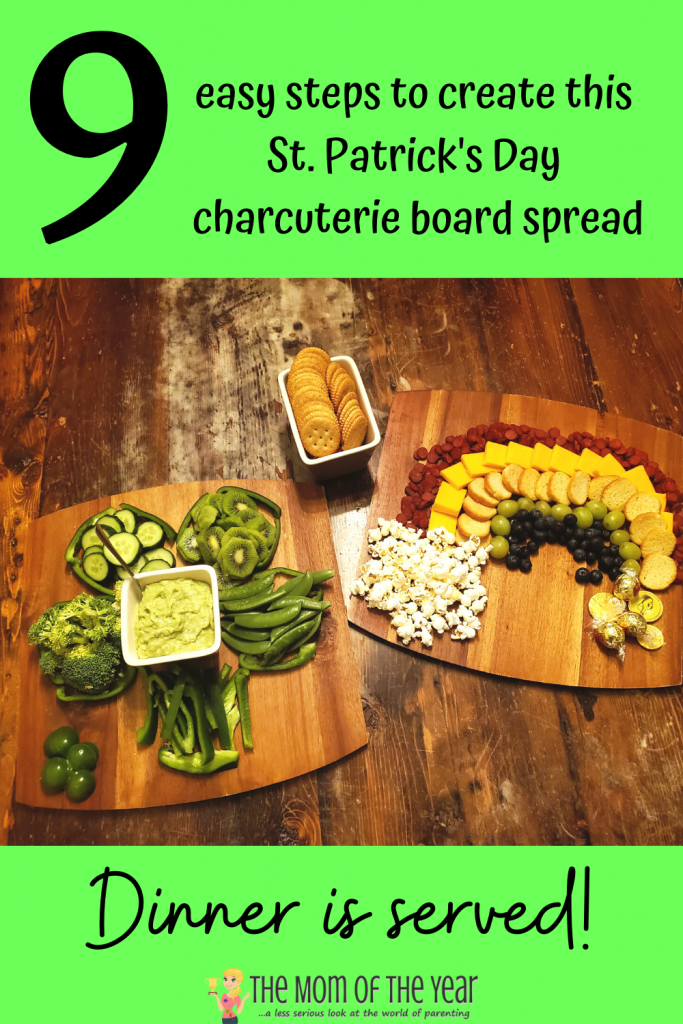
We actually ended up making two boards for St. Patrick’s Day–a shamrock and a rainbow, and following is the how-to for creating both boards, but you can definitely do just one of the boards for a special St. Pat’s treat.
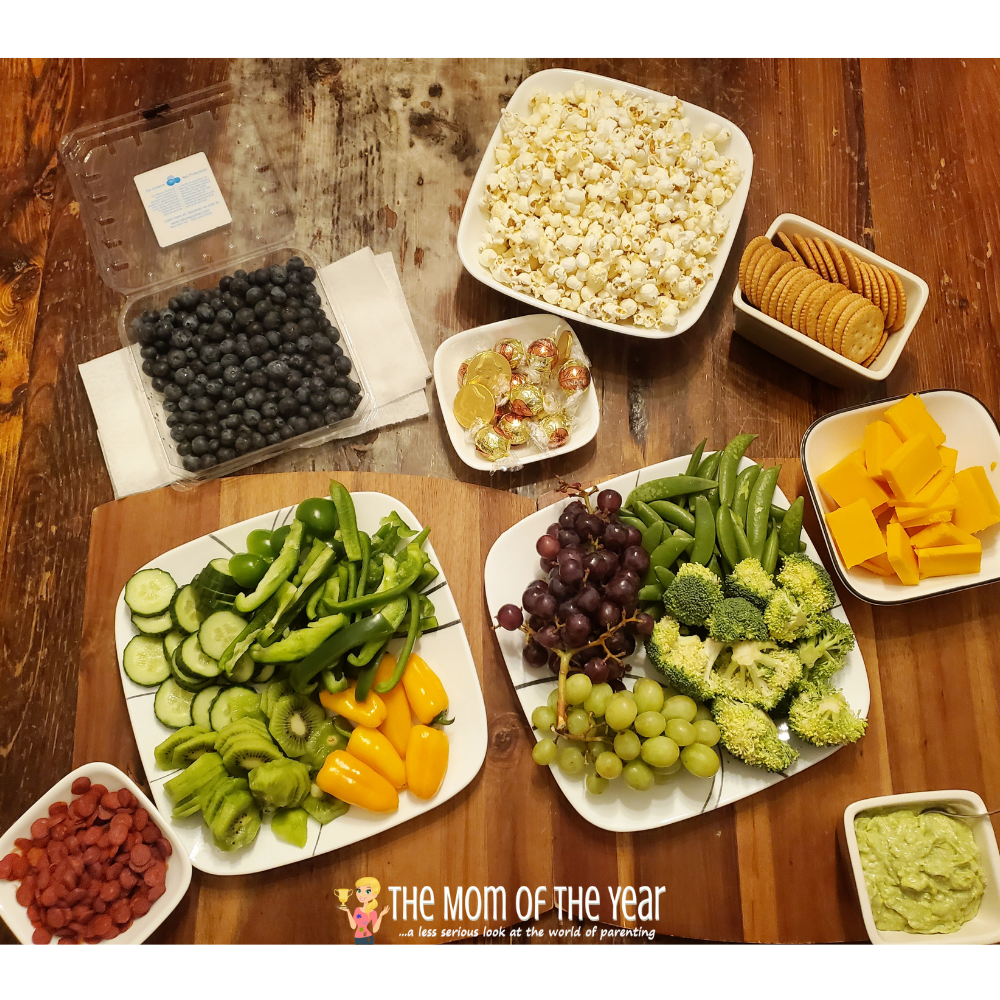
Also, get creative and use whatever substitutions work well for you and your family’s tastes–there are so many options. For example, I walked around the store for an age debating yellow peppers vs. pineapple vs. the toast rounds I ended up settling on to make the yellow stripe in the rainbow. Any of the options would have worked well, I ended up choosing the toast rounds because I know my kiddos do well with some carbs mixed in on charcuterie boards.
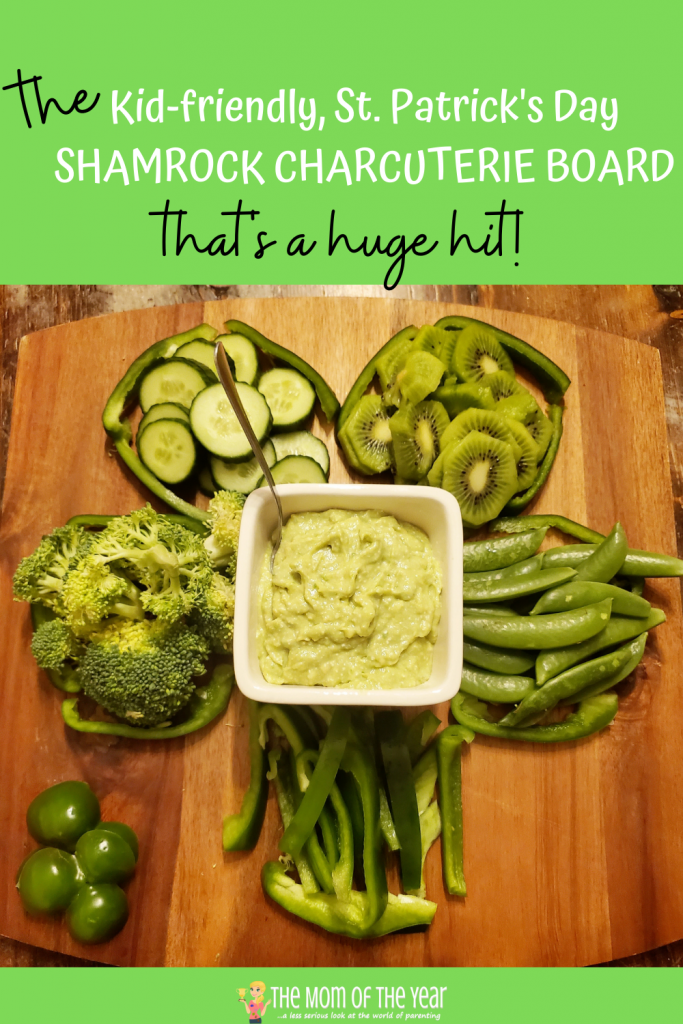
What you will need to create your shamrock charcuterie board:
- A board (PRO TIP: I bought wood serving boards a few years ago when hosting my husband’s 40th, and I have never looked back. I use them every single time we have company–so versatile!)
- Sliced green peppers–for creating the shamrock outline and including otherwise on the board(s)
- Peeled and sliced kiwi fruits
- Sliced cucumbers
- Sugar snap peas
- Broccoli florets
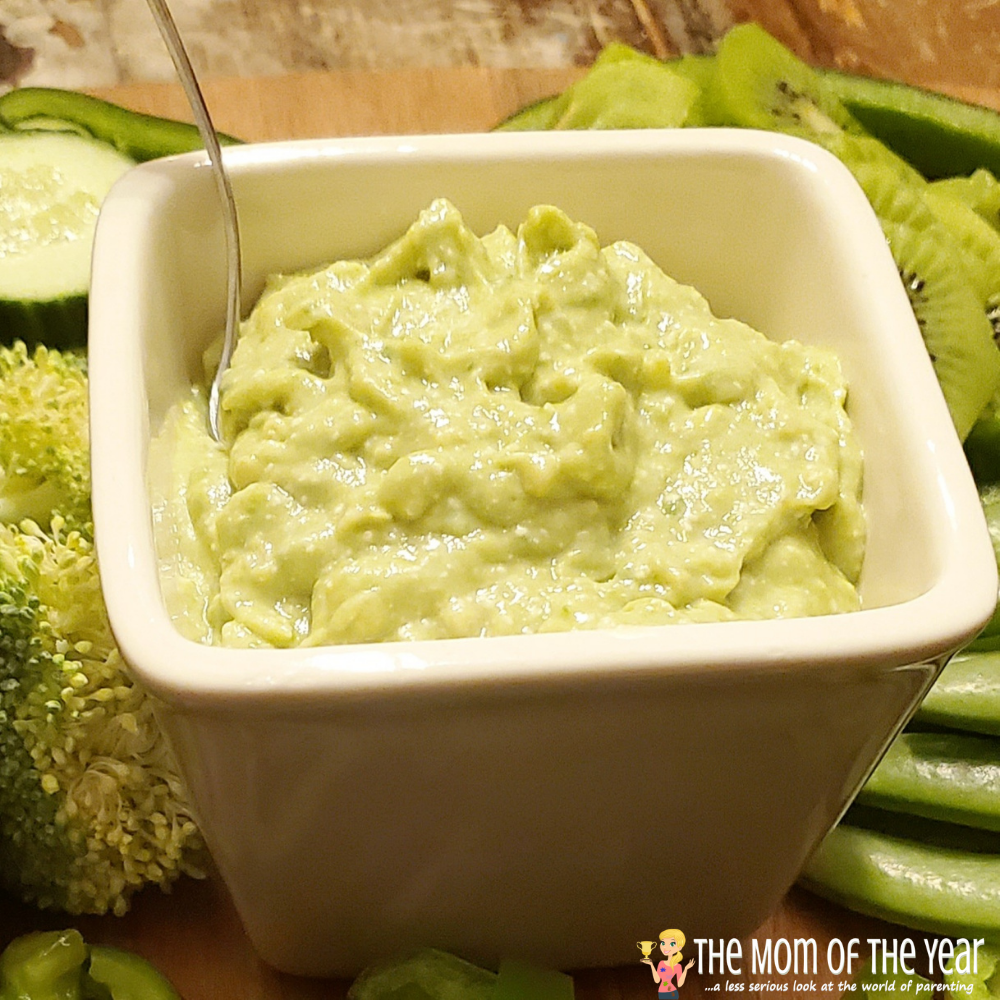
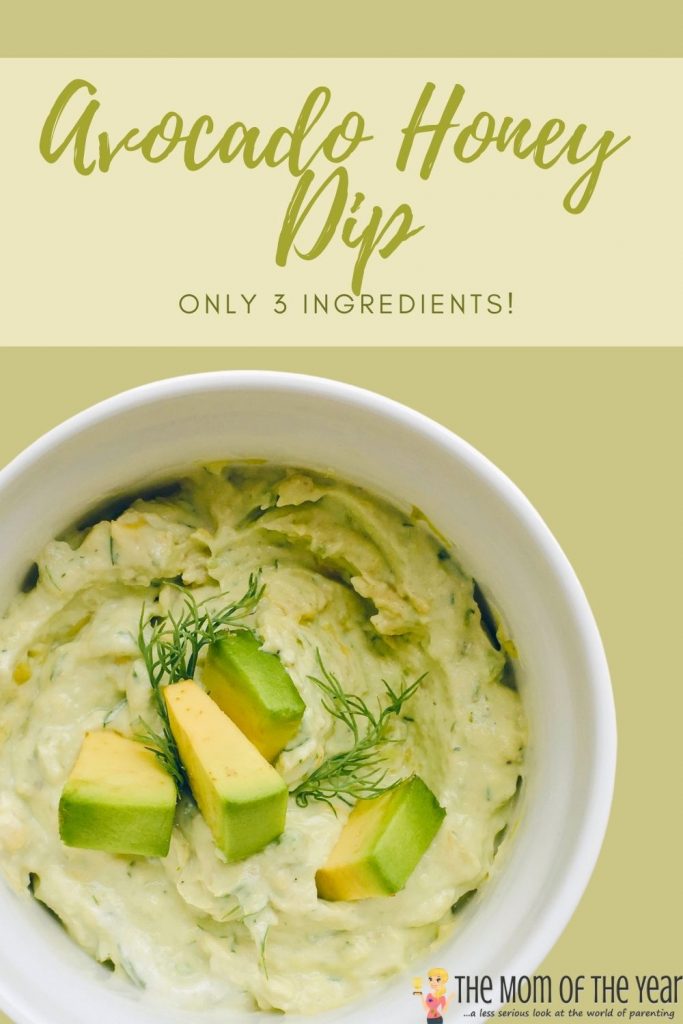
I found this recipe for an avocado honey dip on weelicious.com, and was eager to incorporate it into our board because not only was it green in color, I guessed the slight sweetness would work well with both veggies and fruits–I was right and it was yummy! I also love any chance to incorporate my husband’s honey into recipes. Follow the recipe HERE, and make sure to grab the following ingredients to make it (I doubled the recipe).
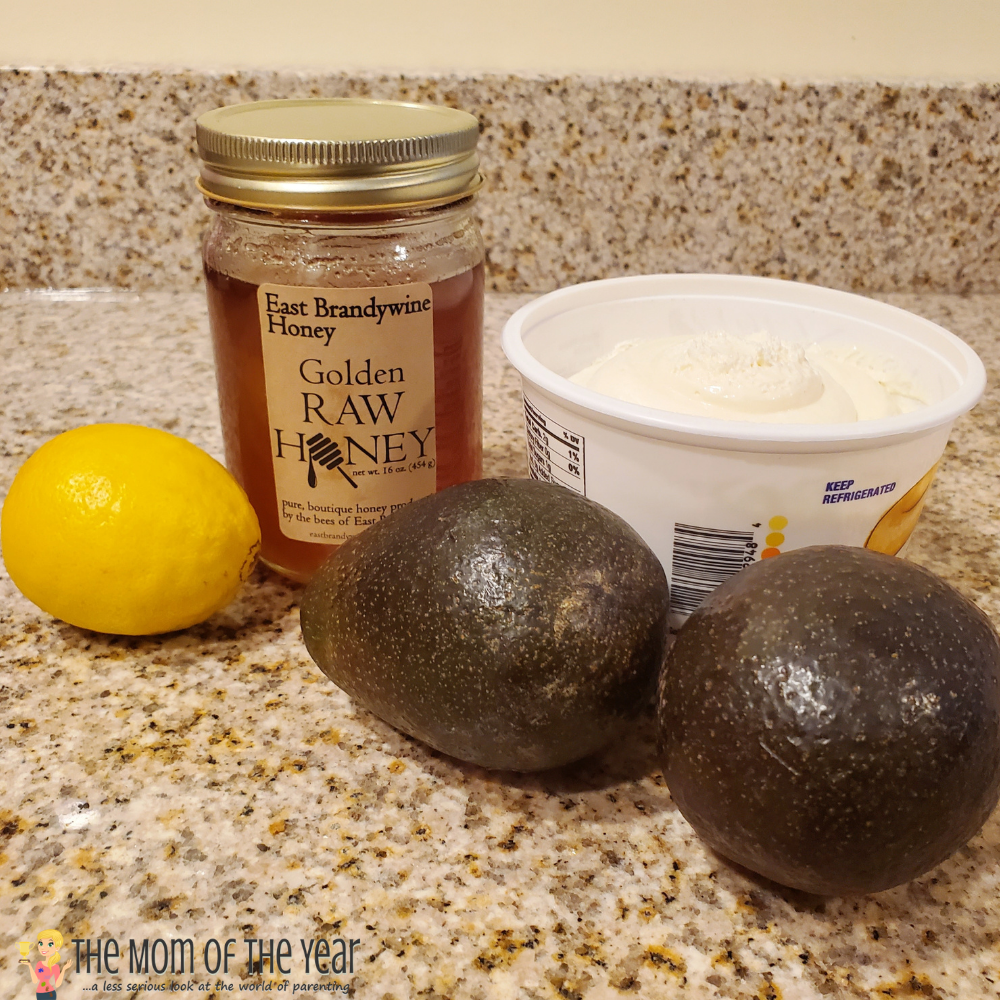
What you will need to make the avocado honey dip:
- 2 ripe avocados
- 3/4 cup whipped cream cheese (sub plain greek yogurt for a healthier alternative!)
- 2 Tbsp. honey
- 1 Tbsp. lemon juice
Place all ingredients in a blender and pulse until well blended.
How to construct your shamrock charcuterie board:
- Wash and prep all of your foods. I strongly recommend doing this before you start putting the boards together. This allows you to fill in and make substitutions as needed, as well as making it more fun and easier for the kids to help.
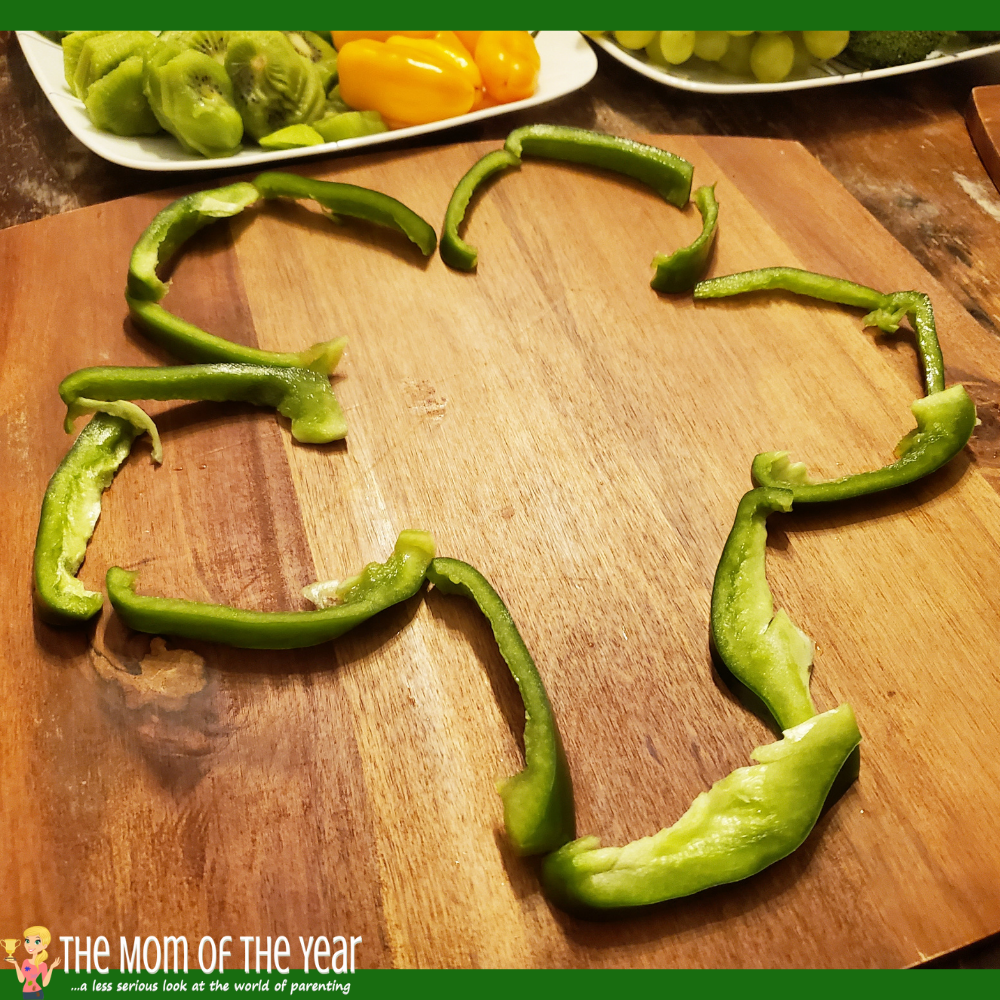
- Outline the shamrock with green pepper slices (as pictured below).
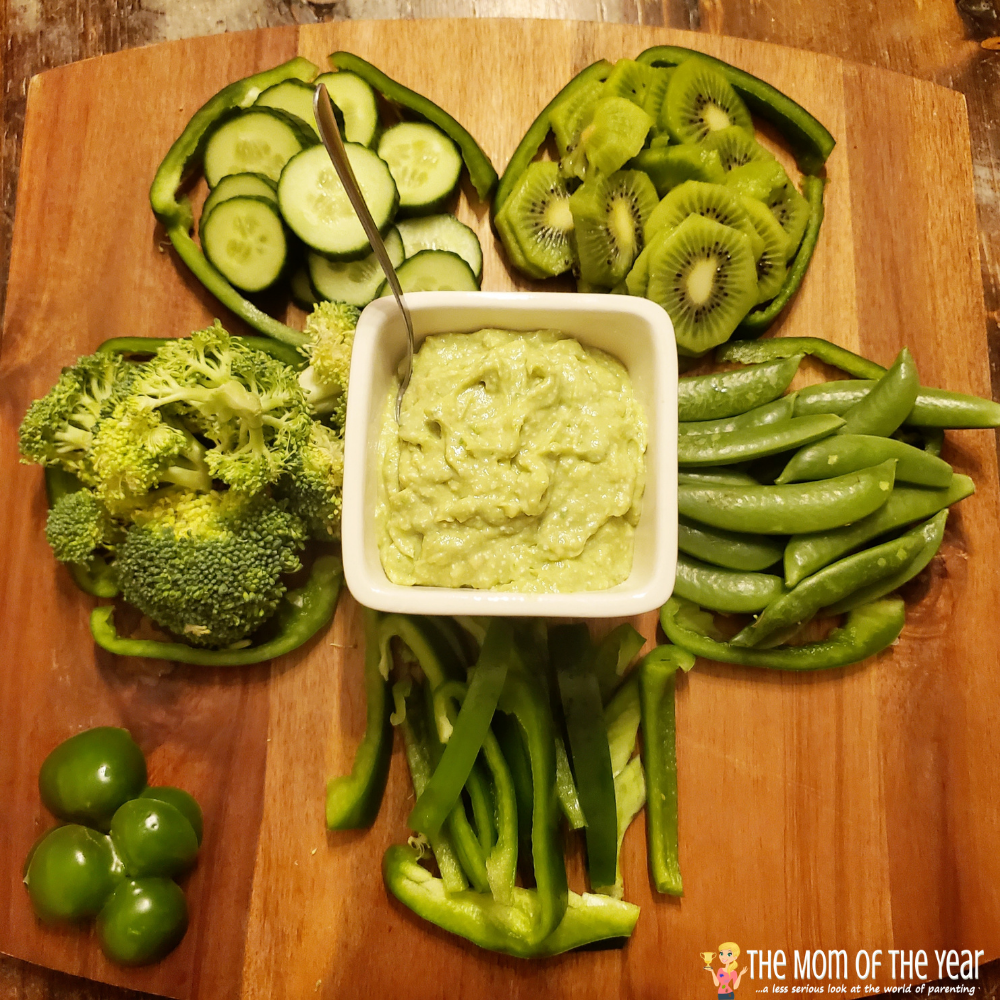
- Make the avocado honey dip and spoon into a small dish that will fit into the center of the shamrock.
- Fill another leaf with the kiwi slices, a second with the snap peas, the third with the cucumber slices and the last with broccoli.
- Fill in the shamrock stem with the remaining green pepper slices.
What you will need to create your rainbow charcuterie board:
- Green grapes (seedless always a win with kids)
- Red grapes (ditto with seedless)
- Mini pepperoni (regular size would work too)
- an orange cheese cut into chunks–mild cheddar is the best bet for my kids’ palates
- bruschetta toast rounds (I purchased, but you would make your own if you are feeling ambitious)
- Blueberries
- Popcorn
- Gold coins or other gold-wrapped candies for the treat at the end of the rainbow. I was only able to find one small pouch of coins after shopping at two groceries, so I would recommend ordering the coins online if you want them for your board.
- Optional bonus item: crackers, pretzels, etc. on the side. After constructing both of my St. Patrick’s Day charcuterie boards, I realized they might be more balanced if I added another carb, so I added Ritz crackers I had on hand as a side dish.
How to construct your rainbow charcuterie board:
- Again, wash/prep all of the foods as needed.
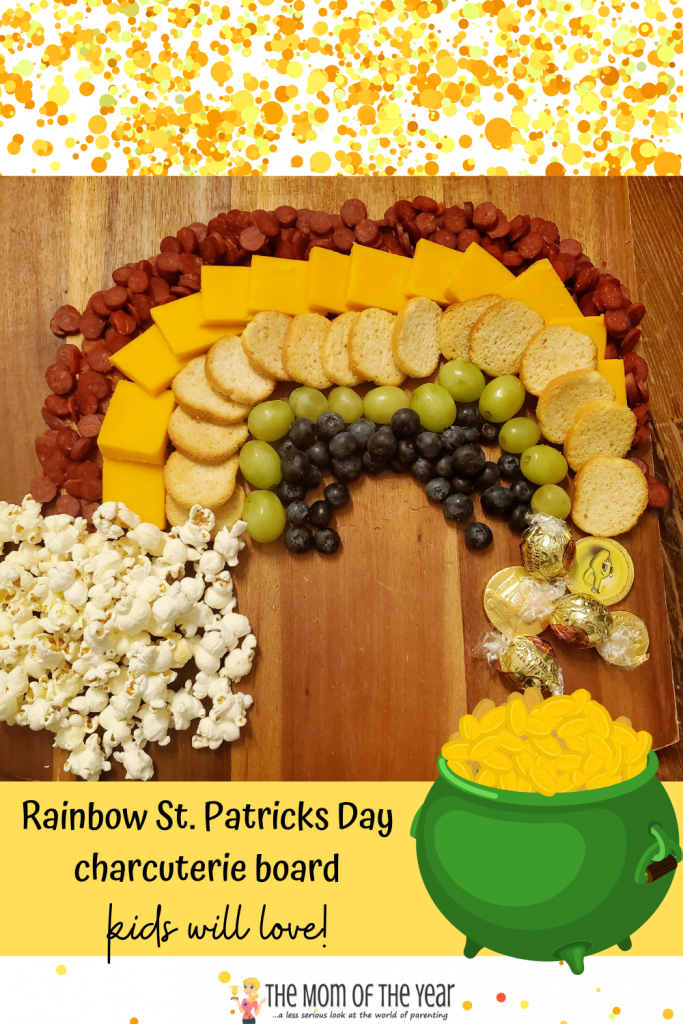
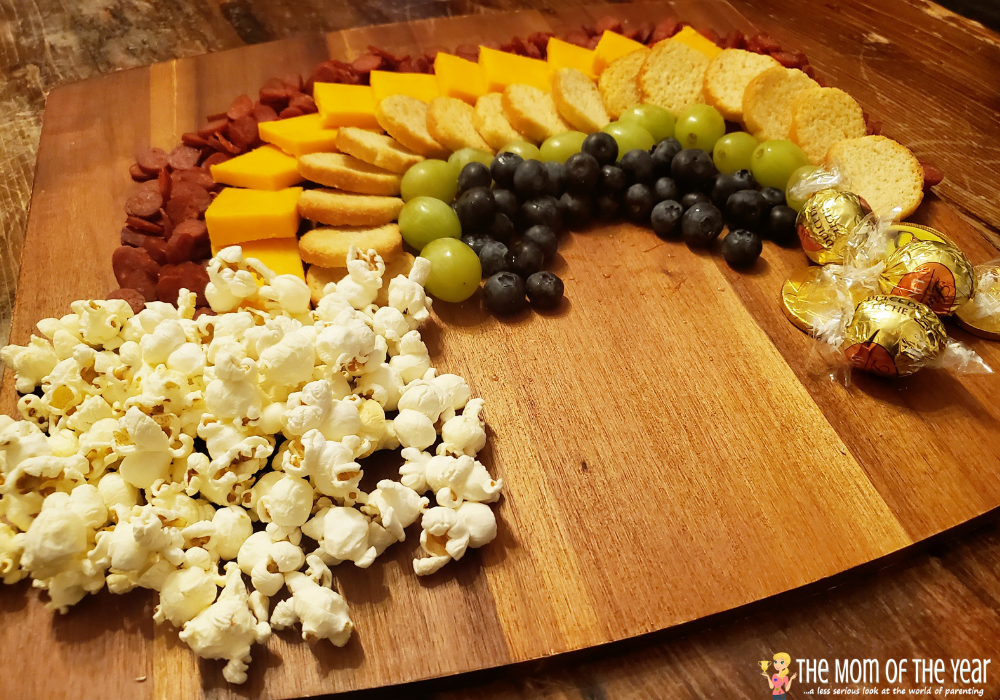
- Pile popcorn on the bottom left corner to make a cloud and the gold candies on the bottom right corner to create the “pot of gold”. Filling in these bottom elements first will help you know how far to stretch the rainbow and help you keep the color stripes more even.
- Start with a wide arch of pepperonis, which should curve down and touch both the popcorn and gold candies while stretching across the width of the board.
- Continue filling the other color stripes: orange=cheese, yellow=toast rounds, green=green grapes, blue=blueberries, purple=red grapes.
These boards were such a hit! I love charcuterie boards because they are EASY, no fuss meals to prep, put together and clean up. It’s also a meal everyone likes because they can choose the items they specifically want to eat. No complaining is music to my mom ears!
So go ahead and give a kid-friendly St. Patrick’s Day charcuterie board a whirl! Let us know how they turned out and if you came up with any creative substitutions or additions. And spoiler alert…my kids are already asking me to make one for Easter!
Latest posts by Meredith (see all)
- The Dollhouse Academy Book Club Discussion - February 14, 2025
- Somewhere Beyond the Sea Book Club Discussion - January 10, 2025
- Here One Moment Book Club Discussion - November 8, 2024


Janine Huldie says
Two easy and perfectly themed recipes for St. Patrick’s Day. Going to have to see if I can give a try to now. Thanks!! 🙂
Meredith says
Let me know how it turns out if you do, Janine! 🙂
Meredith says
Cute AND Tasty!!
Meredith says
Win-win! 🙂