This post, nor this effort is sponsored or endorsed in any way. My family fell head over heels for the Little Free Library effort, and all that follows is 100% genuine adoration for this adorable movement as we tell our story of how to start a little free library in your yard!
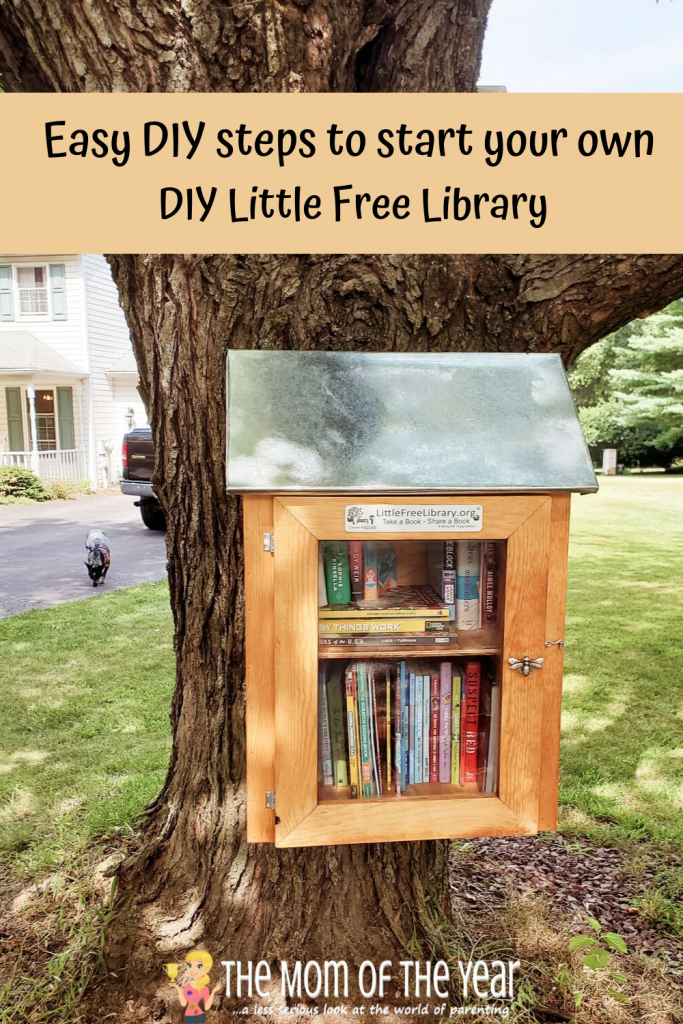
So, it happened, friends. After years of passing by the sweet Little Free Library on Broadway St. in Cape May and delighting in it, we began to crush on the idea of starting our own library in our front yard. The crush lasted for oh, about 30 seconds before morphing into, “We are doing this! This is happening!”. So we had a sit down for family game plan and…three months later, hello new little library!
How to Start a Little Free Library in Your Yard
Interested in starting a library in your yard? I get it! They are so cool and so much fun. But have no clue how to start a Little Free Library? I get this too. While the movement is celebrating ten years this week (Happy 10th, Little Free Library!), it is still early days in many areas, and the concept is unfamiliar in many ways.
Consider Your Options
Littlefreelibrary.org is FULL of help and resources to get you started. There are many different choices to can make when initiating the effort: location, style, DIY vs. buy pre-made, whether to register your library and more.
- Location. While many people place them in public spots (parks, schools, etc.), we wanted to house our library in our front yard. This worked well for us as we live in a suburban neighborhood with wide streets. It would be easy for people to pull over to grab a book while in the area, or for walkers or bikers to stop by to visit.
- Style. There are as many different styles as there are people to imagine them. Little Free Libraries have been built into trees and benches, upcycled from trashcans, wine barrels and refrigerators, and even built out of LEGO or surfboards! If choosing a more traditional style, you still will need to decide between one shelf/two shelves, slanted/flat roof, material, color and more. We wanted a larger library, so chose a two shelf model to house more books. We also liked the look of a small shed, so went with a tin slanted roof on naturally stained wood.
- DIY vs. buying ready-made. LittleFreeLibrary.org does sell libraries already built and put together–and they are gorgeous! For us, the cost was prohibitive, and since my husband is pretty handy, making our own library was a better choice. There are loads of templates available for building your own if you choose to go that route. Know your resources and make your choice from there!
- To register or not? Pros to not registering: no fee and no hassle! Pros to registering: you are included on the world map, part of the larger Little Free Library community, and have access to deeply discounted books, the Facebook support group and more. I wanted people be able to find our library easily and also liked the idea of being part of a larger community of Little Free Library lovers, so registering was a definite for us.
- Personalize as suits you! This is the fun part. There are so many gorgeously themed and painted libraries–you can be as creative with this as you want! Our personalization was minimal: we chose to mount our library to a tree to give us one less yard feature around which to mow, and I found a fantastic bee-shaped doorknob to reflect my husband’s bee-keeping hobby!
Make a list of what’s needed
After you’ve decided on what direction you’re going, make a list of what you will need. For us this came in three parts:
- Materials for library
- Cost
- Books
Materials for a wooden DIY little library:
- Plans
- Measuring tape/rulers/angles
- Table saw
- Plywood
- 1″x3″ wood
- 1″x2″ wood
- Wood glue
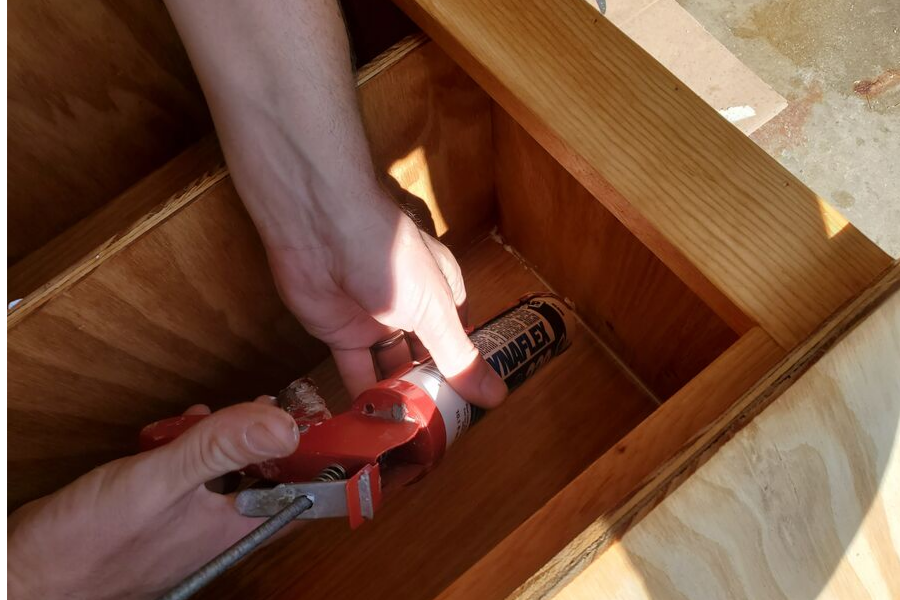
- Caulk
- Sander/sandpaper
- Screwdriver
- Miter saw
- Nailgun
- Nails
- Hinges
- Plexiglass
- Woodstain
- Paintbrush
- Sheet metal (for roof)
- Tin snips
- Latch
- Guest book with pen (optional)
- Doorknob (optional)
- Registry plaque (optional)
Cost
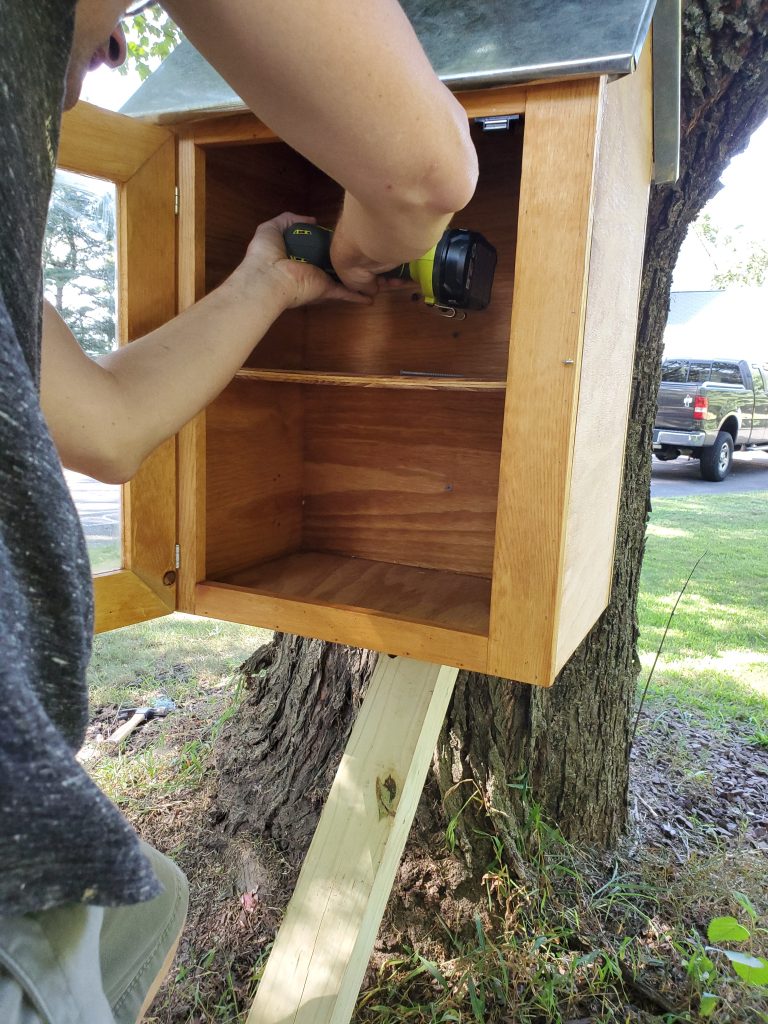
You will also need to sort how you are going to mount your Little Free Library. We attached ours to a tree with screws and wood plants, but you can also set upon a free-standing pole or other structure (people use wagons, newspaper boxes, milk crates and more!).
Obviously, if you purchase a pre-made library, the cost will be higher than if you DIY. However, even if you DIY, you will still need to purchase the above-listed materials for your library. Also, if you choose to register your library, you will need to pay the registration fee.
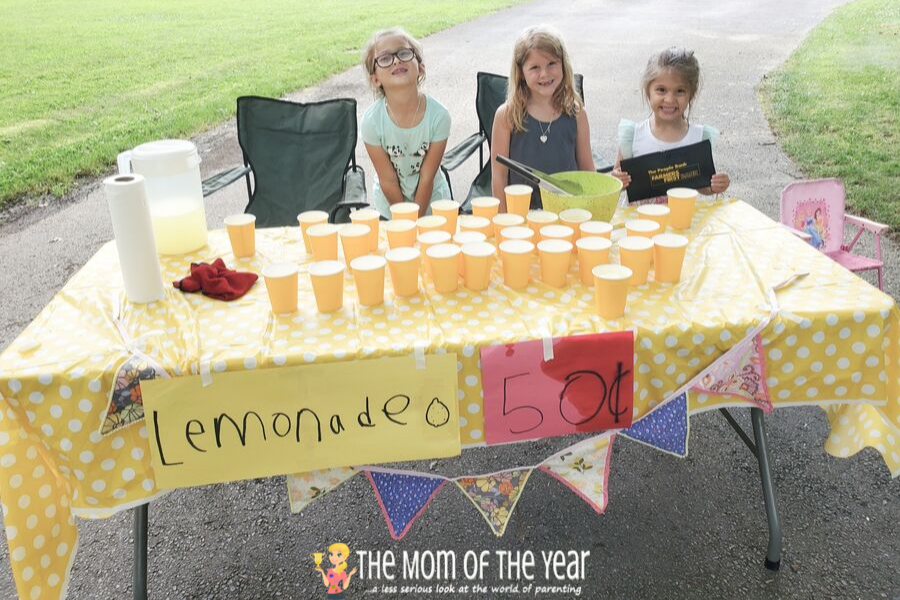
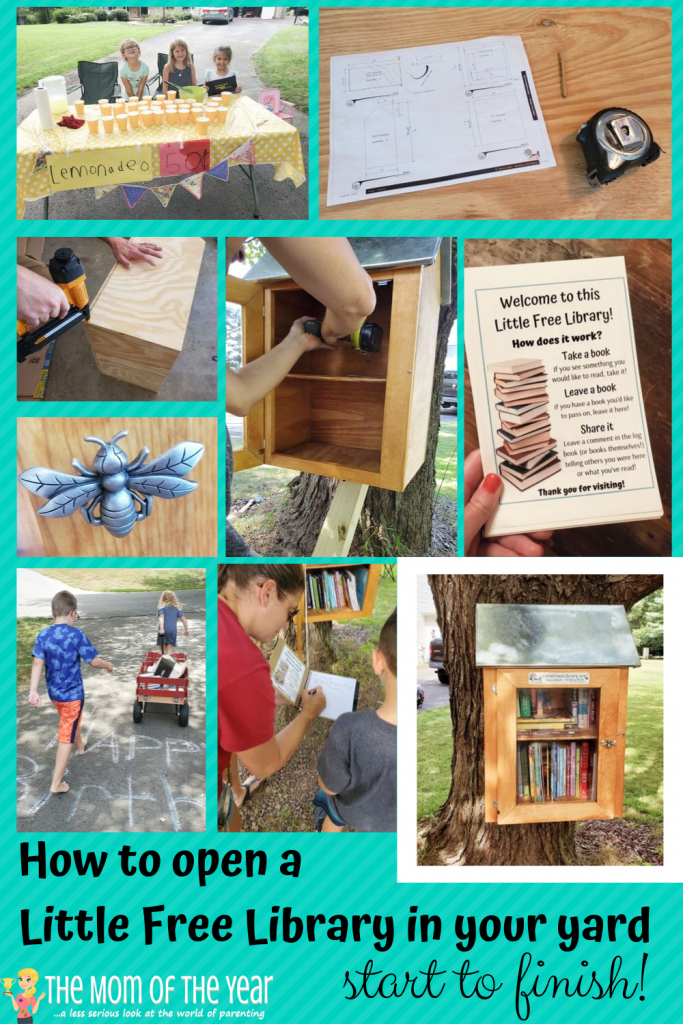
My husband and I agreed to front the cost of materials for the library itself (under $50), but told our kids they would have to raise the cost of the registration plaque ($39). They chose to hold a lemonade stand over the summer to raise the cost. We got some friends involved, and the neighbors were SO supportive in stopping by. My dear friend Stephanie of Binkies and Briefcases even sent a donation all the way from Florida! After splitting the proceeds with our friend helpers, we raised EXACTLY (to the dollar!) enough money to register our library! What a special win!
Books
This was the easy part for us! As a book-loving family, we already had quite a stash built up we were happy to share. Also, my job allows me to frequently receive new titles and ARCs (Advance Review Copies) of both children and adult books to include in the library. We have also had SO many generous friends and neighbors willing to donate books!
If you do choose to register your library, you will have access to deeply discounted books and giveaways to help you stock your library. Little Free Library won’t leave you hanging in want of books! Make sure to reach out to your community too–you will be surprised how willing people are to contribute!
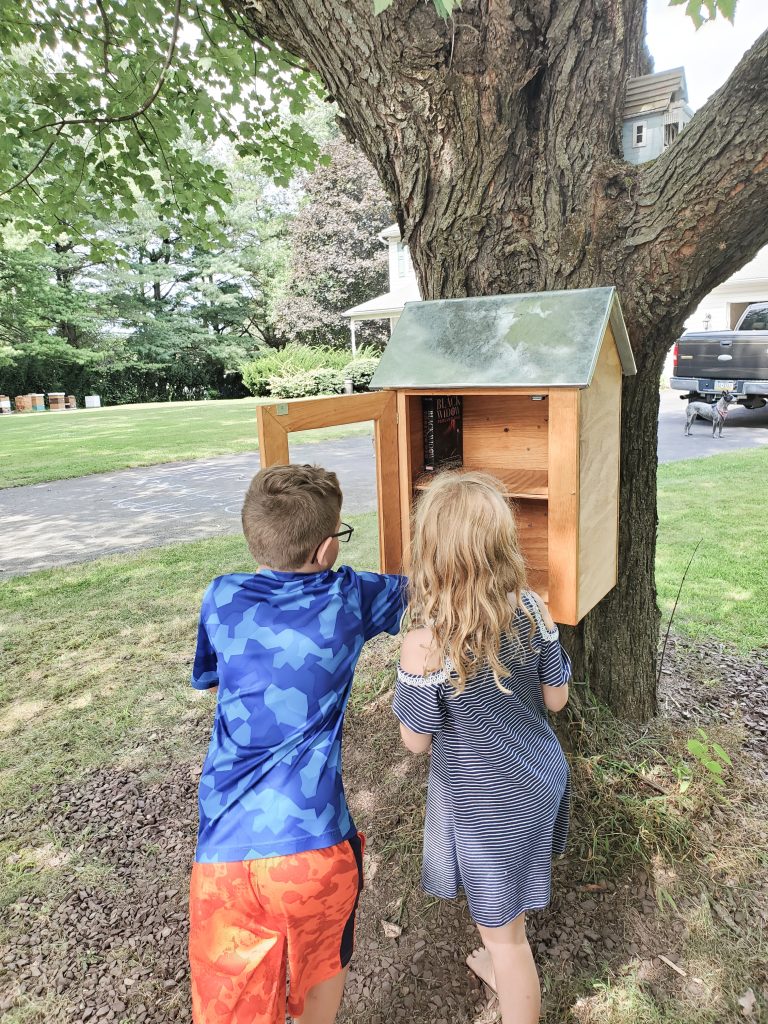
Of note, it was very important for us to stock books for all ages. We have visited a lot of Little Free Libraries over the years and found them often geared towards adults, which is a bummer for my kids who would love to find a book for themselves. We very much worked (and continue to do so!) to have titles for all ages–from baby to adult!
How to Build your DIY Little Free Library
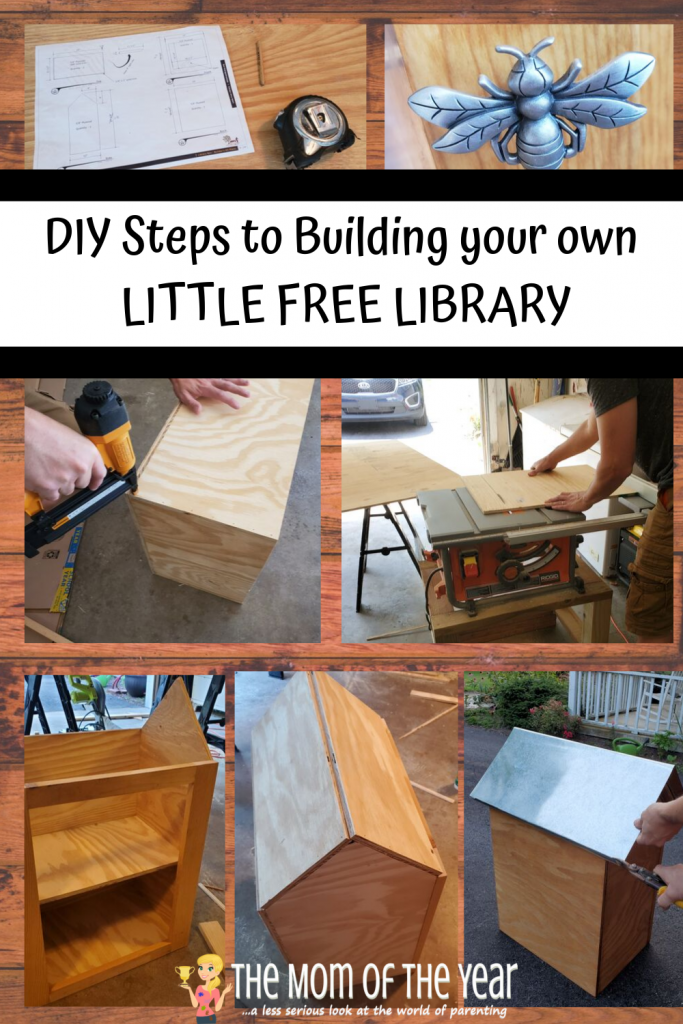
With the registration cost and book supply covered, the major task for us (read: my husband with the kids’ help) was to actually construct the library. This was a big task! But do-able, to sure…
Secure your plans and make your measurements.
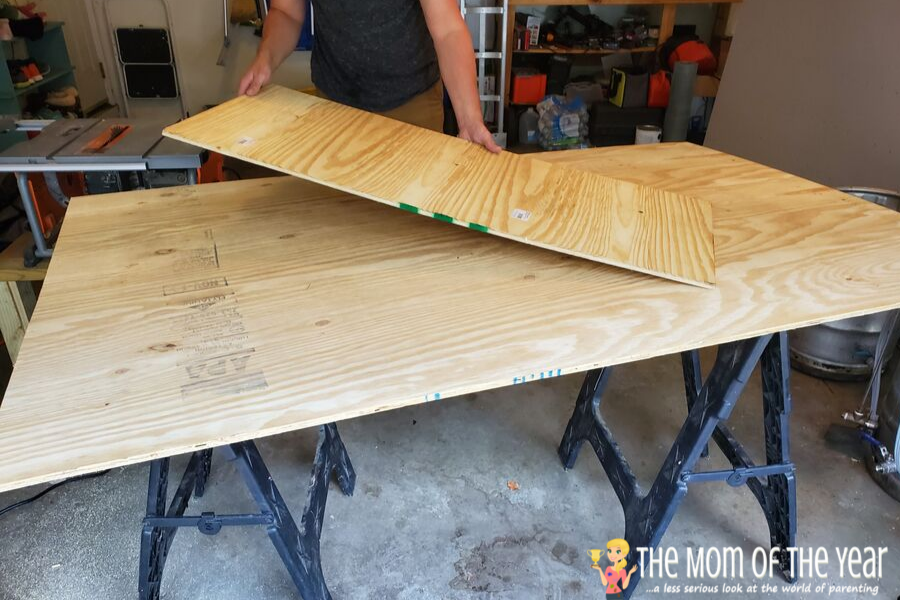
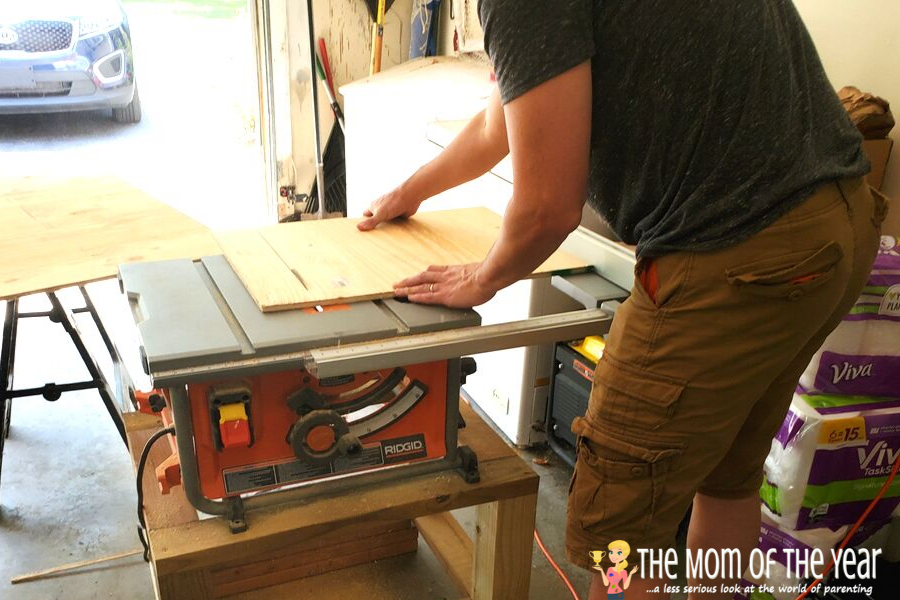
Make your cuts with the table saw.
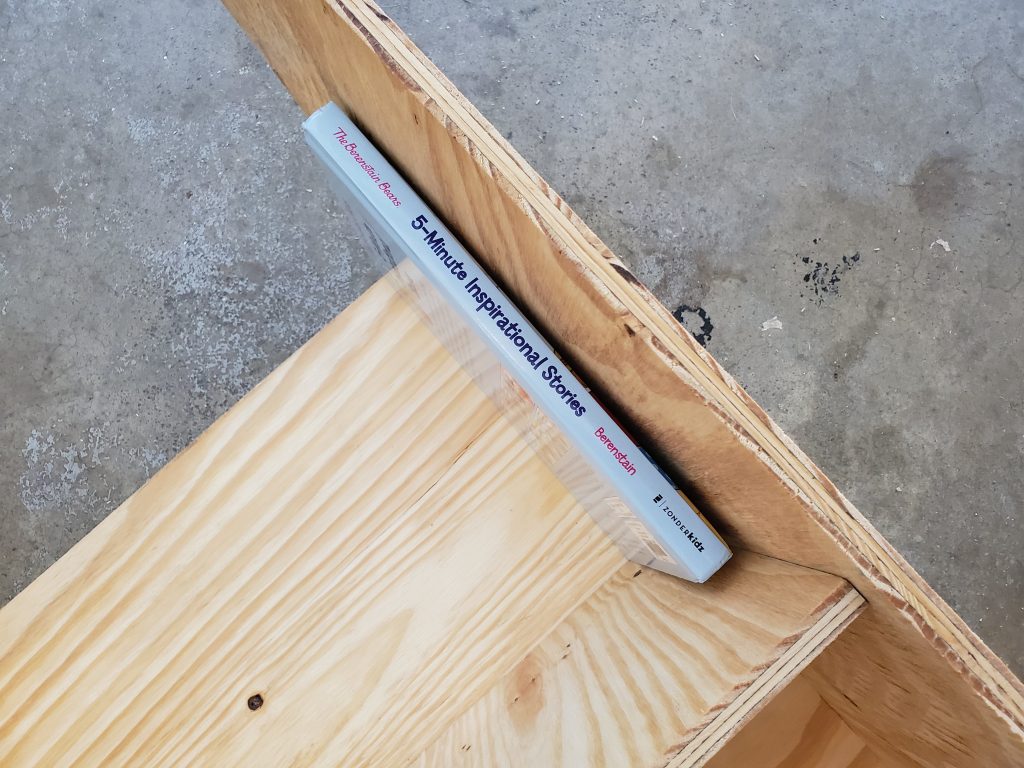
We checked shelf height and width with books to make sure we were on track before attaching boards.
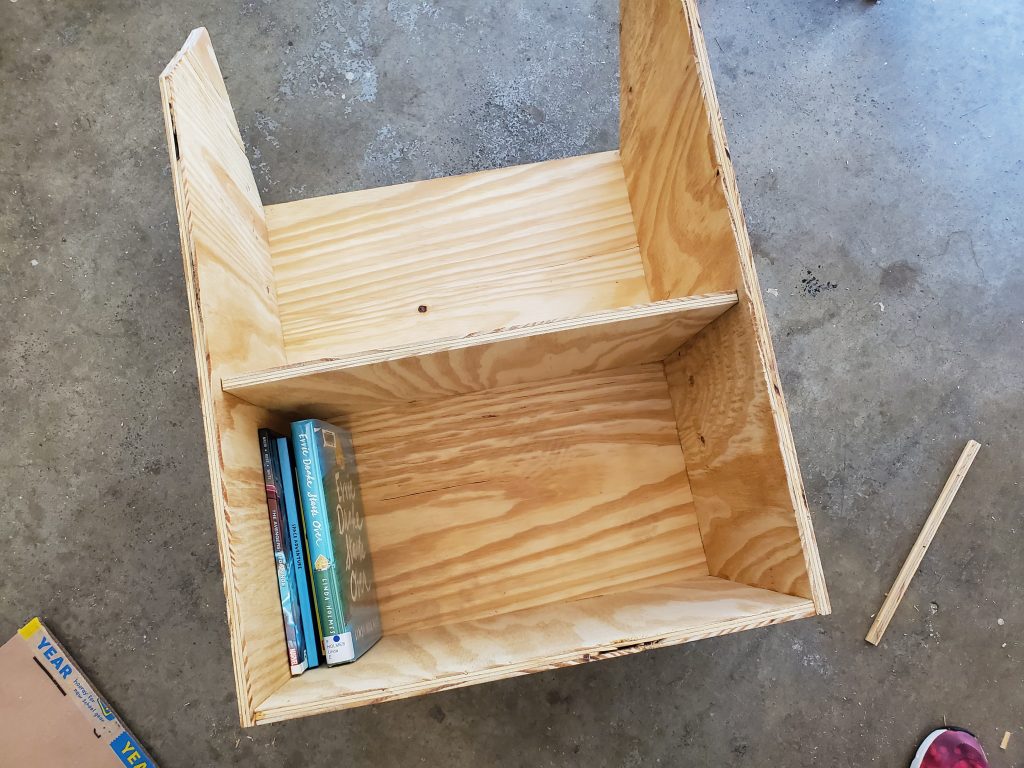
Glue and nail pieces together with nailgun. Use 1″x2″ and 1″x3″ wood on the face of the library.
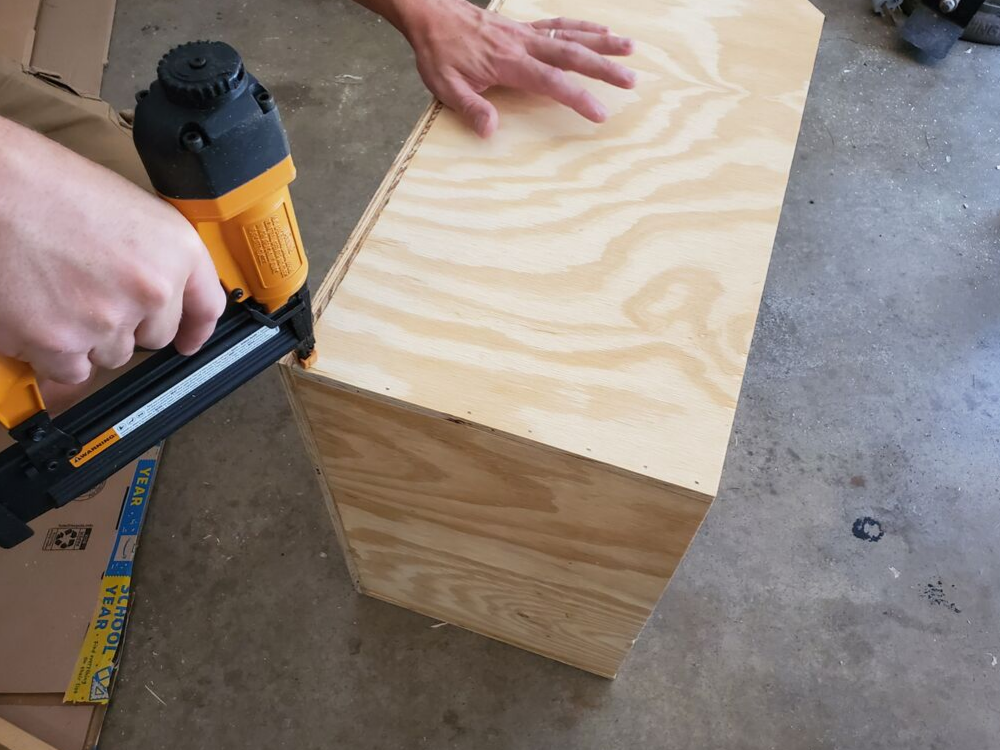
Chaulk seams to keep out water and critters.
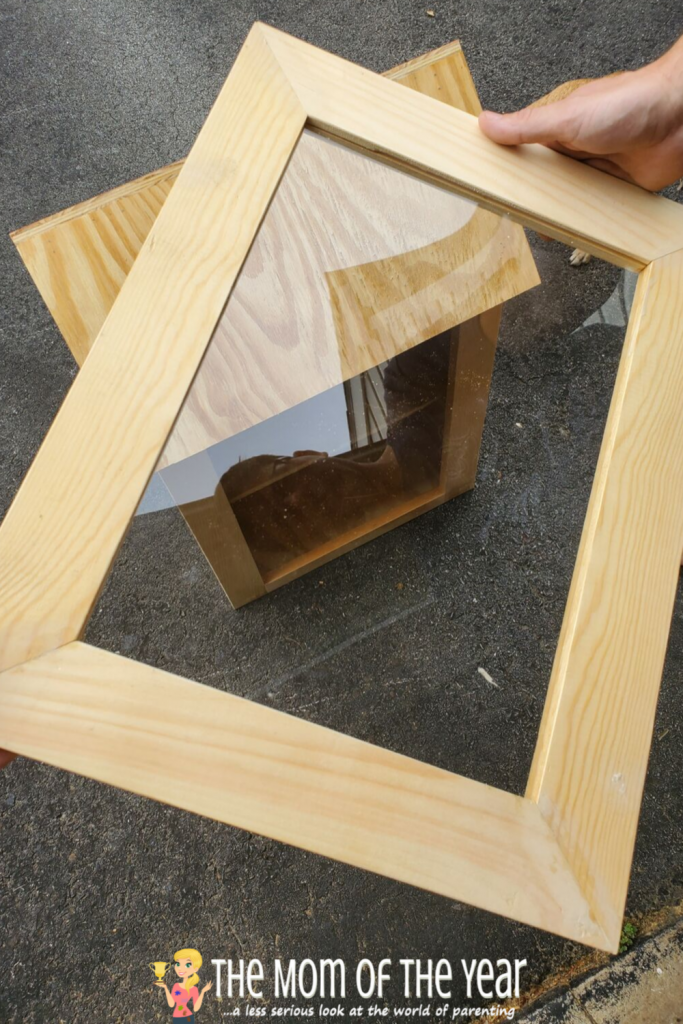
Construct door: Using a table saw, make a ridge in the 1″x3″ wood to insert plexiglass. Insert the pexliglass, then glue and nail wood together.
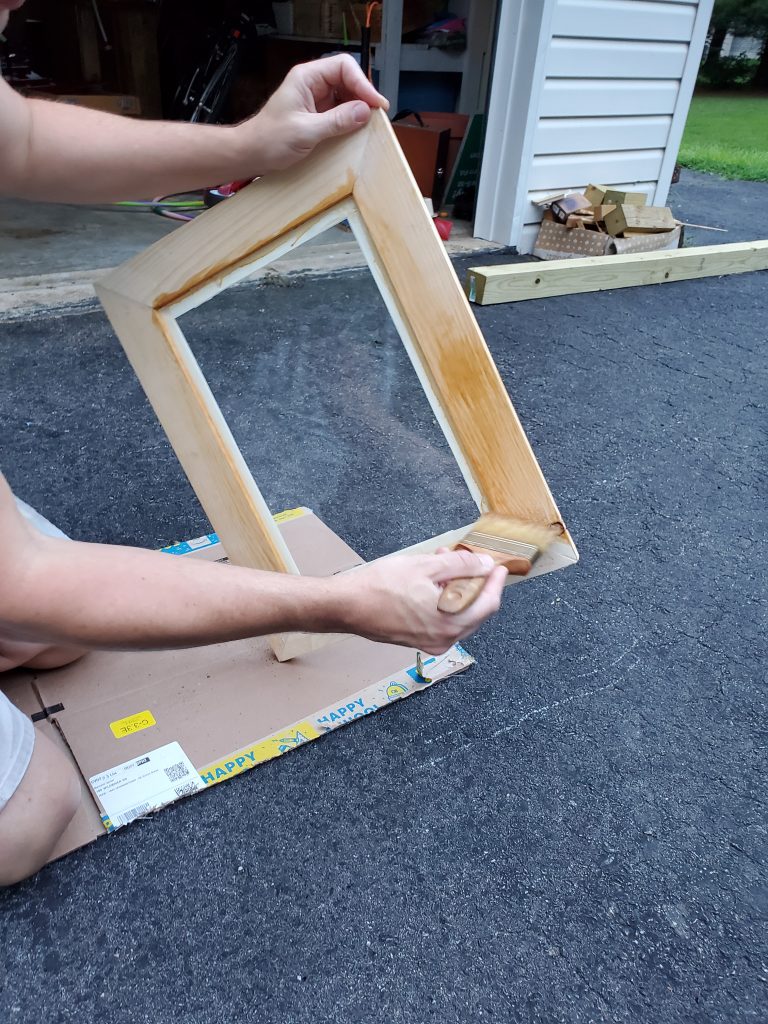
Stain all wood (inside and outside) with an outdoor stain.
Bend and cut sheet metal to fit the roof.
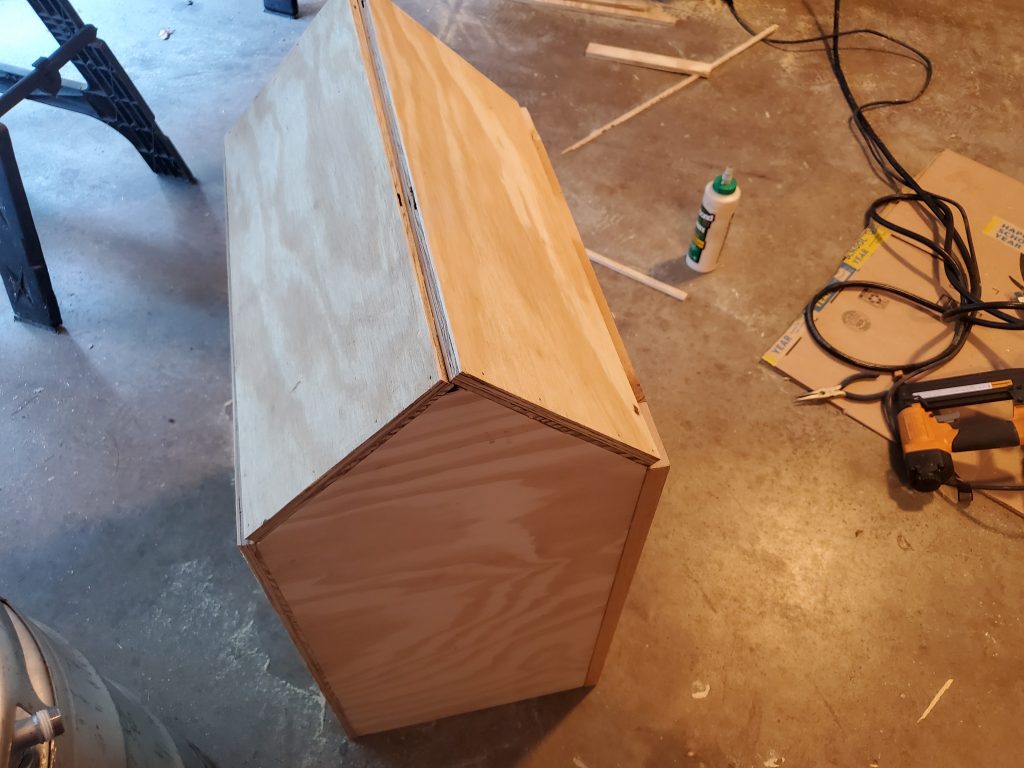
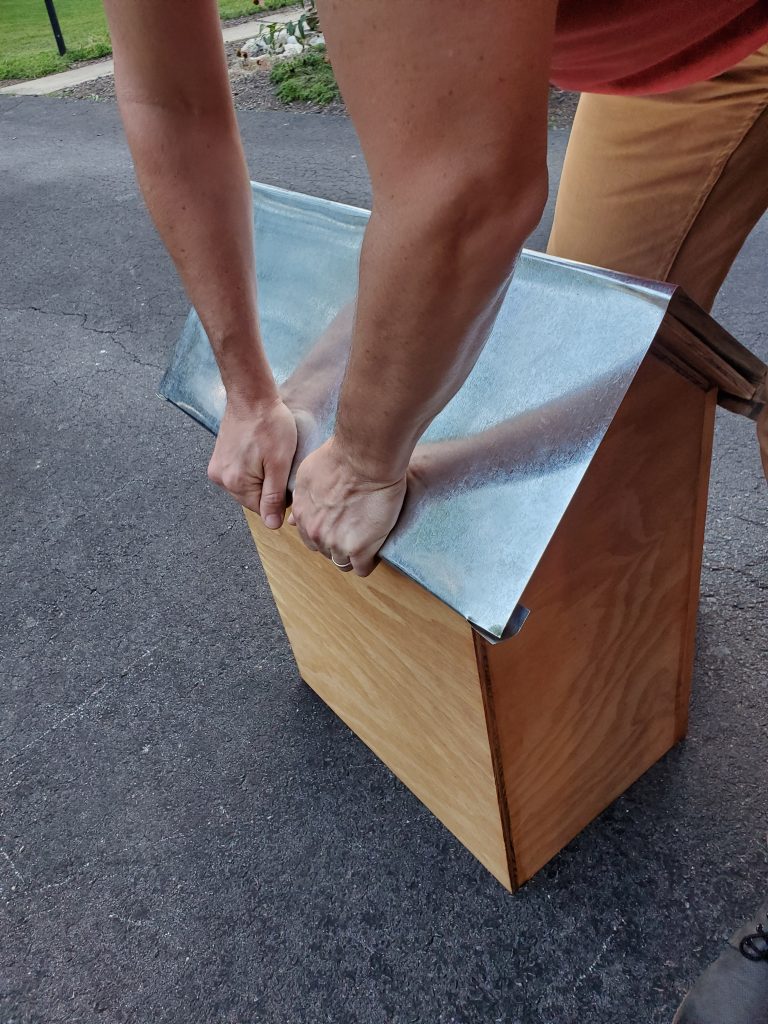
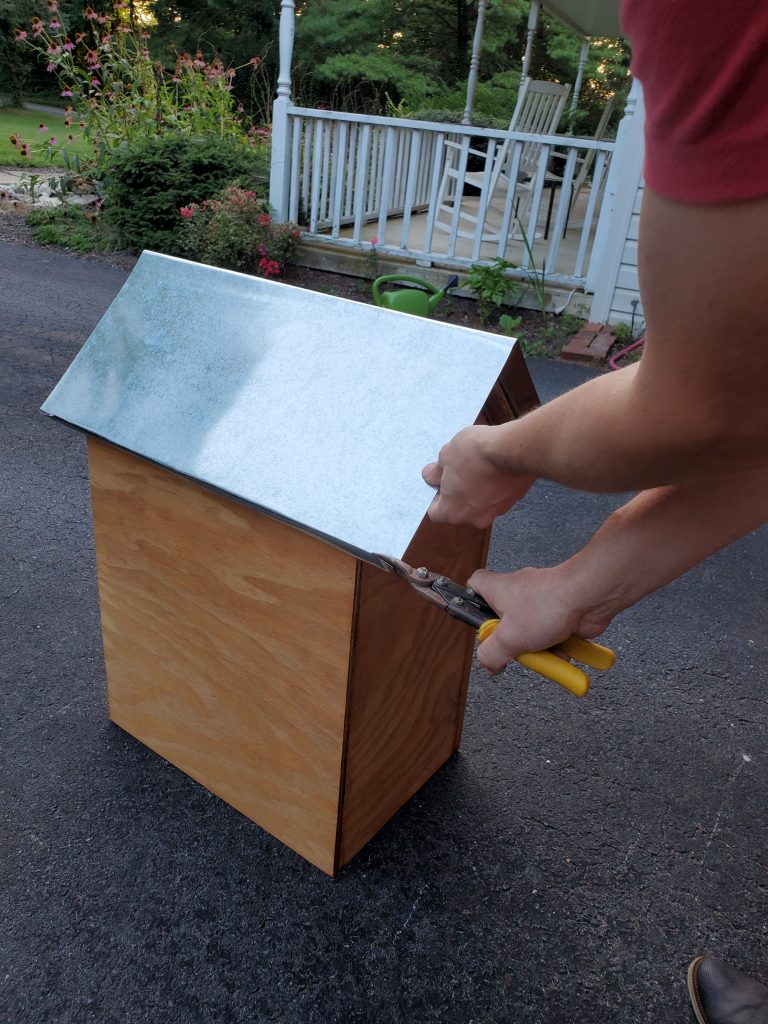
Attach door to library with hinges.
Affix doorknob and registration plaque if desired.
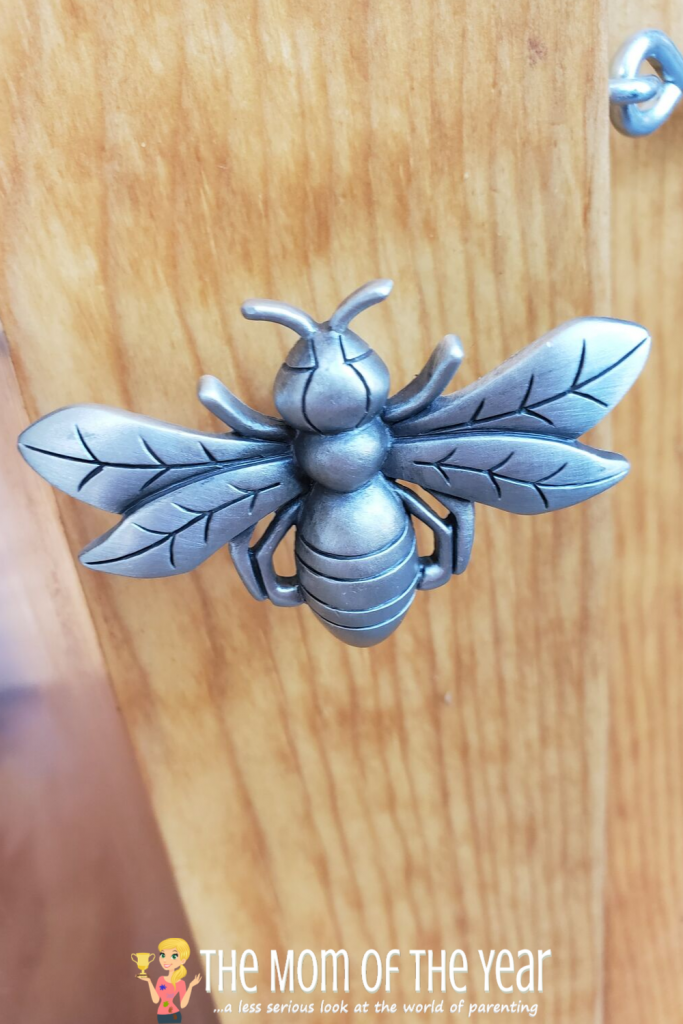
Mount to chosen fixture. W mounted ours to one of our trees.
After your library is constructed and filled with books…
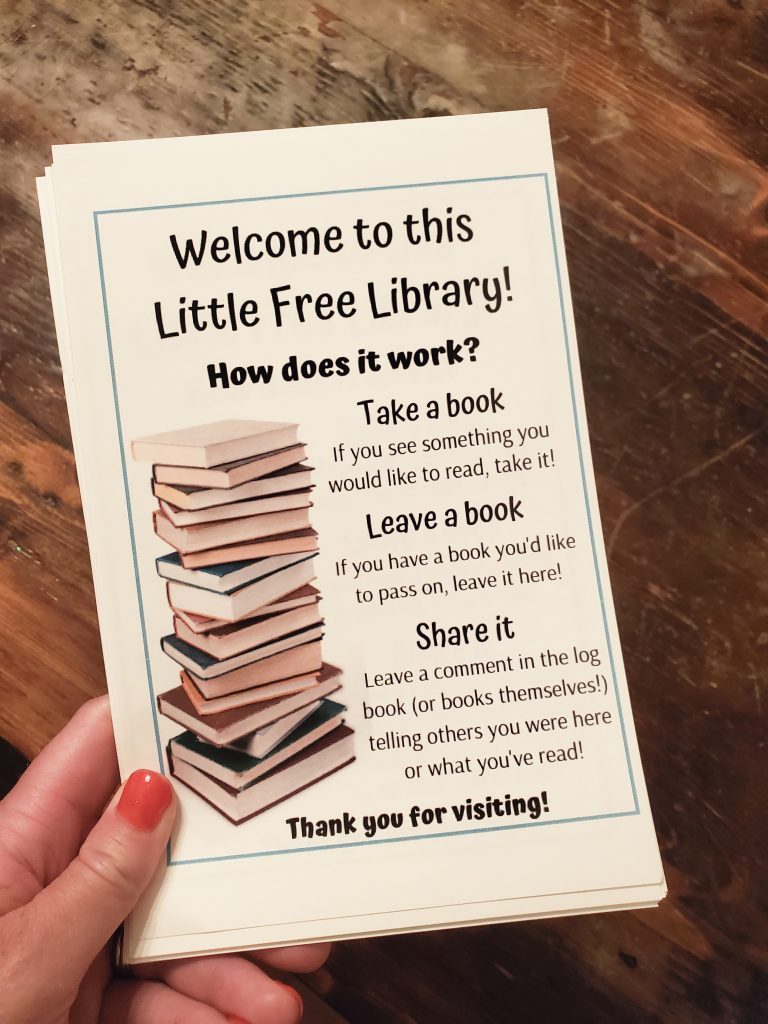
Consider printing small flyers to leave in your library explaining how it works. This isn’t necessary, but we thought it would be helpful when kicking off a new library. Below is the flyer I printed (to stash in the library and have at the ready for Grand Opening Day).

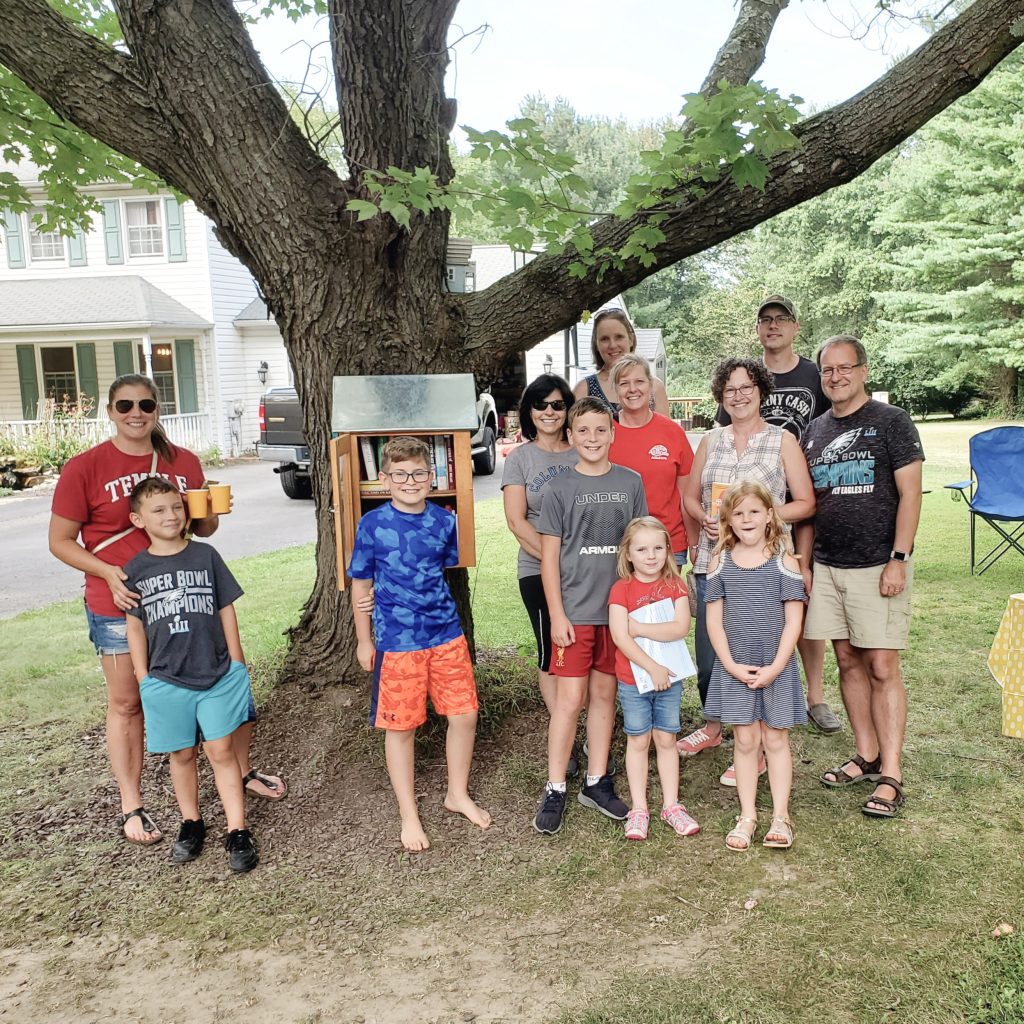
Speaking of the Grand Opening…it is time to announce your library! This is the super-fun part. You can simply let friends and neighbors know you are open for business, or you can go all out! We landed on a middle-ground with a casual ribbon-cutting ceremony/grand opening celebration we literally decided to hold the morning-of.
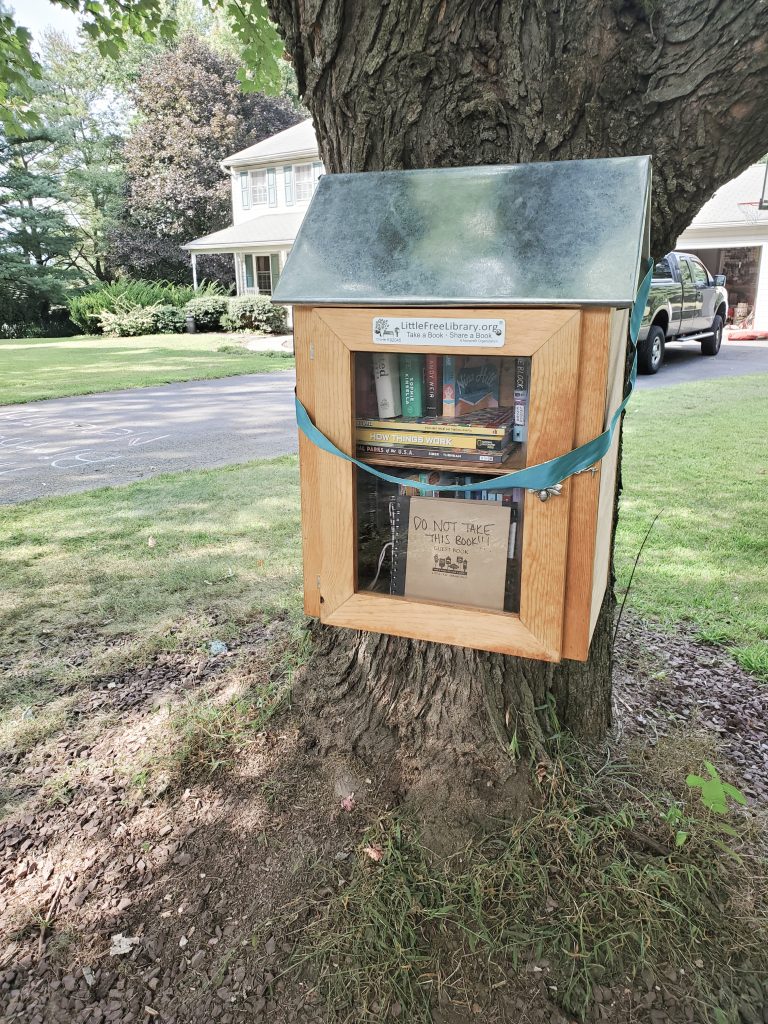
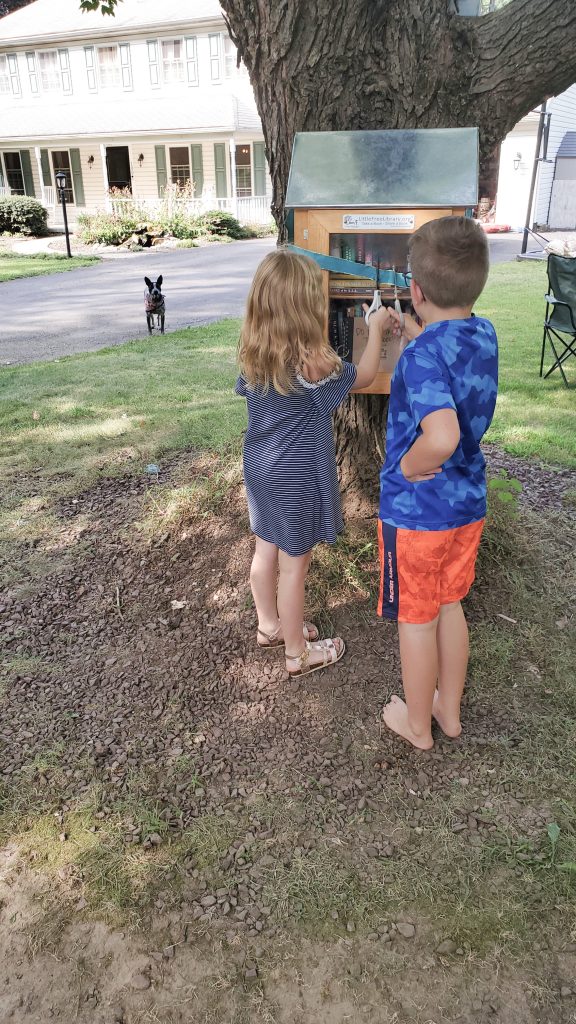
We had cookies and lemonade at the ready, and I used a leftover gift-wrapping ribbon for the ribbon ceremony, but it was truly a non-fuss event! It was also truly a heart-touching event. Some neighbors were able to meet for the first time, and we were also able to extend inclusion in our book neighborhood club to new neighbor friends! Much of this Little Free Library appeal for us is bringing community together and to see this happen on the first day was so affirming!
And now…
Your library is filled! It is open! This awesome, and please take a moment to appreciate what you have created!. From here on out, your role is minimal (this is a good thing!). But, you still have a few tasks to manage:
- Frequently check the library stock. If it is getting low, you may want to stash in a few more books. I like to keep a tote bag of extra books I can add to the library whenever it’s stock is getting low. Also take a moment to tidy up the books. A clean-looking library is far more appealing. I like to stop by every morning after getting the kids on the bus.
- Once a month, clean the library. I am horrid at cleaning, but it takes less than a minute to dust and wipe down the plexiglass. Again, a clean-looking library makes a difference!
- Take a moment to “advertise” your library on your social media channels. By generating ongoing interest, you encourage ongoing fresh stock–always a win!
Still on board with starting your own little free library? Yes! Let’s do this! I can’t say how much fun this has been–from our first crush on the idea to the now sneak-spying out the window at visitors stopping by to check out our books!
I love our Little Free Library and can’t wait to watch it grow! Thanks for checking in here to hear our story, and so much support as you start a Little Free Library of your own!
Latest posts by Meredith (see all)
- The Dollhouse Academy Book Club Discussion - February 14, 2025
- Somewhere Beyond the Sea Book Club Discussion - January 10, 2025
- Here One Moment Book Club Discussion - November 8, 2024


Janine Huldie says
Omg, I love this idea and seriously between the kids, my husband and, me, we have more than enough books to stock up a free library right now. Really need to check this out as it is seriously such a neat thing to do. Thanks for sharing 🙂
Meredith says
It has truly been so fun, Janine! Definitely think about it 🙂
Carley says
This is so cool!! You guys did a great job. Way to go Team!!!
Meredith says
Thank YOU for lending the lemonade stand manpower, friends! <3 🙂
Tina R. says
I saw your article in the community courier. I LOVED seeing another local resident with one of these boxes! We are in Glenmoore and my husband also built our little library. Ironically only kids seem to visit it around our neighborhood, so we rarely put very many adult books anymore. I love that it opens up the means for conversation with neighbors we may never of spoken with before. Love your library! We’ll have to visit it soon!
Meredith says
Tina,
Thanks for saying hello! And I love that you are so close and hove a library too 🙂 And go you for making it such a welcoming spot for children! And those neighbor connections are truly priceless!
Robin says
This is a perfect solution to our kiddos that are missing their rotation of library books due to COVID-19 & library closures! I would love to do this project for our neighborhood. Are you sharing or selling the plans to your little free library?
Meredith says
Robin, yes! It’s such a great time to do a project like this! We pulled our plans from https://littlefreelibrary.org/ They have a bunch there! My husband modified a bit for ours, but basically just used what they had. Let me know now how you make out, and hang in there during this time!
Lindsay says
Hi!
I’m hoping to make one of these for made for my birthday this Spring. Can you share what you used so you could attach it to the tree. I’m looking to do a similar set up and have no clue what to use! Thanks so much for your awesome tutorial!
Meredith says
Lindsay, yay! I hope it is so fun for you 🙂 From my husband, because he did all of the construction: “I used pressure-treated 2x4s and shims to level the face of the tree. Our tree has a huge dip in the side. The roof is touching the tree trunk, but I had to backfill the empty space between the trunk and the back of the library with several 2x4s. I attached these to the tree with 3 1/2″ deck screws. Then I screwed the library onto the 2x4s. Hope this helps.”
Susan says
Meredith
You and your family did an amazing job on your little Library. We are currently in the process of taking an old newspaper box donated to us by the newspaper company and adding an A-roof second floor to it for more space. I would love to know where you got the bookmark size card explaining how to use the library. We would like to maybe have this as a bookmark along with the pencils we have to give away and the note box for anyone who would like to leave us a message.
Again, I think this concept is awesome and gets everyone involved. Thanks for sharing your story!
Meredith says
Susan, that sounds so cool! Send a picture of how it turns out! I made up the flyers myself (more of a postcard size than a bookmark–but I LOVE the bookmark idea, maybe I’ll steal that!). Feel free to download and print! I’m excited for your library 🙂
Laura Ramos says
We are planning on making one. We also want to attach it to our tree, how did you attach yours?
Meredith says
Hi Laura! Love that you are going to start a library 🙂 This from my husband:
I used pressure-treated 2x4s and shims to level the face of the tree. Our tree has a huge dip in the side. The roof is touching the tree trunk, but I had to backfill the empty space between the trunk and the back of the library with several 2x4s. I attached these to the tree with 3 1/2″ deck screws. Then I screwed the library onto the 2x4s. Hope this helps.
Tammy Cockman says
Do you mind sharing a file for the flyer?
Meredith says
Of course! If you open the image in a new tab, you can print it from there! Thanks for checking out our library, Tammy 🙂
SJ says
Love this idea! Do you know if Little Free Libraries go outside of the United States? I am thinking of doing similar in my community in Jamaica.
Meredith says
I don’t know that, but I would be surprised if there aren’t little libraries outside of the US! I think it’s a great idea to do one where you are 🙂
Jane says
We love your design. What are the dimensions?