Summertime is project time! There is no better time to get projects done while you have extra hours of sun and beautiful weather to do it in. I already taught you all how to make beautiful chalk paint furniture, and how to stain furniture, so today I am going to teach you how to seal all of these stunning projects! Sealing and preserving wood in three easy steps is simpler than you think!
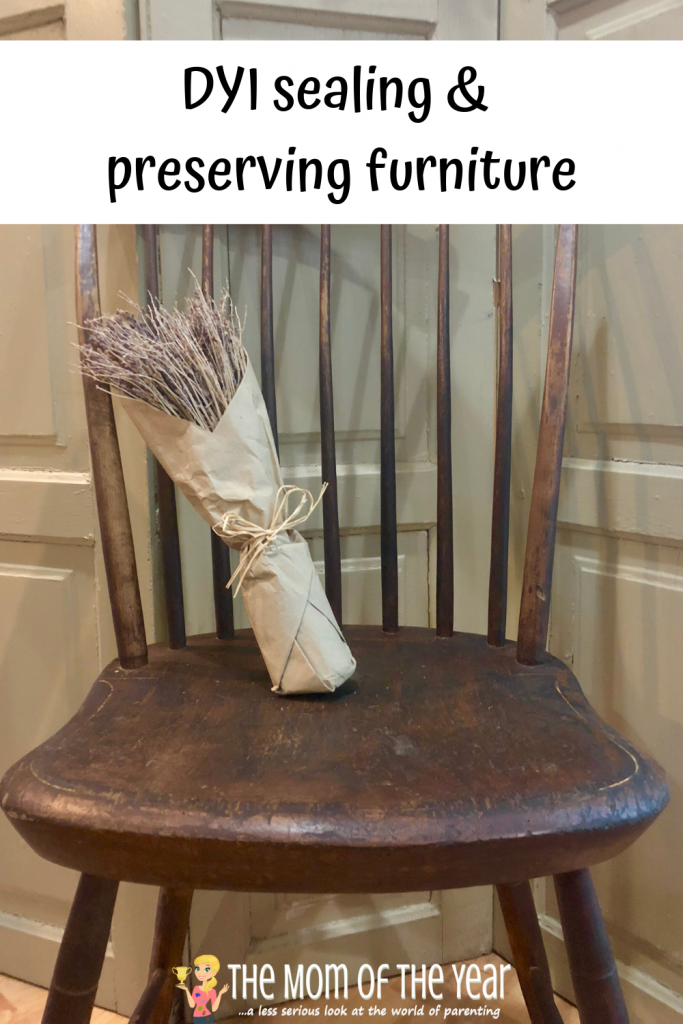
If you want your projects to last, sanding is an essential step. Since my post about chalk paint, I’ve been getting a lot of questions about how to exactly your seal project at the end so that the paint does not wear over time. With kids and pets at home, I always seal a project after completion. Not only will this allow for quick clean up well after copious unexpected messes, but it is also a quick process to help assure the piece I just spent time transforming will keep its luster for years to come!
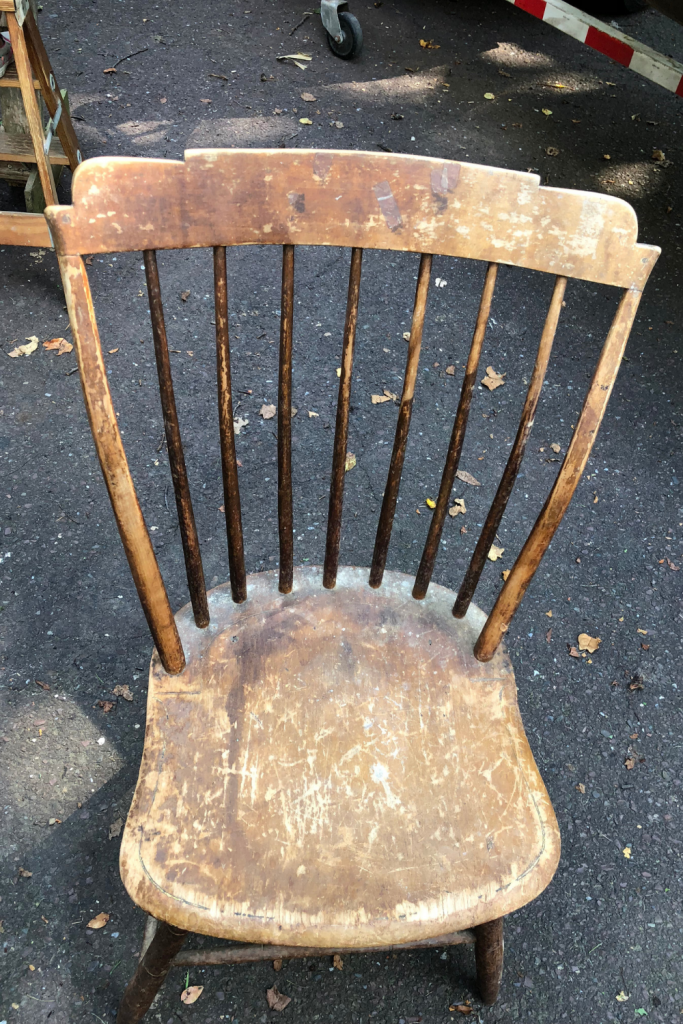
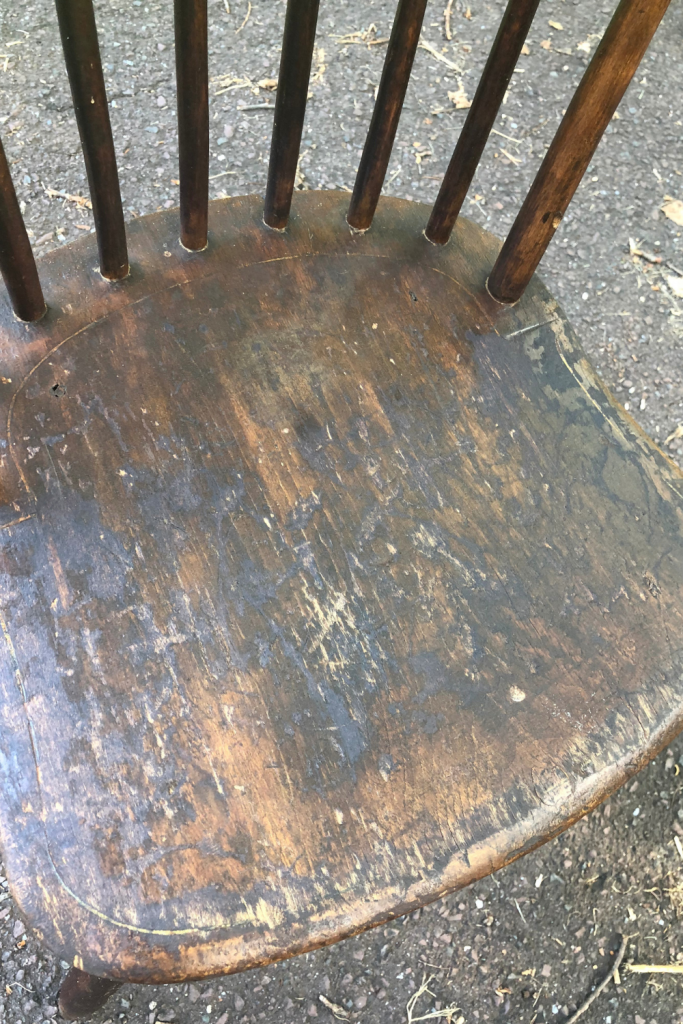
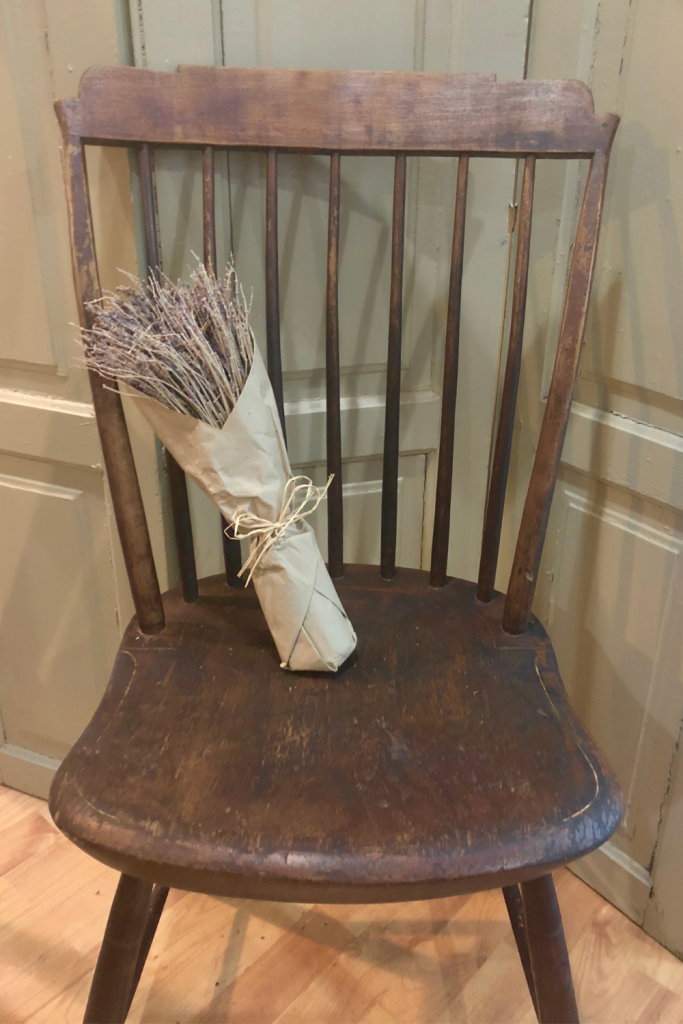
My newest project was to bring this old, beat-up chair back to life to use at my dining room table. After a good sanding and consulting this staining tutorial, the chair was already looking much improved! Once completed, I intended for this chair to sit at my daughter’s place at the table. She is not what I would call the cleanest of eaters, and I wanted to be sure that I could easily clean up the chair after mealtime. So, sealing and preserving wood with this chair was essential for this project and took me only three easy steps!
Sealing and Preserving Wood in Three Easy Steps
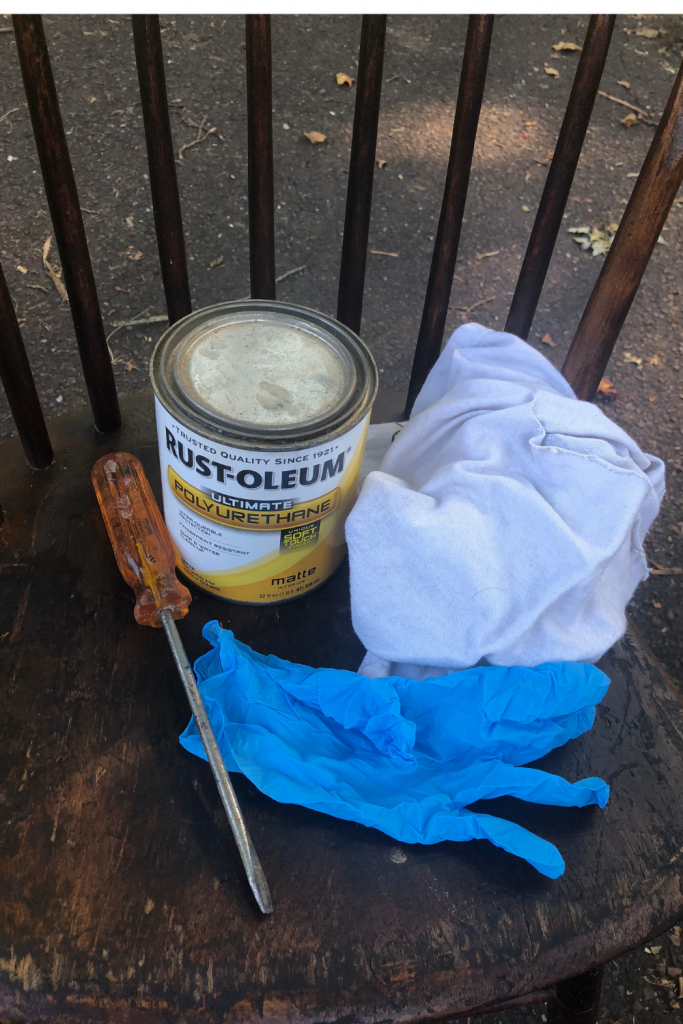
What you’ll need:
- Polyurethane
- Rubber gloves
- Soft Rag
*A note: Polyurethane is sold in different finishes so decide if you want your wood to have sheen or not. Personally, I like to purchase a matte finish so that my polyurethane doesn’t make my furniture shine.*
Three Easy Steps to Sealing and Preserving Wood
First, prep your wood. If you are sealing wood without painting or staining first, make sure all dust, dirt, and debris have been cleaned off the piece. Polyurethane will seal in everything so if you have any debris on your piece, you better bet it’s going to be visible after sealing! Clean your piece first so you don’t regret it in the end!
Second, apply polyurethane. Put your rubber gloves on (polyurethane is so hard to get off of your hands!), mix the container well, and get your soft rag ready.
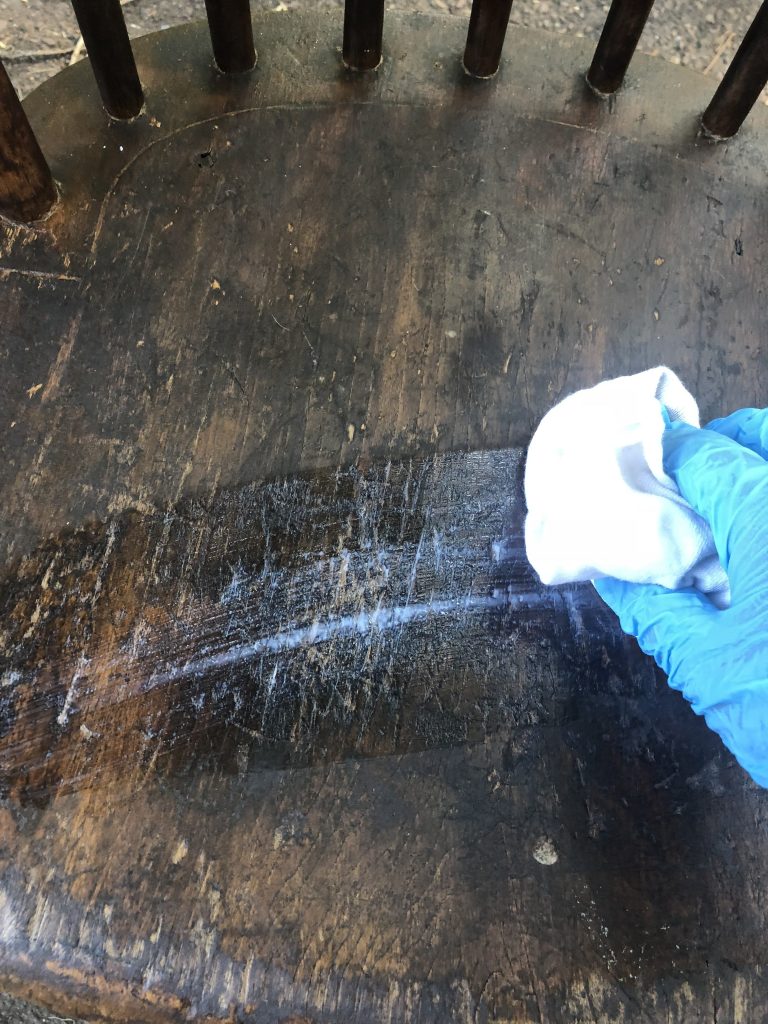
Personally, I prefer using a rag for this as if you don’t use an extremely soft paintbrush, you can have brushstrokes showing on your finished wood.
Slowly pour some polyurethane on your rag and begin to spread it on the wood with gentle back and forth movements. Polyurethane is cloudy-looking and may concern you at first, but as long as you spread it thinly and evenly, the cloudy coloring of it will turn clear as it dries. Continue to spread back and forth until the cloudy color begins to dissipate. I normally apply a second coat after the first dries for extra assurance.
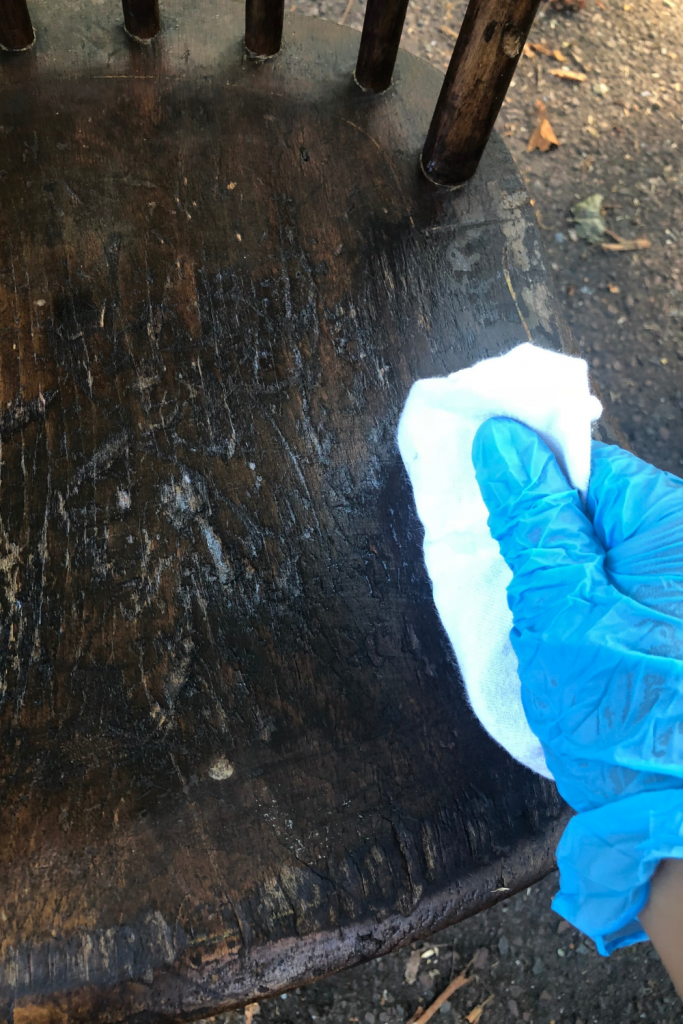
Lastly, let your wood dry. Summer is the perfect time for sealing and preserving wood as the sun should dry it within a day. Then you are ready to display your furniture in your home and enjoy your hard DIY work!
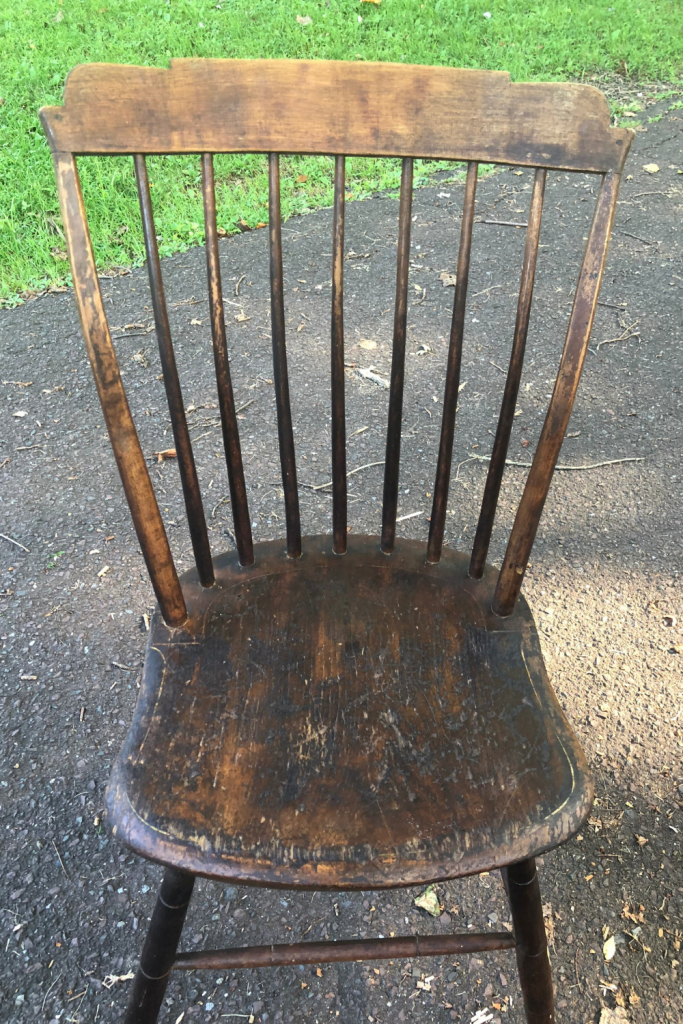
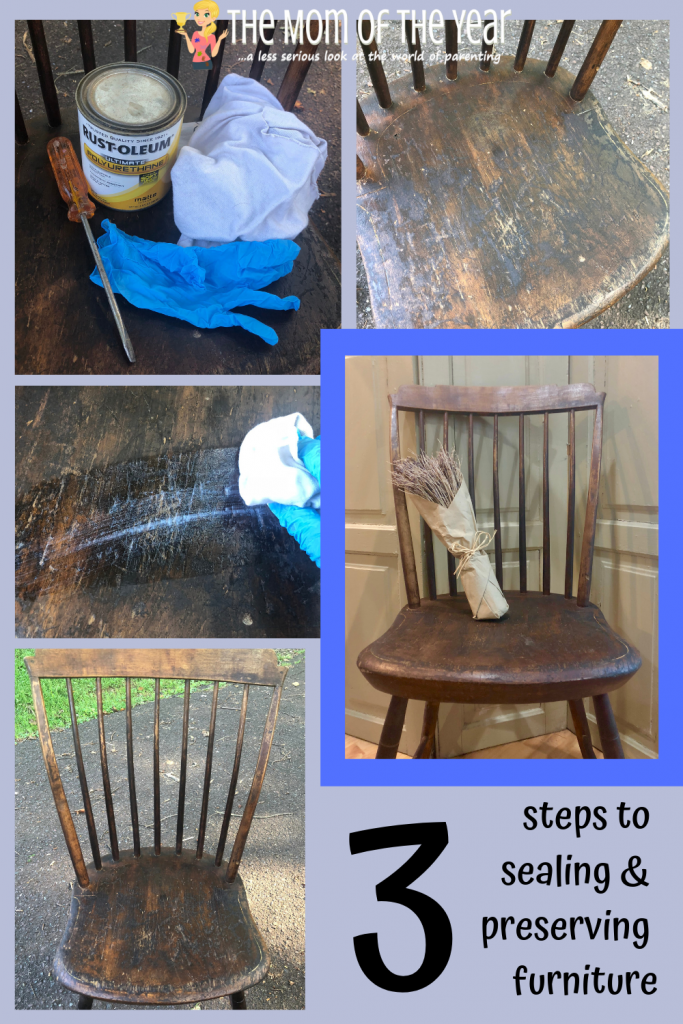
See how simple sealing and preserving wood can be? Sealing wood not only helps to keep it clean and preserved for many years to come, but it also gives it a beautiful, polished look that you wouldn’t otherwise have. Sealing is essential for any DIY furniture project you are planning, and now that you know how straightforward sealing and preserving wood is, why wouldn’t you do it?! Happy DIY my friends!
Latest posts by Meredith (see all)
- Somewhere Beyond the Sea Book Club Discussion - January 10, 2025
- Here One Moment Book Club Discussion - November 8, 2024
- Create Fun Halloween Decor with a Decoupage Pumpkin Craft! - October 21, 2024


Janine Huldie says
My dad totally did this to a wood desk when I was a kid. I had forgotten how easy it truly was though. So thanks for reminding me and also bringing me back, too!! 😉
Lindsay says
It is such an easy project and worth it long term to maintain your piece! Thanks for reading!
Eli@CoachDaddy says
This is awesome. I wish we could polyurethane everything the kids come into contact with! Me too, if I’m being honest.
Lindsay says
HAHA I hear you on this one! I Poly every single piece I do no matter where in the house it goes because nothing is spared from kid messes!