If you’re like me, you have hundreds of adorable photos of your children and not nearly enough room to showcase them. My shelves were becoming too full of frames and it’s a pain to frequently switch out photos in frames. I wanted a way to easily display and change photos while conserving space. Enter this easy DIY wooden photo hanger!
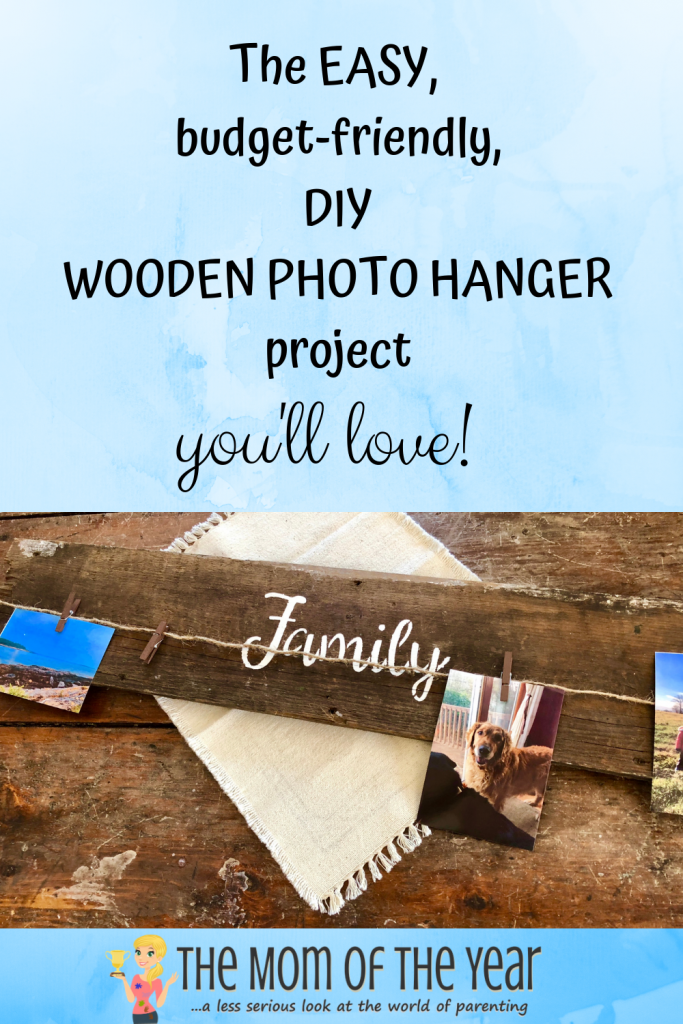
In under an hour, I created this beautiful piece that allows me to clip on multiple photos for display and replace them effortlessly! Made with items that can easily be found in your home or at a craft store, this DIY wooden photo hanger is a budget-friendly project that doubles as the perfect gift for any friend or relative.
Easy DIY Wooden Photo Hanger
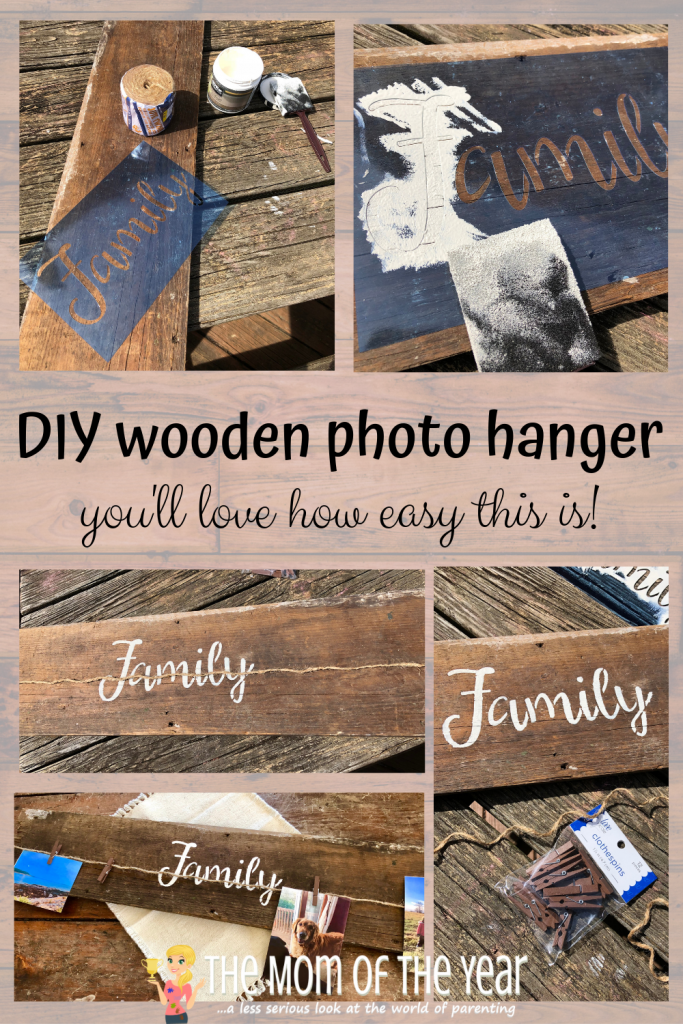
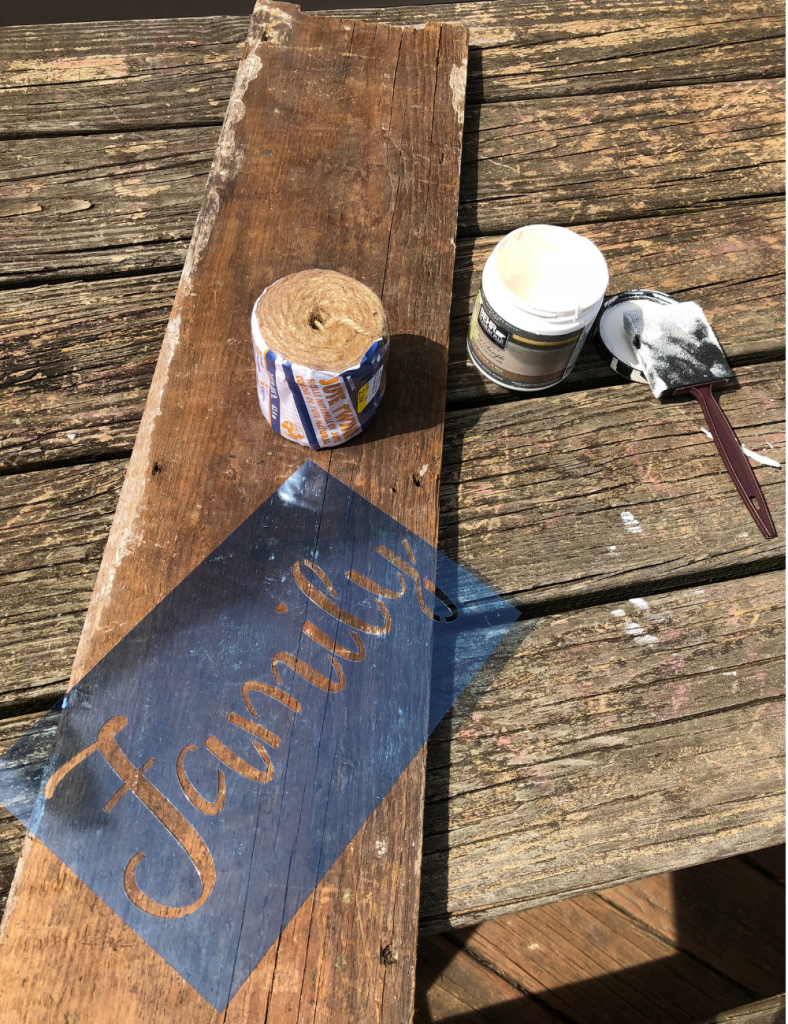
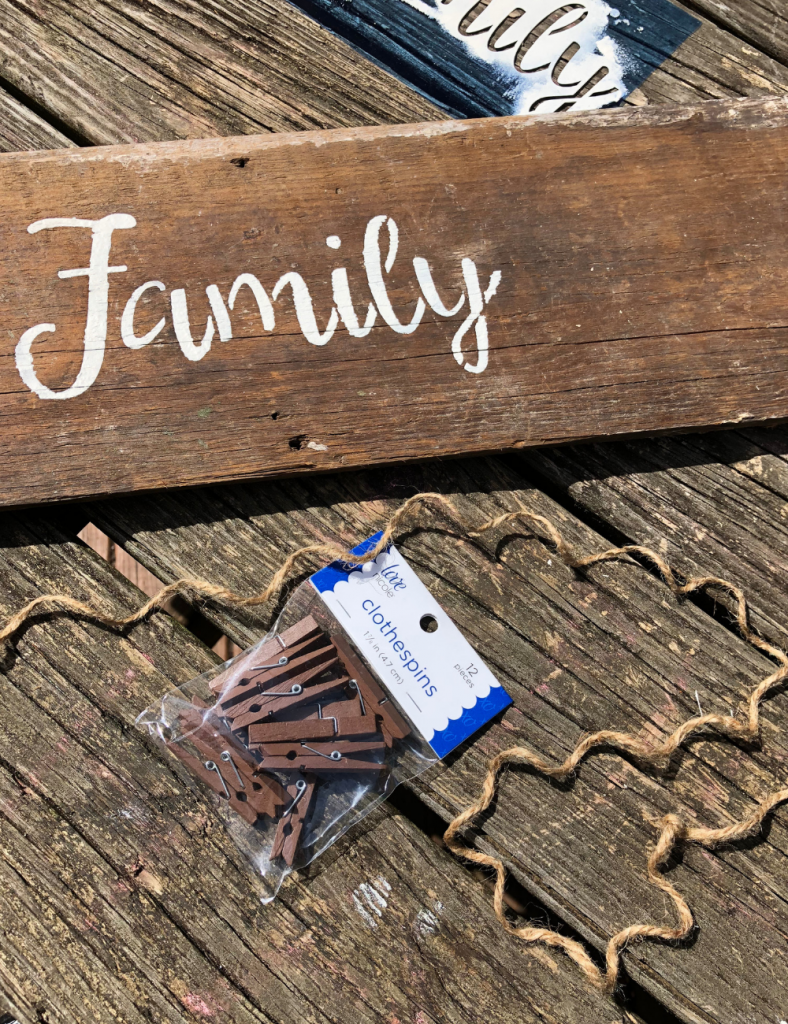
What you’ll need:
- Reclaimed wood cut to
desired - Leftover paint
- Foam brush
- Stencil
- Twine
- Mini clothespins (check out this sweet set with BOTH clothespins and twine!)
- 2 picture hanging brackets
- Small hammer
- Staples (staple gun optional)
Let’s get to work!
If you’re not using reclaimed wood, stain your wood to your desired color. New to staining? Here is a perfect staining tutorial to get you started!
Turn over wood and hammer two picture hanging brackets on either side. Having two will add more stability and security to your DIY wooden photo hanger.
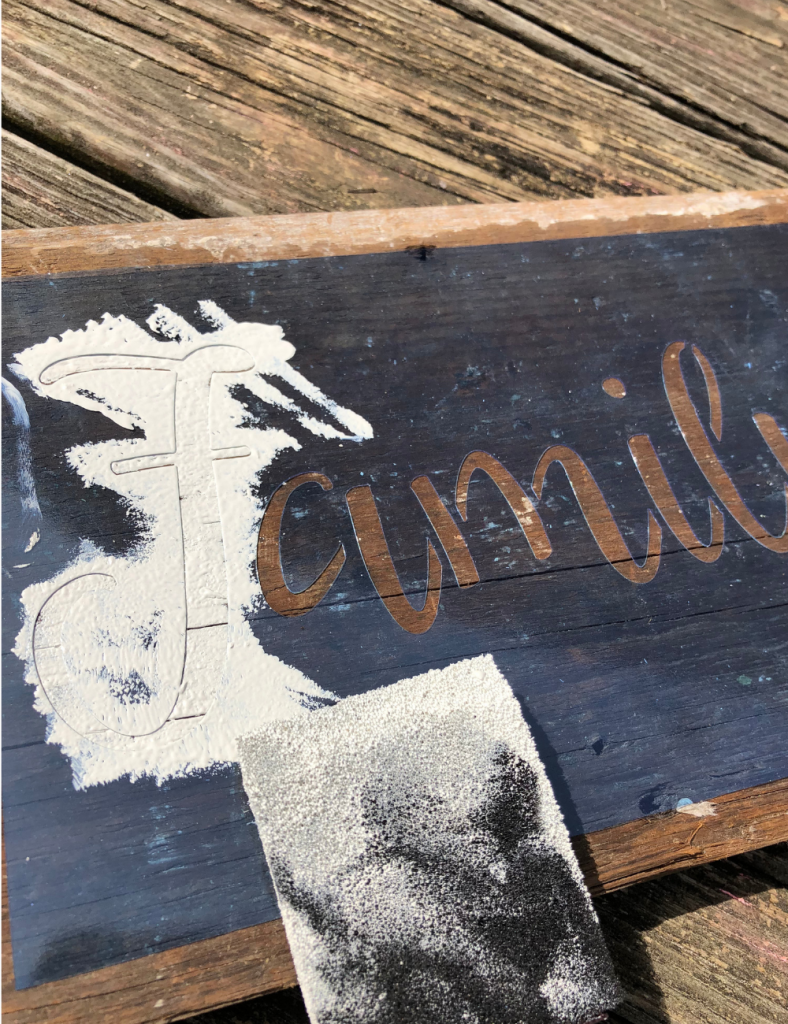
Place

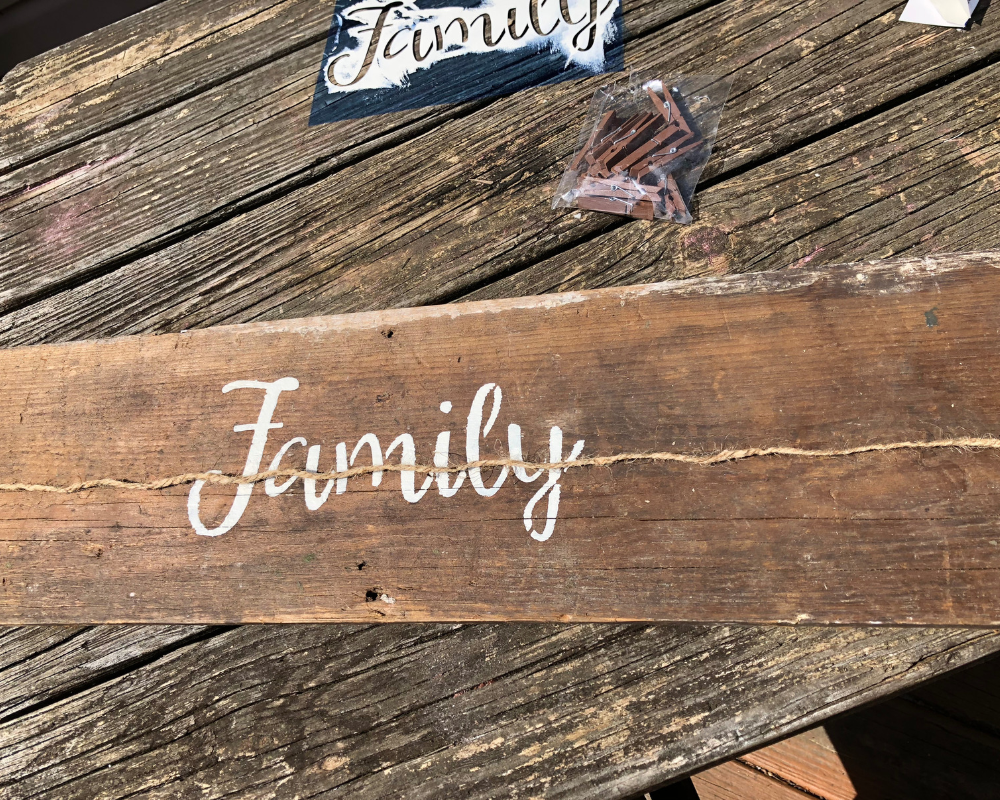
Once your piece is dry, decide how many pieces of twine you will be using and cut them to size. If your wood is large enough, you could even have two layers of photos. You will need the twine to wrap around the back of the wood when securing it so keep that in mind when sizing!
Take staples or a staple gun and on the back of your wood, secure your twine. If you do not have a staple gun, using a small hammer for the staples works well.
Clip mini clothespins to the twine.
Then comes the best part–choosing which photos to hang on your new easy DIY wooden photo hanger!
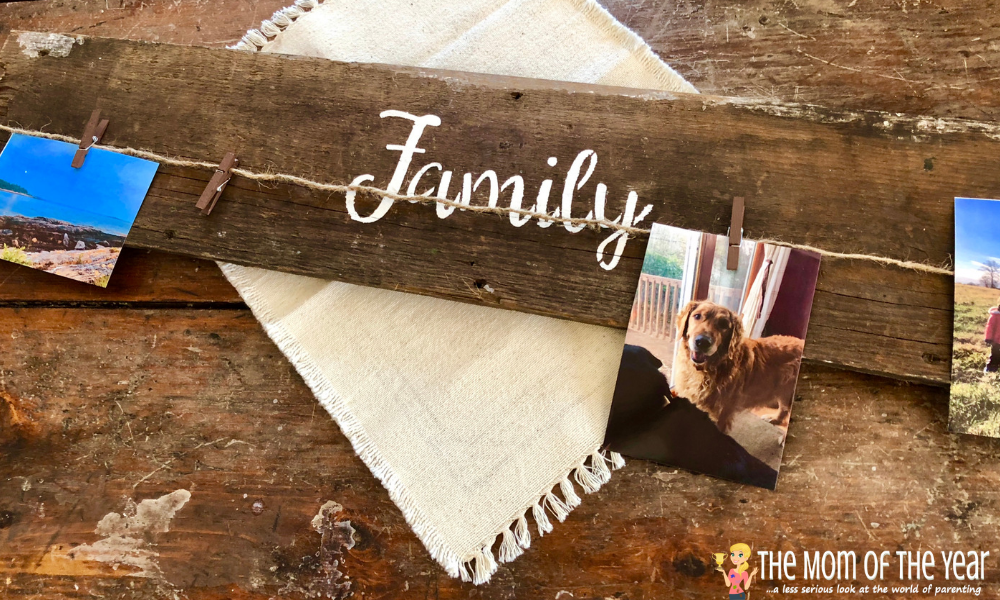
I love how this fits into the farmhouse theme of my home but also allows me to see my children’s silly photos. I can even hang school artwork from it as well! Changing out photos is super quick and my children love being involved by hanging their own photos. The best part about this photo hanger was how simple and easy it was to make. Now I can replicate it as gifts for family and friends that are sure to please.
Have fun crafting your own DIY wooden photo hanger, friends!
Lindsay H
Latest posts by Lindsay H (see all)
- Easy DIY Peel and Stick Tile Flooring for Under $100 - February 9, 2023
- Tips for Visiting Dutch Winter Wonderland in December - December 21, 2022
- Caring for a Leopard Gecko – All you Need to Know! - December 7, 2021


Janine Huldie says
Omg, this photo hanger is seriously so clever and ingenious. I need to see if I can try to make that here as yes we are running out of room to display our photos, as well. So, thank for the awesome way to display them 🙂
Lindsay says
I’m so happy that I can fit so many photos on here! My shelves were running out of room for all of those frames! (Not to mention the cost!)
Anne Metz says
I love this! It looks so easy too!
Lindsay says
It was my easiest project to date!