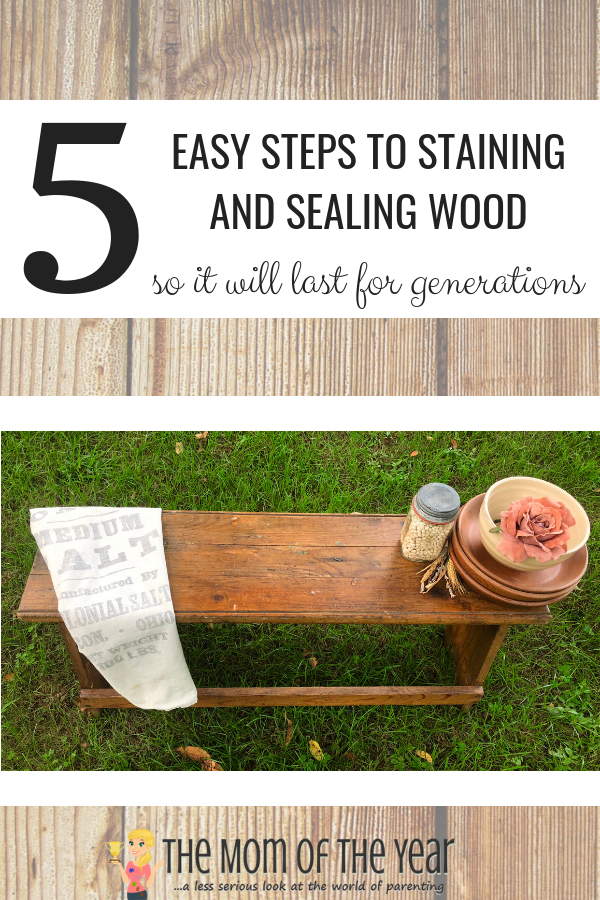
The intense summer heat is finally gone, and this cooling off allows for time spent enjoying outdoor hobbies. This is when I can dig into my DIY projects–so relaxing for me, especially when it comes to staining wood! I love to stain and seal wood so it will hold up well to the rigors of young children, pets and time. Of all of my fun DIY furniture projects, I find staining and sealing to be one of the easiest ways to repurpose an old item, and the forgiving nature of wood stain makes for minimal mistakes. My family has a bench that’s made its way through generations and is a bit worse for the wear. Years of knicks, paint, and worn-away stain have taken their toll. I was determined to bring this bench back to its former glory, and I did! Read on to learn exactly how to stain and seal wood to last for generations.
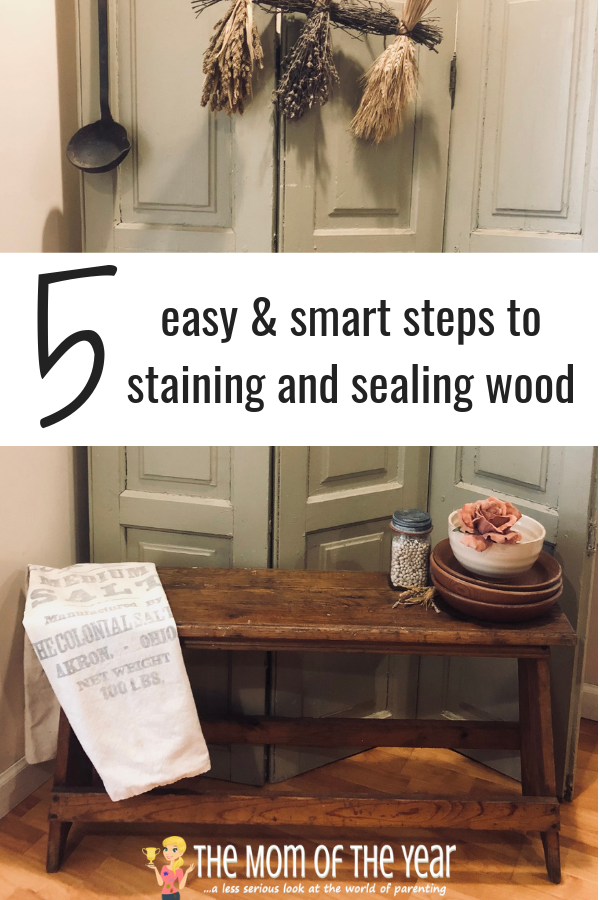
How to Stain and Seal Wood to Last for Generations
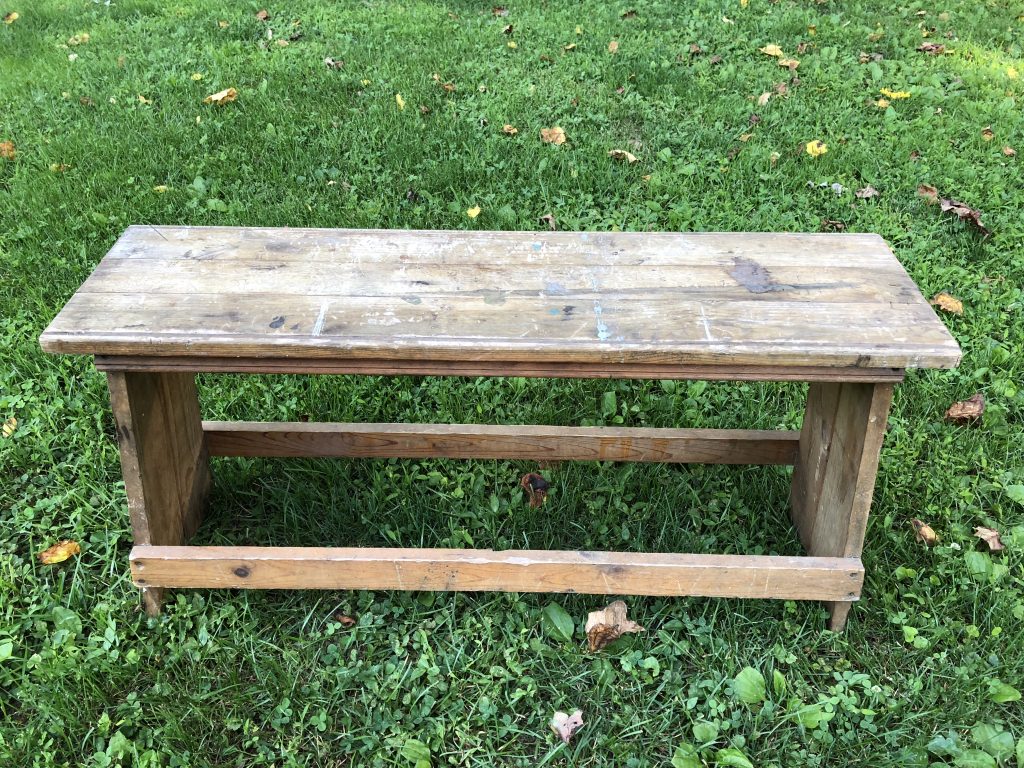
The BEFORE picture
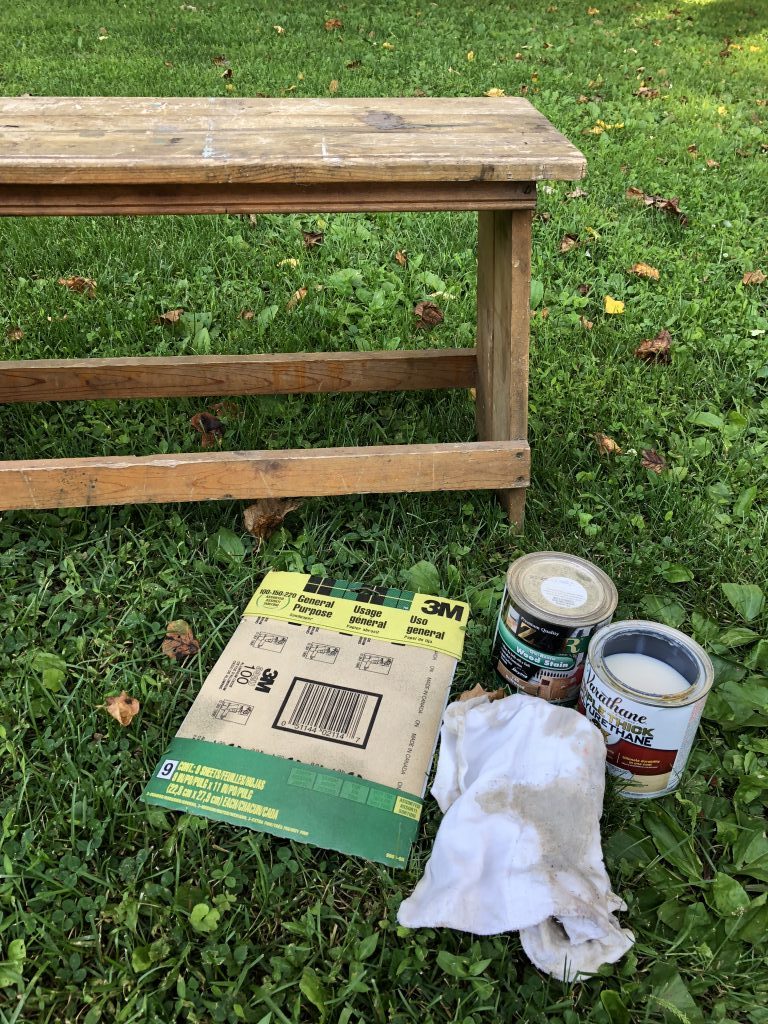
Prep your essentials
- Stain color of your choosing
- 2 old rags (old undershirts work the best!)
- Sandpaper
- Latex/rubber gloves
- Polycrylic clear sealer
Clean and sand your project
Stain will stick the best to a clean, sanded surface. Gauge how much sanding your piece will need and purchase the proper grit amount from there. My bench had many grooves and old paint on it so I needed a medium grit paper. Clean the wood with a damp cloth first, then sand with the wood grain for best results and no scratching.
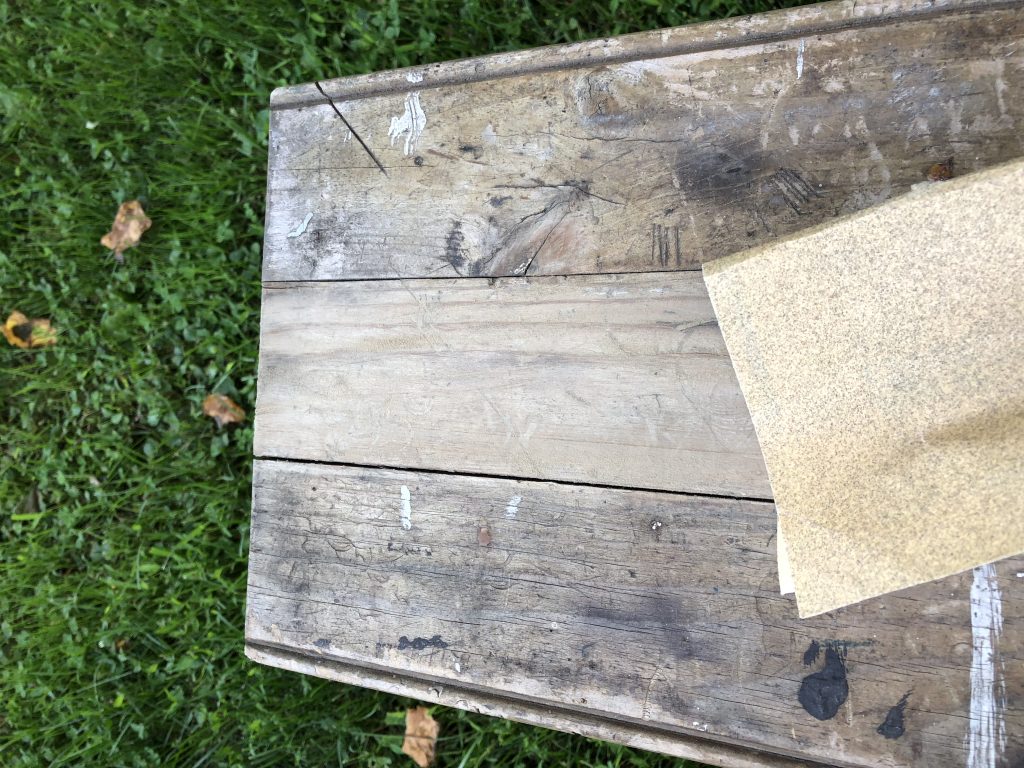
Sanding the bench
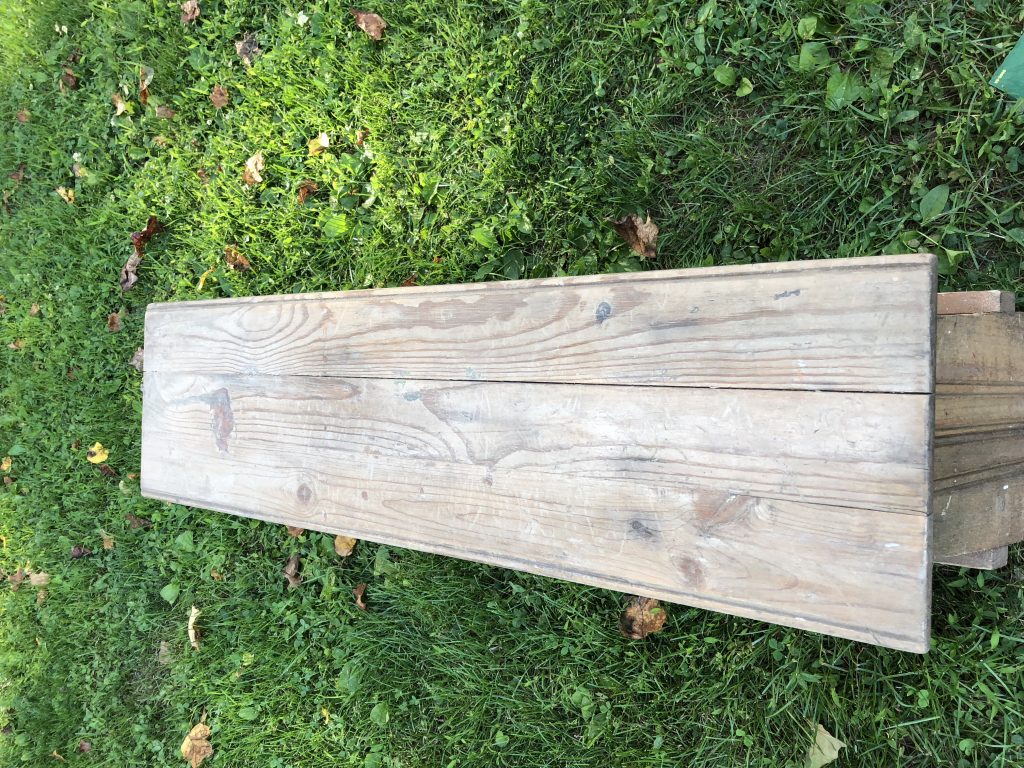
After sanding
Stain your project
I told you this was easy–we are already onto the main event! Gently shake your stain can before opening so the stain is mixed evenly. After opening the can, put on a pair of gloves (trust me on this; stain is very tricky to remove from skin), and dip your rag into the can. Begin to smoothly rub stain in with the wood grain. The trick is to not only move with the wood grain but to keep a constant movement, so the stain won’t pool onto the wood or you will have dark spots. Continue the movement until the entire piece is covered.
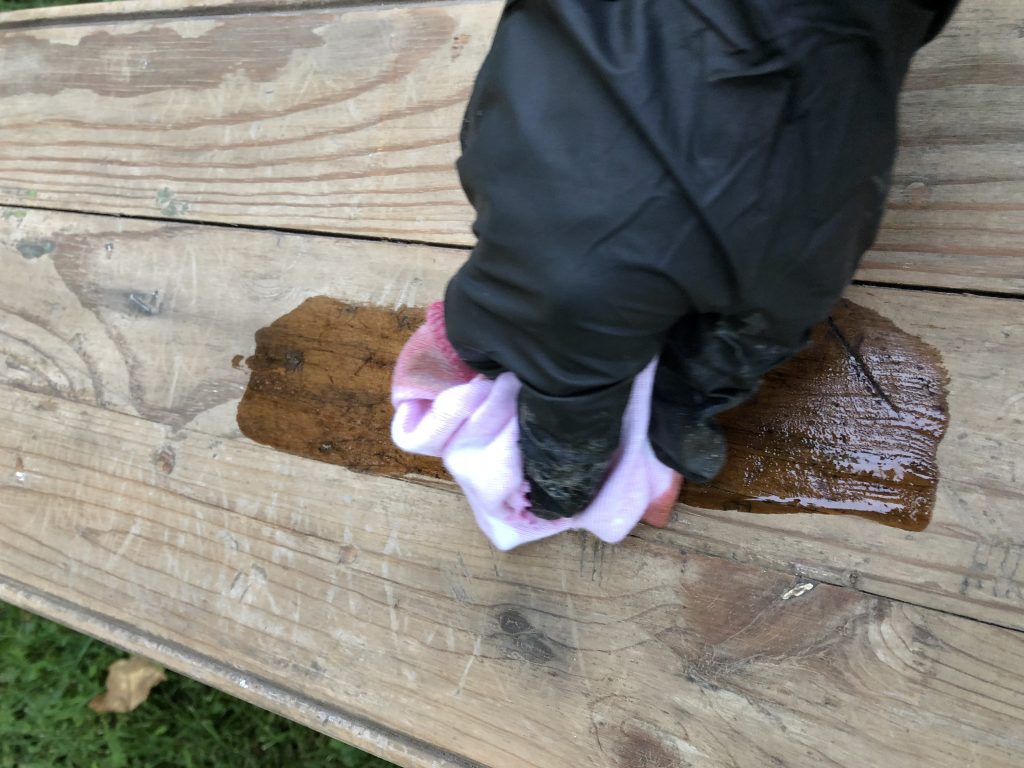
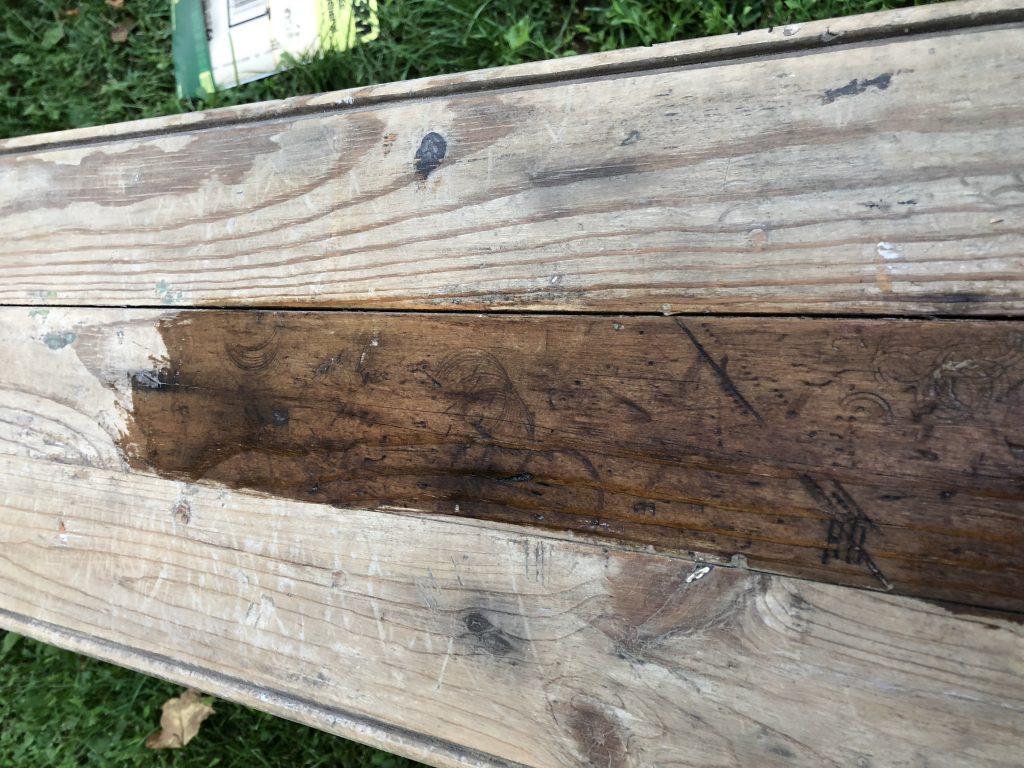
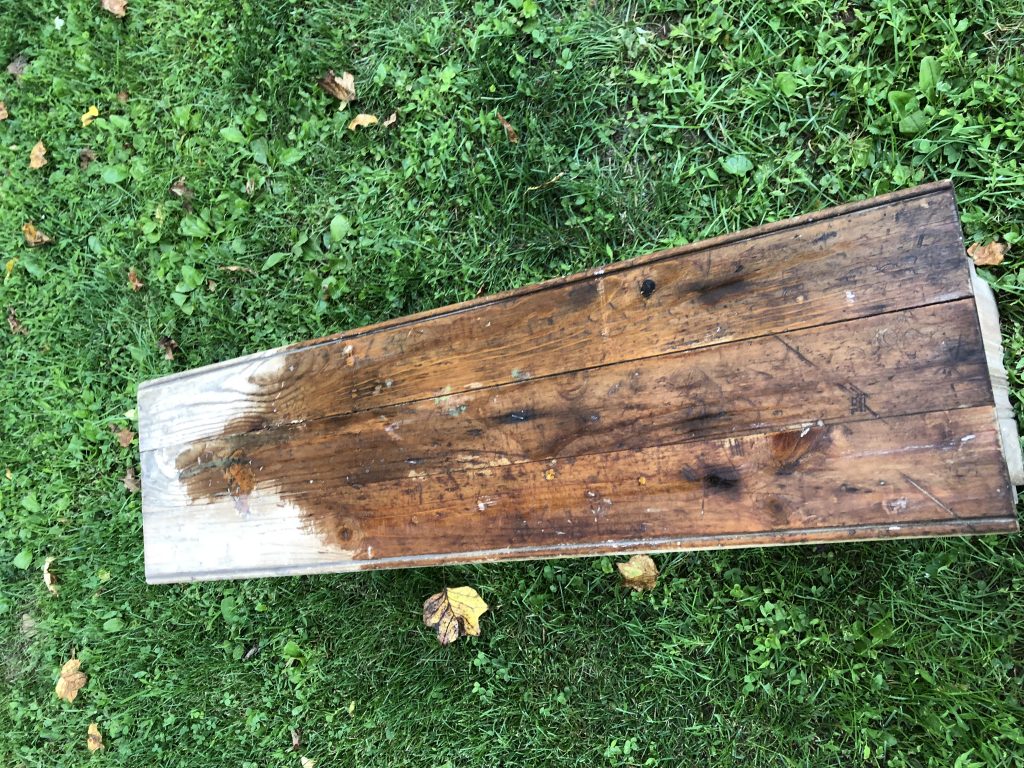
Repeat the stain
If you want your piece even darker, repeat the staining process after the first layer has dried. If not, skip this step!
Seal your wood
After your piece has completely dried (wait overnight at least), you are ready to seal. When using polycrylic (poly), it is much the same process as staining. Place gloves on, dip rag into the poly, and you can begin to smoothly rub in the poly with the wood grain. For poly, it is important to not layer too heavily or your wood will look dull and chalky. If you still feel you need more after a light layer, let the piece dry and repeat with another layer or two.
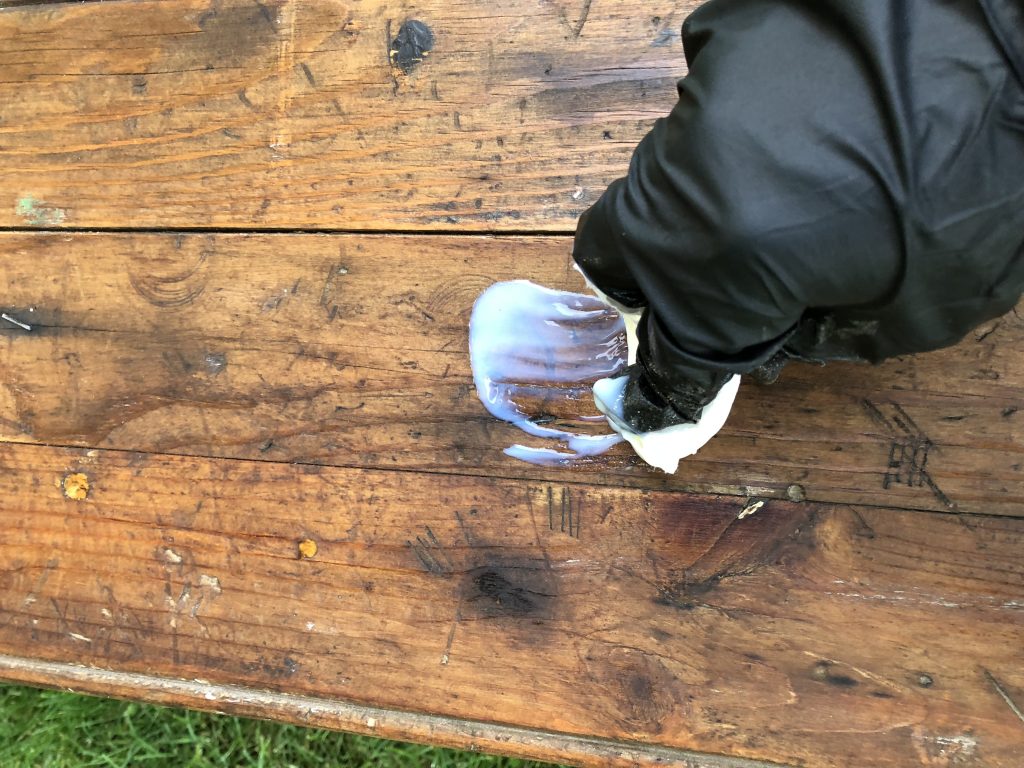
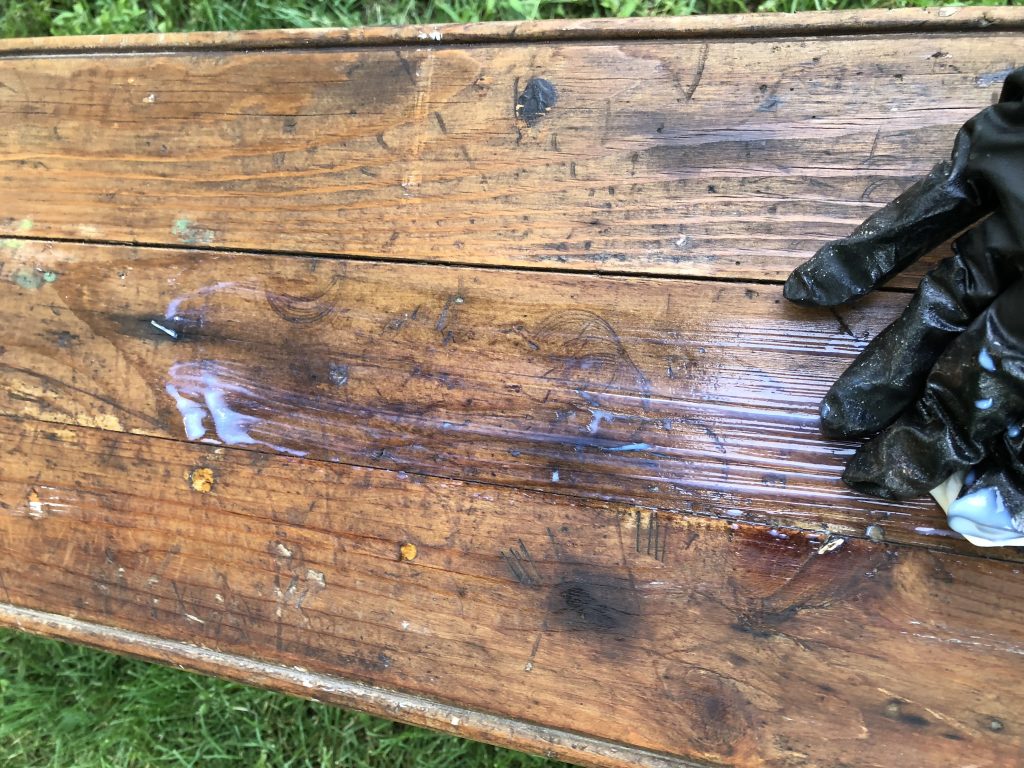
Admire your piece!
Stain never fails to wow me. In a few simple steps I restored this old bench into an entirely new, bright, seat and I couldn’t be happier to keep it in my family knowing the stain and seal will last for generations.
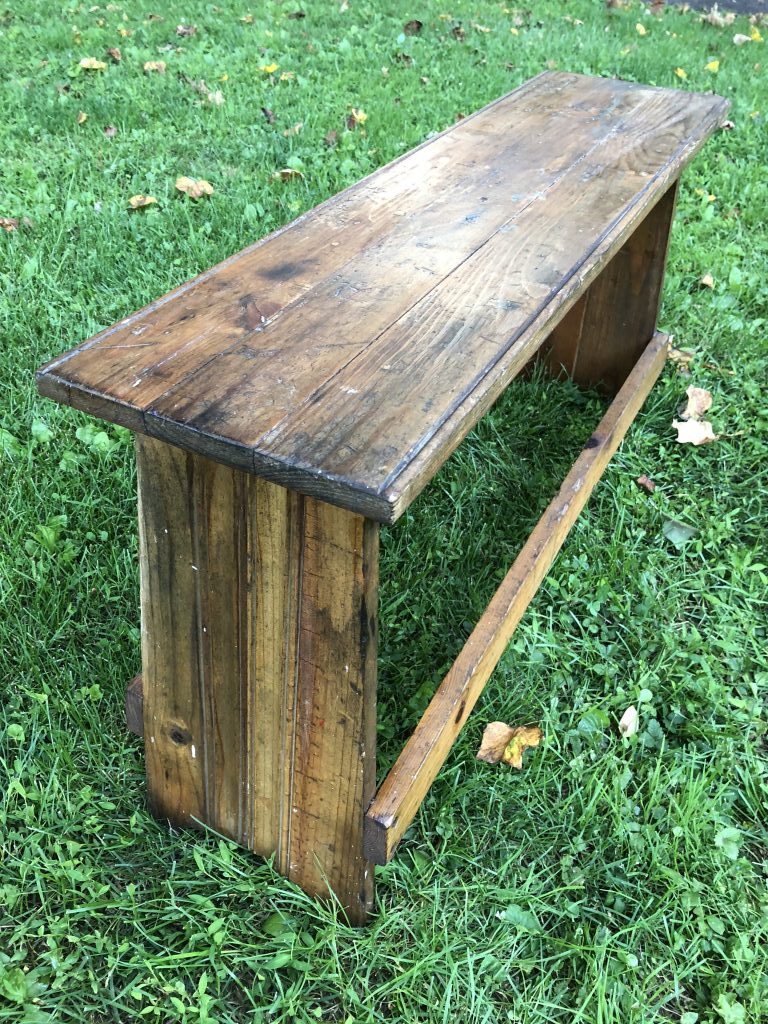
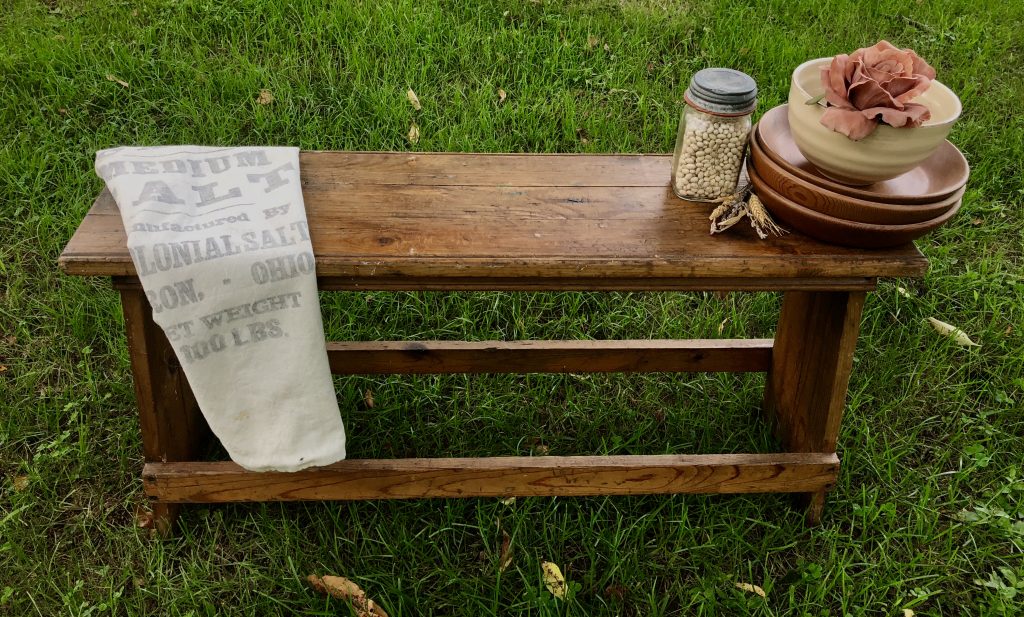
Have a wooden piece that needs a new life? These quick and smart DIY stain and seal tips will help your piece last for generations to come. Staining is also the perfect first project if you are new to the DIY world–I’m sure you’ll love it and soon be eager to tackle another project!
Lindsay H
Latest posts by Lindsay H (see all)
- Easy DIY Peel and Stick Tile Flooring for Under $100 - February 9, 2023
- Tips for Visiting Dutch Winter Wonderland in December - December 21, 2022
- Caring for a Leopard Gecko – All you Need to Know! - December 7, 2021


Janine Huldie says
Omg, your wooden bench piece came out gorgeous! And thank you for the wood staining tips. I will definitely keep them in mind here for future wood staining projects now 🙂
Lindsay says
Thank you! Glad it is helpful!
Anne says
That bench is beautiful!!
Lindsay says
Thank you!