If you’ve ever considered a chalk paint makeover for your furniture, but were a little nervous about it–don’t be! It’s fast, easy, and gives you that cool farmhouse look. I completed this desk makeover in my free moments over just a week and I’ll take you through this project step by step.
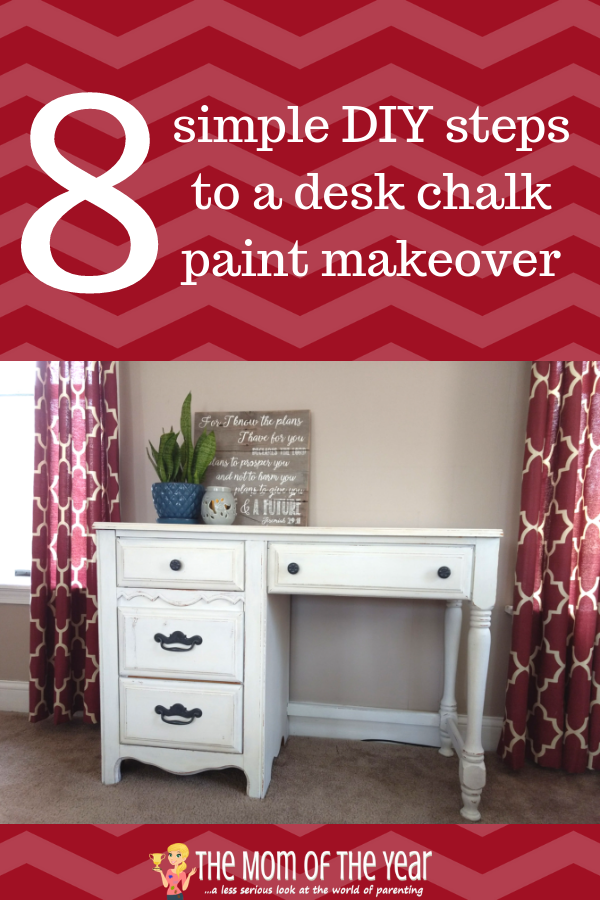
I bought this desk a few years ago with the intention of painting it, but I never got around to it. Plus my experience with painting furniture white was with latex paint and let me tell you—that’s quite a process! So much sanding, so much priming, so many coats of paint, and so many coats of polyurethane! Using chalk paint and wax was faster, easier, and eliminated the need for extreme sanding.
Steps to a DIY Desk Chalk Paint Makeover
1) Remove Drawers and Hardware. This is a fairly simple step and can be accomplished simply with a screwdriver. I put the gold
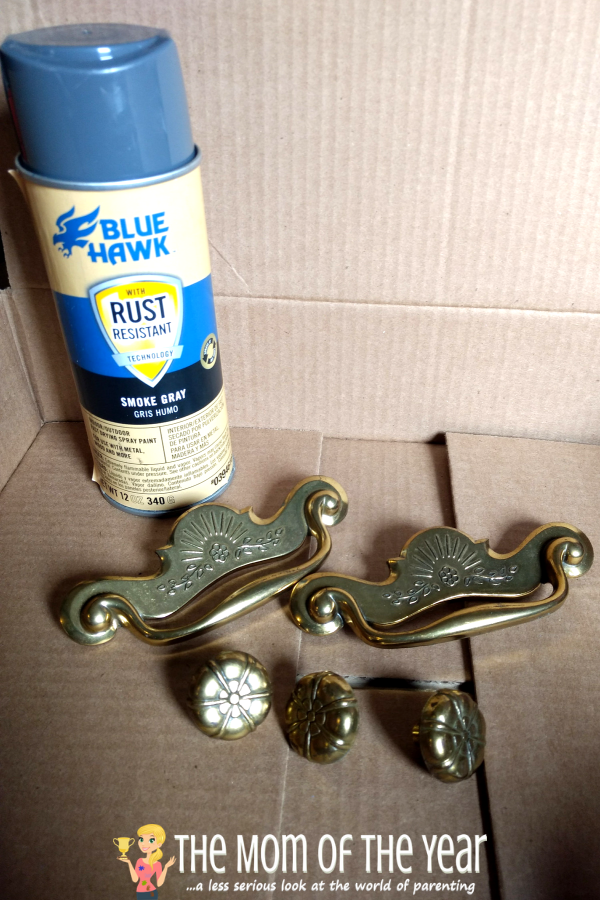
hardware aside to be re-painted a dark gray.
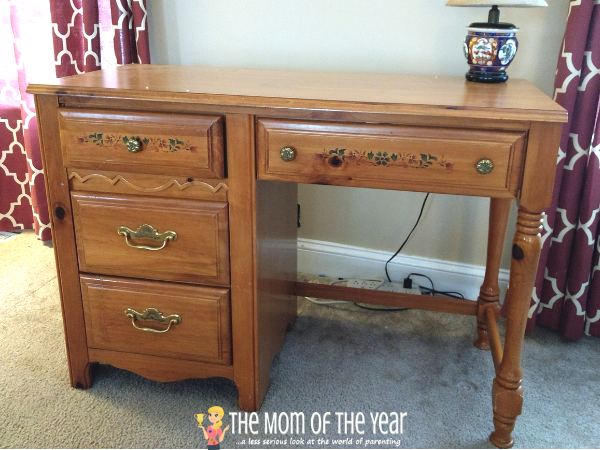
What desk looked like before the chalk paint makeover
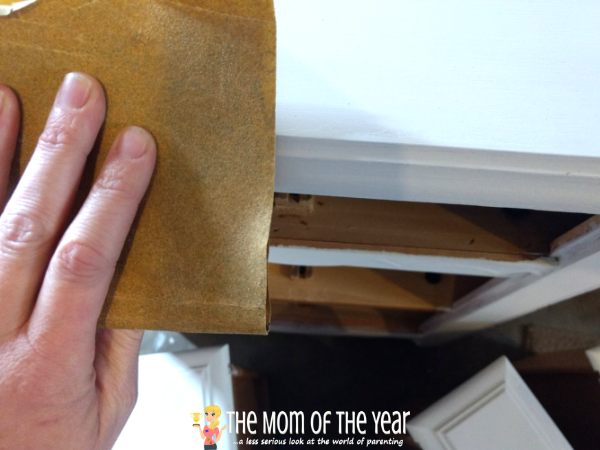
2) Clean and Lightly Sand. The first thing I did was wipe off all the dust and cobwebs with a clean cloth. Technically, you don’t need to sand your piece before you paint with chalk paint, but I did anyway. I think I’m just conditioned to believe that furniture must be sanded before it’s painted and my brain wouldn’t let me not! But, I really only did a quick, light sanding. Then I wiped all the dust off again with a
clean towel.
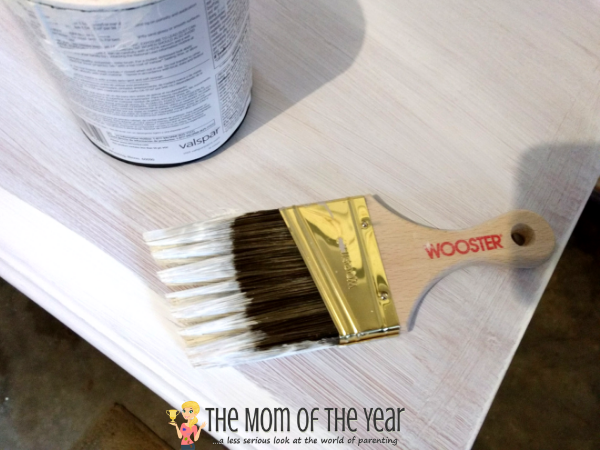
3) Paint On First Coat. I used Valspar Chalk Paint in Kid Gloves (you can also make your own chalk paint!) The color painted on a little lighter than I was expected and I started to panic a little. But not to worry, it darkened up nicely after I put the wax on. I put the first coat on and it looked pretty sparse and didn’t cover very well. If you are at this stage of your project, don’t worry! You won’t need to do a ton of coats, the second coat will cover far more than the first. Chalk paint is great because it doesn’t take long to dry (unlike latex paint), but you do want to make sure it dries completely before starting your second coat.
4) Apply Second Coat. I was surprised at how nicely the second coat went on the desk! Since the first coat was so sparse, I was worried I would have to put on four or five coats, but this wasn’t necessary. Again, let your piece dry completely before moving on to the next step.
5) Distress Your Piece. This is when this chalk paint makeover gets fun! To distress your piece, use a fine or medium grade sandpaper. Chalk paint is dry and flaky and will come off easily so you don’t need a heavy grit. Also, use a light hand as you are sanding, so you don’t remove more paint than you intend. Take off as much or as little as you want depending on how distressed you want your furniture to look. I wanted this desk to look only slightly worn so I sanded lightly around all detail areas, existing gashes and dents, and in places where the desk would naturally receive wear. And don’t worry if you take off too much paint–you can always add a little chalk paint and start again!
6) Apply Finishing Wax. To finish the piece I chose Minwax Finishing Wax. I actually bought both Natural and Dark. Natural will let the color of your piece show through and Dark will make it look a little darker and older. I decided to wax the desk with Natural and then go back with the Dark and add it over the distressed areas to make them look a little more antiqued. To wax your furniture, apply with a clean white cloth, then buff. I did two coats of Natural wax all over the desk, except for the top to which I added a third coat. I went back in with the Dark wax and using the same process, applied it only to the areas I distressed.
7) Spray Paint Hardware. The original hardware were brass and looking pretty beat up so I decided to spray paint them. I happened to have a can of dark gray spray paint by Blue Hawk. I couldn’t find a link to it, but here’s a similar one. I put the hardware in a box and coated lightly with spray paint. I had to do about three or four coats I think. I finished them off with a coat of polyurethane for added durability.
8) Put the Desk Back Together. The last thing I did was put the hardware back on and put the drawers back in place.
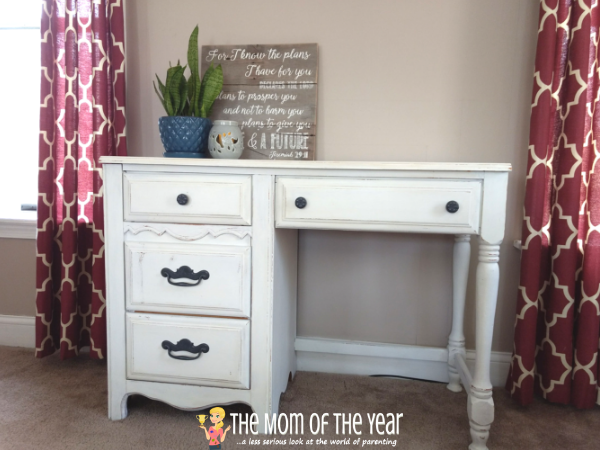
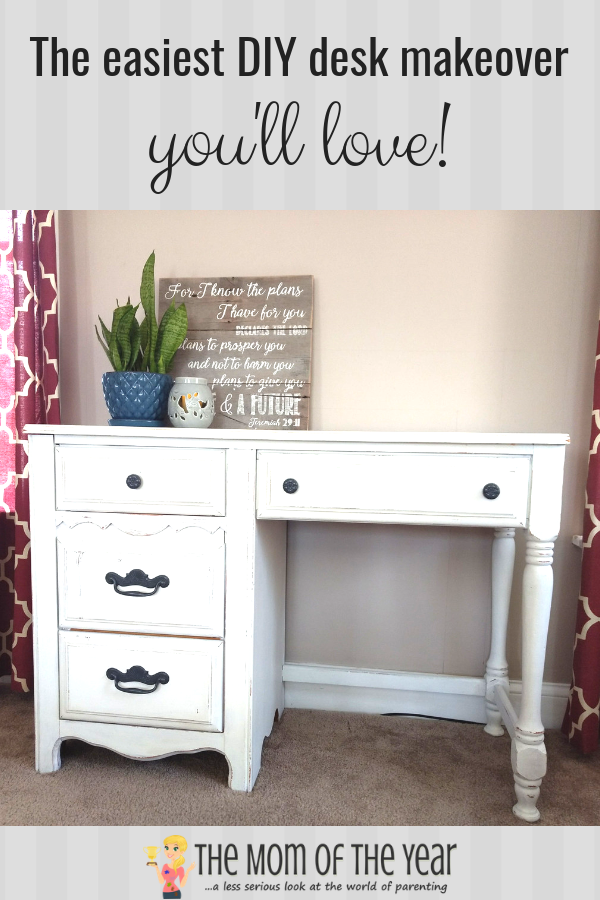
And that’s the entire DIY desk chalk paint makeover! I am so pleased with how this desk turned out. I love how it looks in our living room and am enjoying finding pieces to display on it, like this farmhouse sign from Cottonwood. Now that I know how easy it is to use chalk paint, I’m sure I’ll be doing a chalk paint makeover to more pieces in my house soon. It’s starting to look like Joanna Gaines was in my living room–score!
For another sweet way to refresh your space, check out this easy cleaning how-to from Wayfair!
Latest posts by Anne Metz (see all)
- 3 Super-Smart Tips for Teaching Kids to Manage Money - October 2, 2019
- Painting Metal Patio Furniture How-to - June 28, 2019
- 4 Budget-Friendly Upgrades for a Fun Backyard - May 17, 2019


Janine Huldie says
I have a friend of my younger daughter’s mother who does this and has actually been making money doing it. The pieces look so nice, but truly never knew how easy it is to do this though. Loved seeing how she most likely does this and maybe I could even give something like this a try, too! 🙂
Anne says
It’s so simple Janine! You could totally do it!
Paulette says
I have this exact desk. I was going to refinish it for my son but couldn’t decide if I should use chalk paint or lAtex. Your desk came out so nicely I’ve made up my mind to use chalk paint. Thank you.
Anne says
I’m so glad this helped you make up your mind Paulette! I think you’ll be happy with the chalk paint! I’ve painted tons of furniture with latex and I really prefer this! In fact, I’ve recently re-done my coffee table and TV stand because I like the look so much!