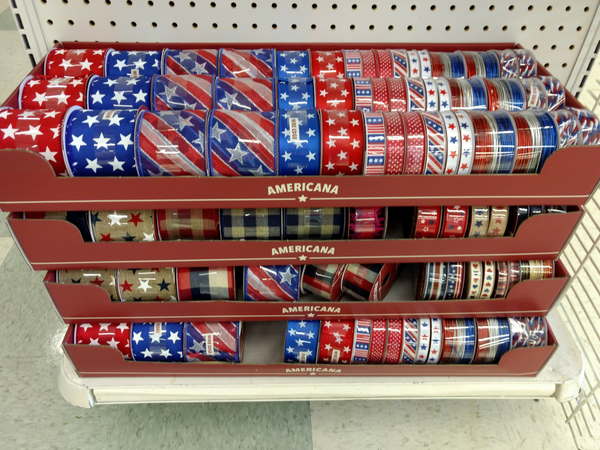
I love fun hair bows, barrettes, headbands, and other accessories for my three little girls, but I’m also on the cheap side so I don’t like paying for them! I especially don’t like paying for holiday hair accessories that my girls will only wear once a year. So I decided to make my own! Since 4th of July is coming up I headed to the craft store and stocked up on patriotic ribbon and got to work. Here’s a step by step guide for making your own DIY Patriotic Hair Bows!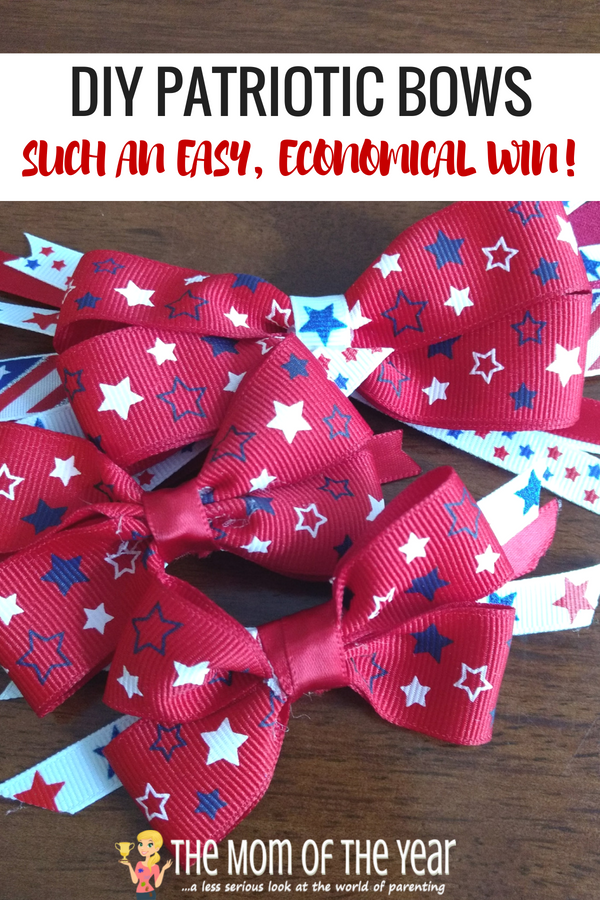
DIY Patriotic Hair Bows
Gather Your Supplies:
For this DIY Patriotic Hair Bows project I grabbed some new ribbon and also used some I had leftover from a 4th of July Noisemaker craft we made last year. I used these sizes:
- 1 roll ⅞” ribbon
- 1 roll ⅝” ribbon
- 3 rolls ⅜” ribbon

The other supplies you’ll need:
- Fabric Scissors
- Glue Gun
- Felt
- Ruler
- Pipe Cleaner (or thin wire)
- Something to attach the bow to–I used alligator clip barrettes for the two small bows I made and ⅝” fold over elastic to make a headband for the larger bow.
Make a Bow Using Your Fingers
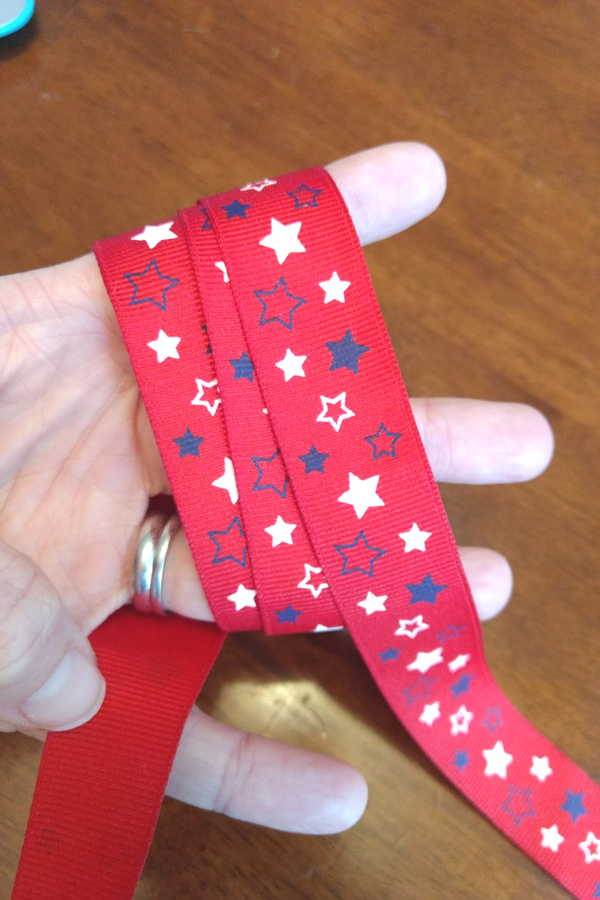
To start, I grabbed my largest ribbon, the ⅞” to make a double bow. With the plain side facing you, slip the end of the ribbon, still attached to the spool, in between your ring and pinky finger. Then, wrap the ribbon towards you, three times around your three fingers. The more you spread your fingers out, the bigger your bow will be.
Using your free hand, pinch ribbon in the center and pull off of your hand. (I couldn’t take a picture of this because I didn’t have a free hand and my family wasn’t home when I was making these!)
Then you want to slide the ribbon loop on your left inside the other two loops. It should already be slightly inside the other two, just slide it in until you can only see the two loops on the right.
Secure Bow With Wire (or Pipe Cleaner)
Now you want to pinch the ribbon from the top down, to make it look like a bow. Here you can see that it’s really starting to look like a bow and not just ribbon! Then, snip off the bottom with your fabric scissors.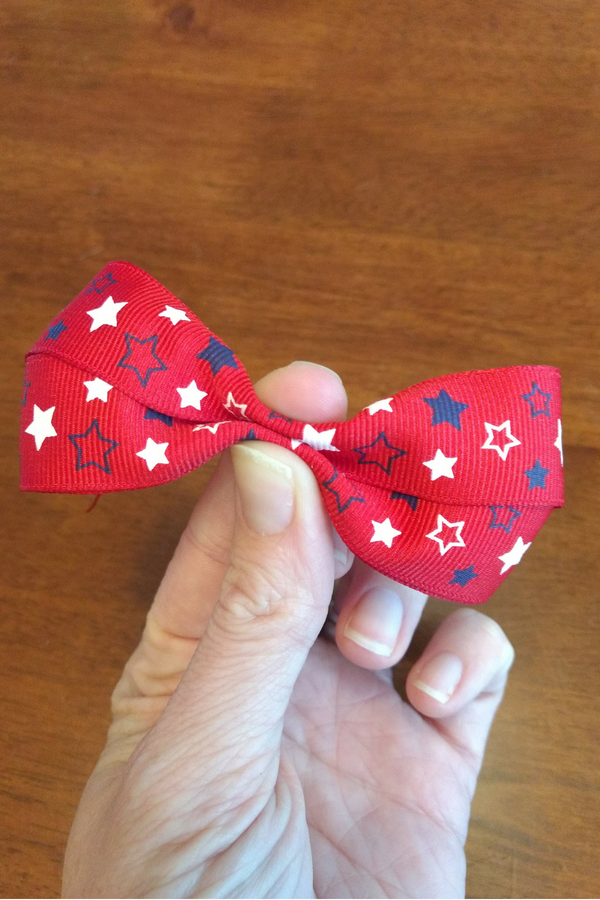
Then, take your pipe cleaner and wrap it around the pinched center tightly. A small wire might even work better, but since I didn’t have any on hand, I used a pipe cleaner. Once you wrap the pipe cleaner on, press flat and snip the end off.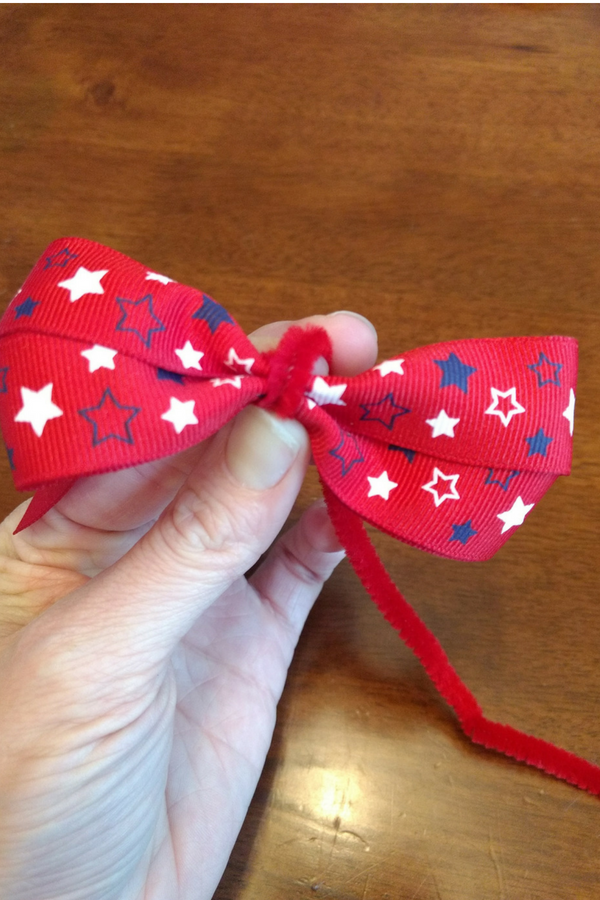
Snip Off The End of the Ribbon
Snip off any extra length of ribbon that you don’t want to show.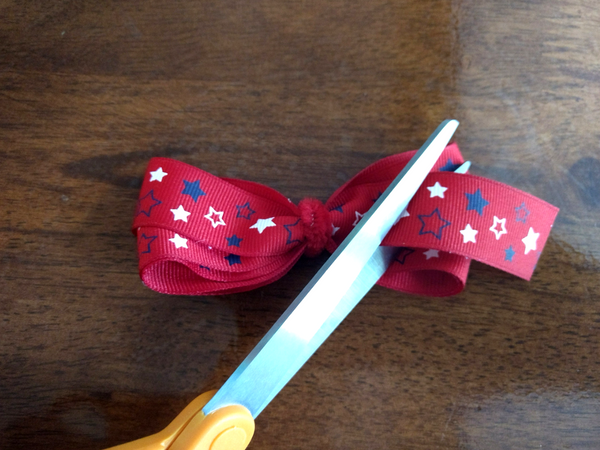
At this point you can heat seal the cut edge of the ribbon so it doesn’t fray. You can do this by quickly passing a lighter along the edge.
Make A Base For the Bow
Since I wanted a “stacked” bow, I decided to use my accent ribbons to achieve this look. The bow that I made came out to be 4”, so I cut my accent ribbons slightly larger, about 6”. I cut out 1 piece of my ⅝” ribbon and 2 pieces of each of my ⅜” ribbon. Then I snipped the ends into V’s and heat sealed the edges. I laid them out just how I wanted them to look underneath the big bow.
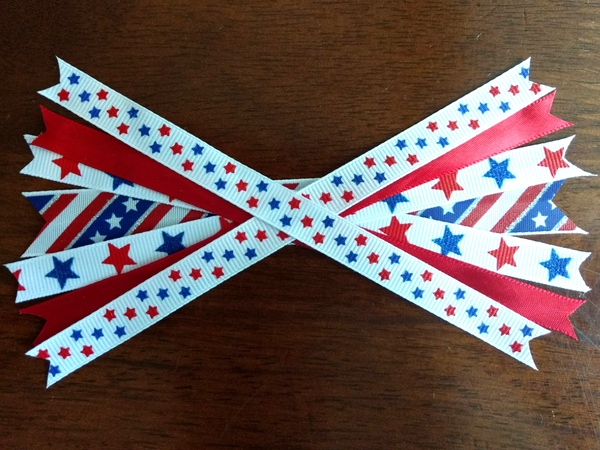
I took another piece of pipe cleaner in the center to hold them all together.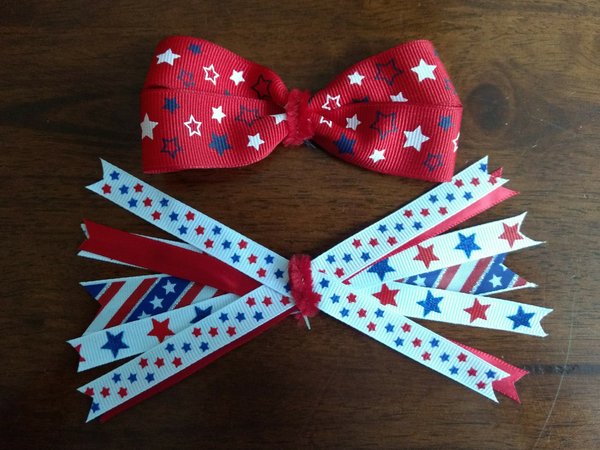
In hindsight, using the pipe cleaner kind of pushed them all a little closer together than I originally hoped. The next time I make a bow, I might secure the middle of the accent ribbons with either thread or a hot glue gun to keep the original shape better.
Glue Bow to Base
This was the easiest step so far. I simply glued the bow to the base of accent ribbons with a dab of hot glue.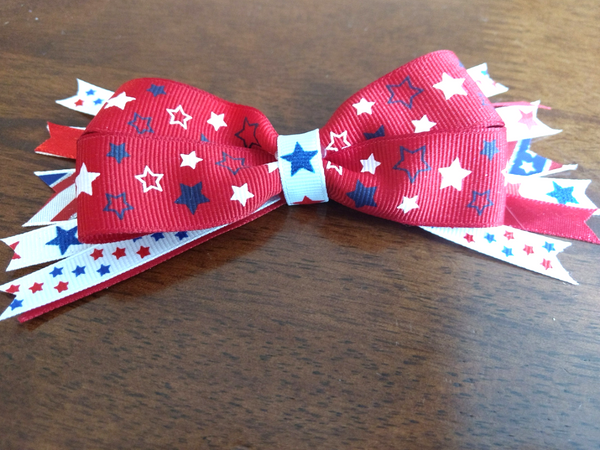
Wrap Accent Ribbon Over Center of Bow
I chose one of the accent ribbons to wrap over the center of the bow and used hot glue to secure it in the back. You can use a piece of the same ribbon you used to make the original bow if you want a more uniform look. You might need to just fold the ribbon to make it a little smaller to fit nicely over the center.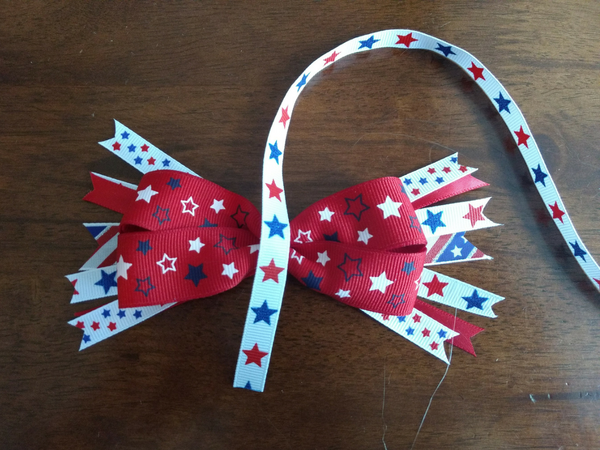
Attach Finished Bow to Barrette or Headband
To make my headband, I used fold over elastic. I measured my daughter’s head and cut a length that would be a good fit, not too tight, but tight enough to stay on securely. Then, I hot glued the ends together.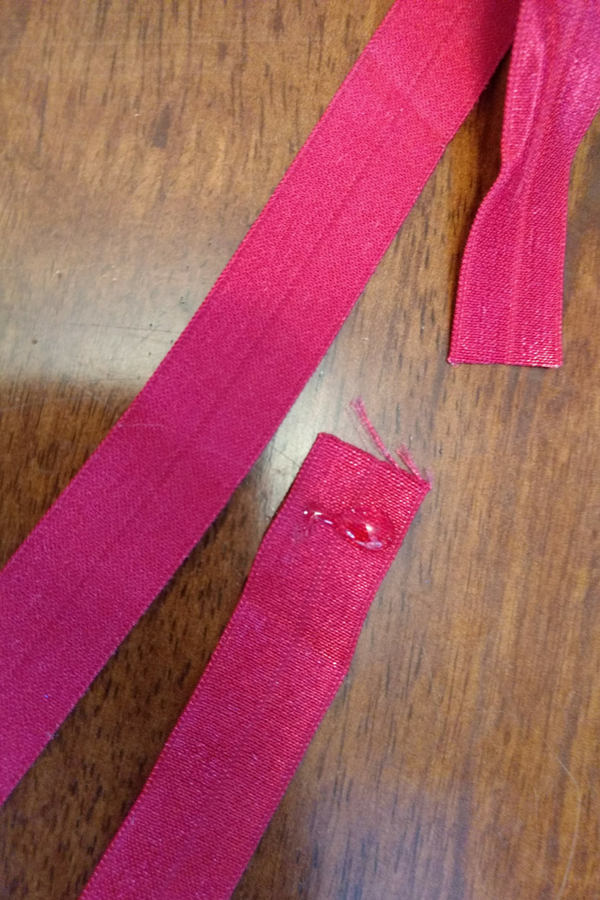
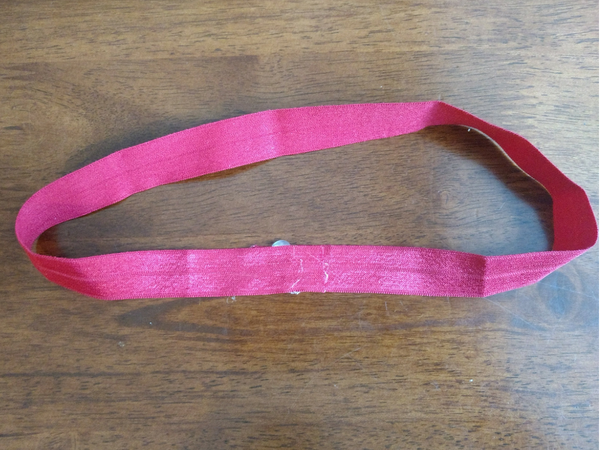
I glued the bow onto the headband right at the seam where the two ends of the headband meet.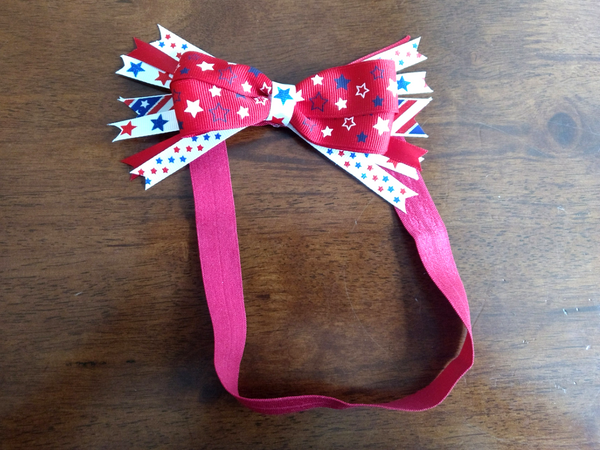
At this point you can also cut a piece of felt and glue it on the underside of the headband to cover the seam if it is itchy or has bits of dried hot glue that might be uncomfortable.
After I made this big bow, I made two smaller bows and attached them to alligator clip barrettes. I just hot glued them right on top and they seem super secure.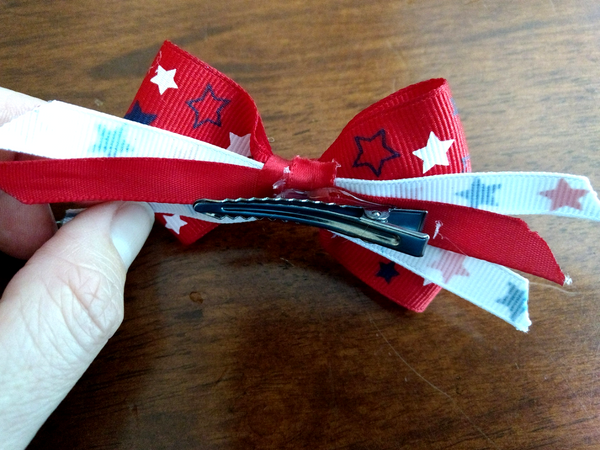
Voila! My girls are all ready for 4th of July!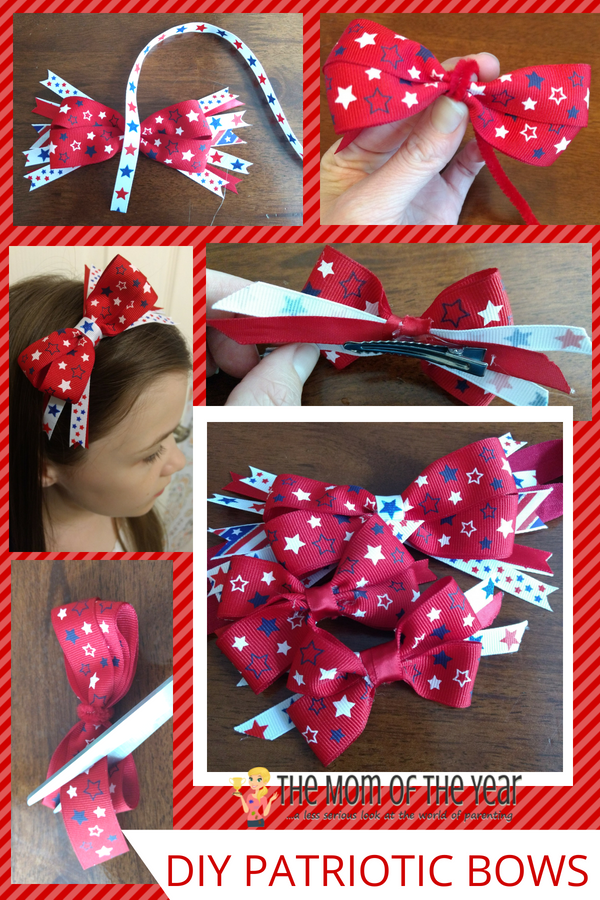
What I’ll do differently next time for this DIY Patriotic Hair Bows project:
- The next time I make hair bows, I’ll definitely choose a larger width ribbon. I think a larger ribbon would be easier to work with. Plus, my girls are school age, so they have bigger heads than babies and can totally pull off a bigger ribbon size!
- I’ll use wire instead of pipe cleaner. The pipe cleaner was a little bulky which made the center of the bow fatter than I wanted. The wire will be thinner and make for a cuter bow I think.
- I’ll stitch or glue the base of the accent ribbons. I think using the pipe cleaner to attach the base caused my accent ribbons to fall into each other. Next time I’ll use a needle and thread, fabric glue, or even a glue gun to see if that helps my stacked ribbons keep the shape I want.

Overall, I loved this DIY Patriotic Hair Bows project because it was simple to do myself and it saved me a ton of money. I can’t wait until Memorial Day and July 4th to see my daughters’ flaunting their new bows!
Latest posts by Meredith (see all)
- The Dollhouse Academy Book Club Discussion - February 14, 2025
- Somewhere Beyond the Sea Book Club Discussion - January 10, 2025
- Here One Moment Book Club Discussion - November 8, 2024


Janine Huldie says
I absolutely love the hair bows. And perfect for this upcoming weekend. Going to see if I can make for both my girls now, too. Thanks 🙂
Anne says
So glad you like them Janine! Once you get the hang of the bow, you can make them pretty quickly! Have a great long weekend!