Easter is quickly approaching and I love preparing fun baskets for my children. This year I decided to make a really special basket I know my kids will love and will last for years to come! Check out this DIY Wooden Easter Bunny Basket project. Follow along with these easy, simple steps and you can make one for your family too!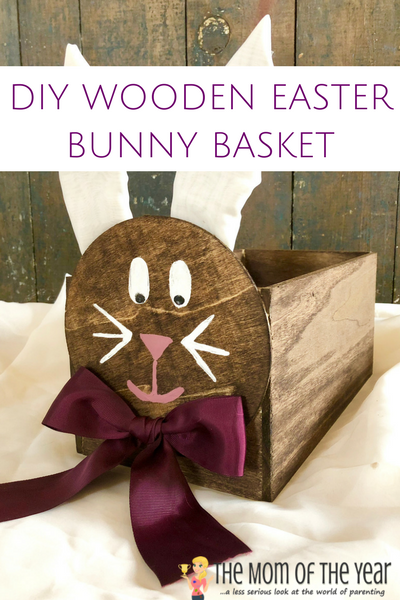
DIY Wooden Easter Bunny Basket
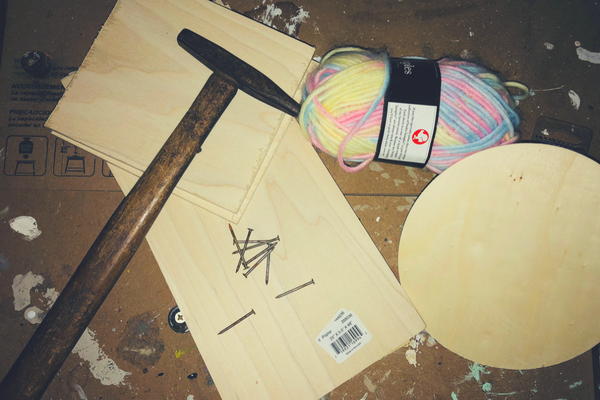
Materials you’ll need:
- 3 12” cut pieces of wood no more than ¾” thickness
- 2 6” cut pieces of wood no more than ¾” thickness
- 1 plywood circle
- Wood glue
- Small nails
- Hammer
- Circular saw (if wood is not pre-cut)
- Paint or stain and brush
- Yarn
- Cardboard/fabric/pipe cleaners/wood/ something to make ears of your choosing
- Hot glue gun
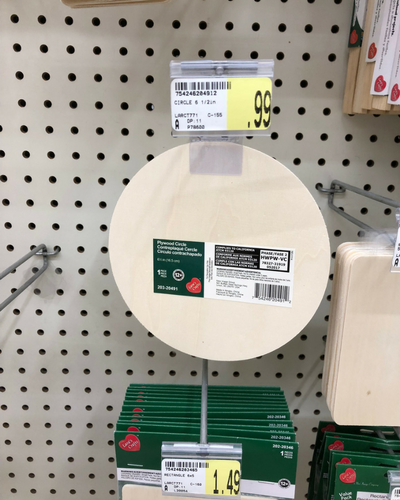
Hopefully most of these things you will already have collecting dust in the garage but there were two things I needed to buy: a plywood circle and yarn. At my local craft store, I found both items for $1 each!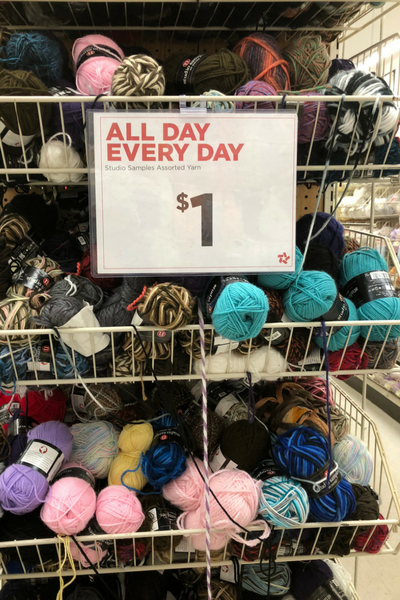
Before you start constructing your Wooden Easter Bunny Basket, it’s smart to get your wood pieces sorted and cut to proper size/shape.
For many of my projects, like this easy DIY Barn Wood Frame, I use my own circular saw to make wood cuts but this time I did not have exactly what I wanted in my scrap wood pile. I headed to my local hardware store, found the wood I needed, and got some free cuts out of my trip. So rest assured, even if you don’t have power tools, this DIY Wooden Easter Bunny Basket is a can-do project! Many hardware stores are more than happy to assist in making the cuts you need.
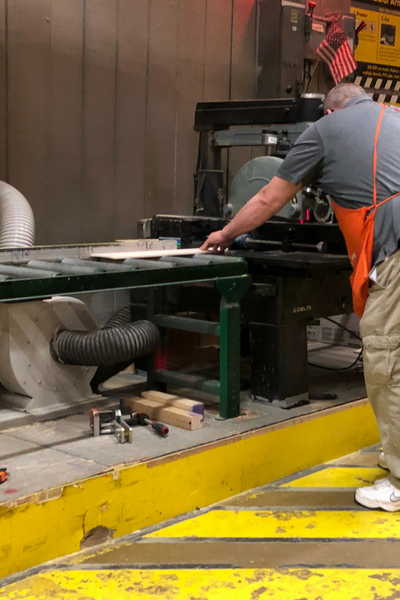
Now that you have your materials all ready to go, it’s time to start making your DIY Wooden Easter Bunny Basket!:
Sand and smooth the edges of your wood.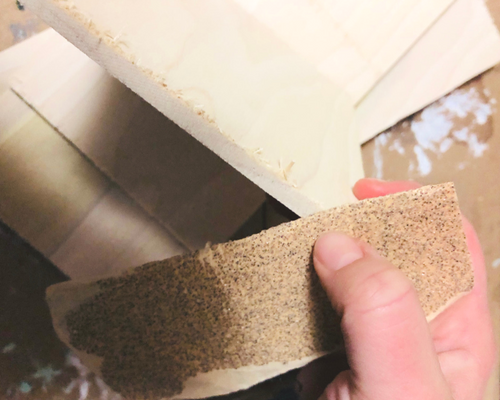
Align the first short piece with the long, adding wood glue to the crease.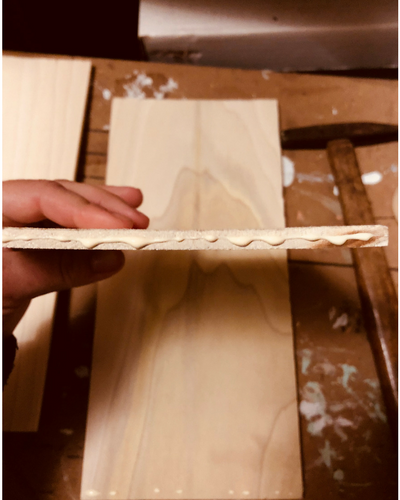
Take 2 nails and secure the pieces together.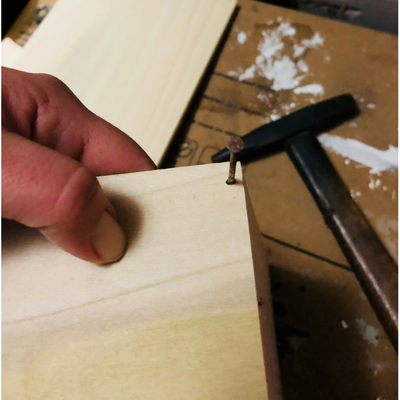
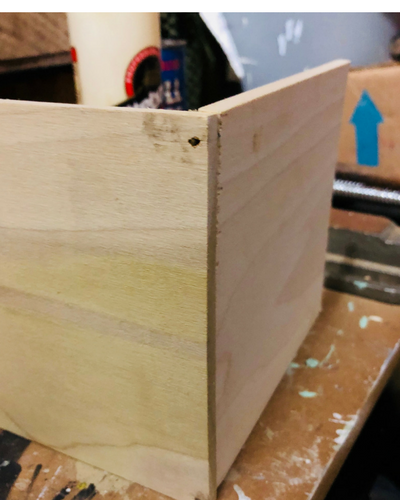
Repeat with the other side.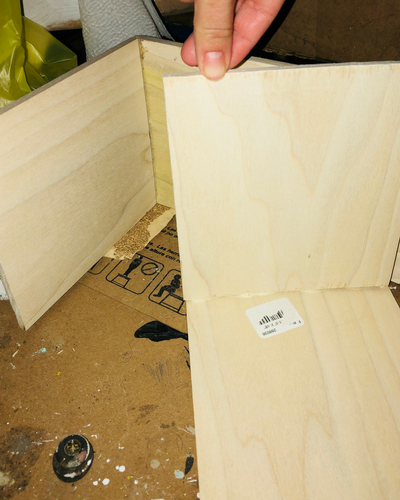
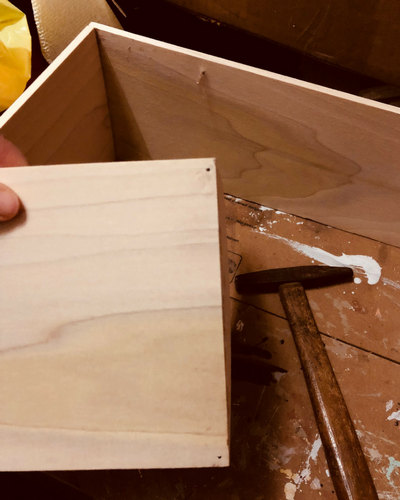
Connect both sides with wood glue and nails.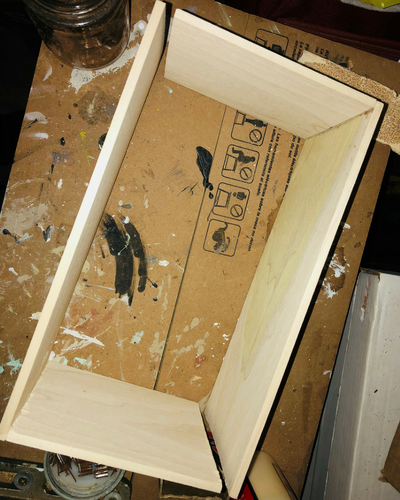
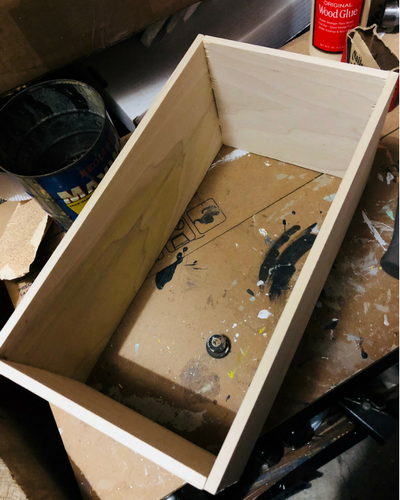
Add your base by also using wood glue and nails.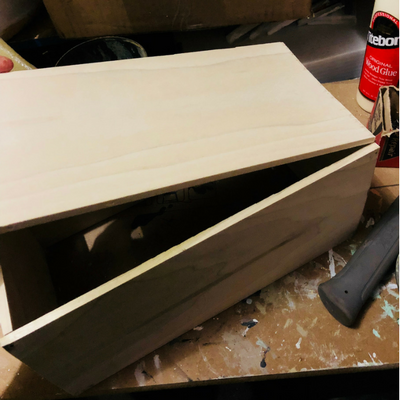
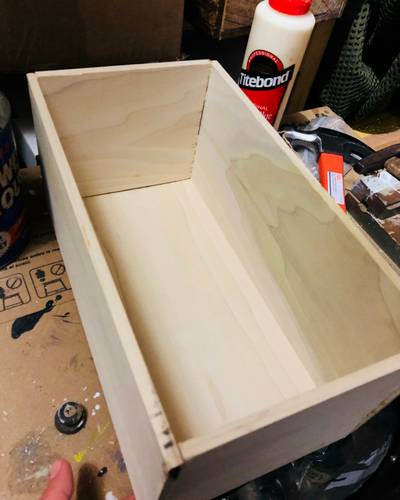
Glue the plywood circle onto the front and let the box dry.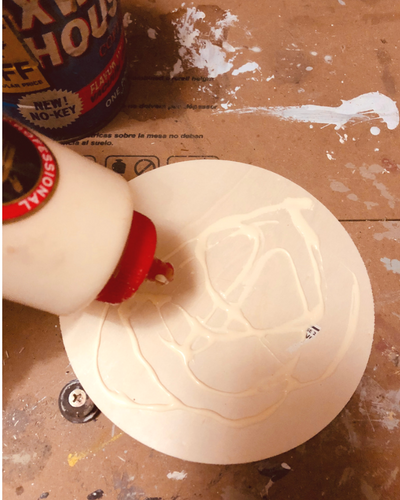
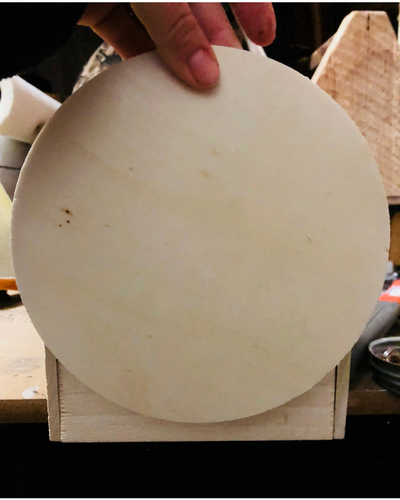
Time to paint! Choose a color or stain and paint the entire box. Chalk paint (yes, you can even make your own chalk paint for super-cheap!) would be perfect for this DIY Wooden Easter Bunny Basket!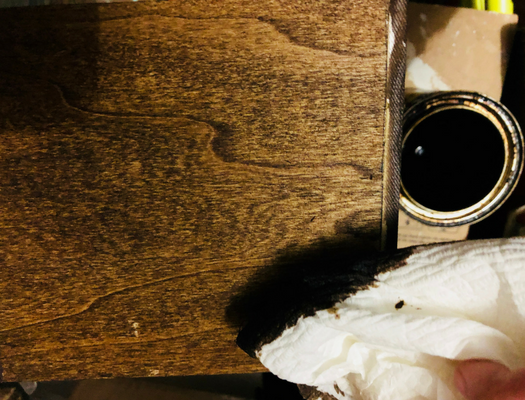
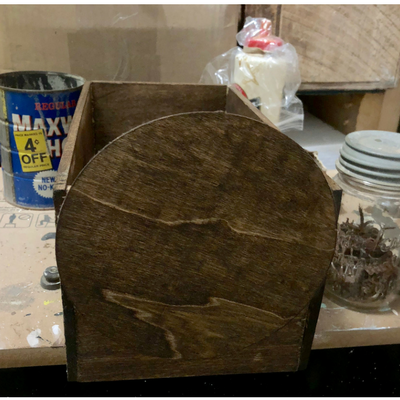
After that dries comes the fun part, decorating. You can make ears out of whatever you choose but I used some simple cardboard and fabric that I hot glued onto the back of the circle.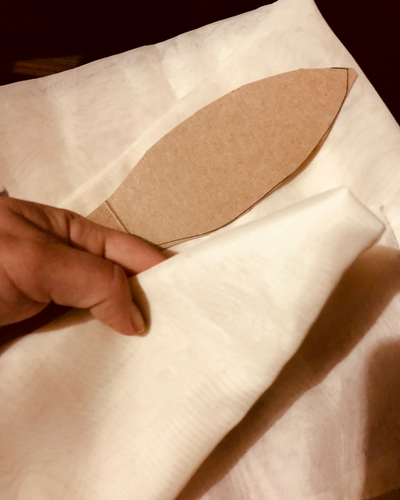
Draw a bunny face and write your child’s name if you wish!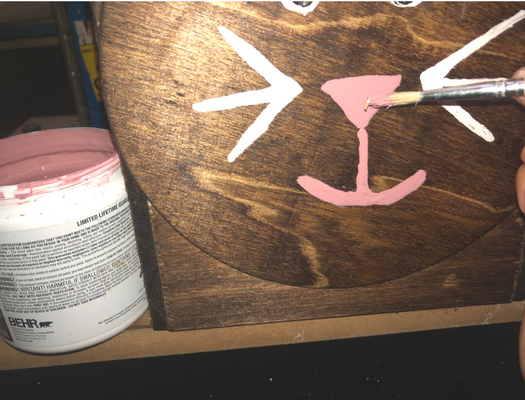
Create a tail by balling up yarn and hot glue onto the rear of the box.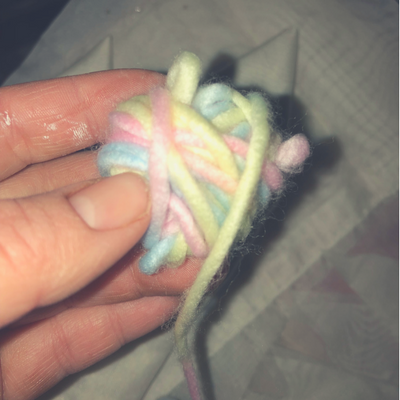
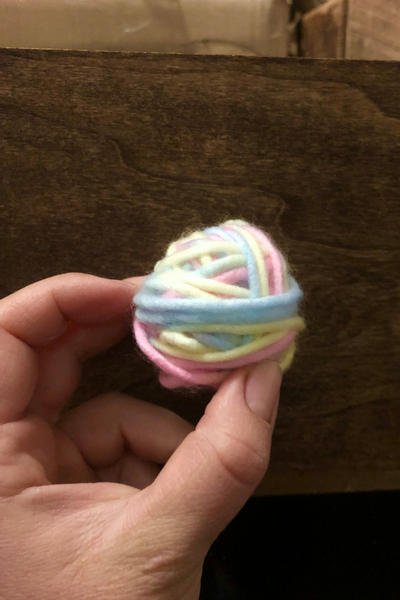
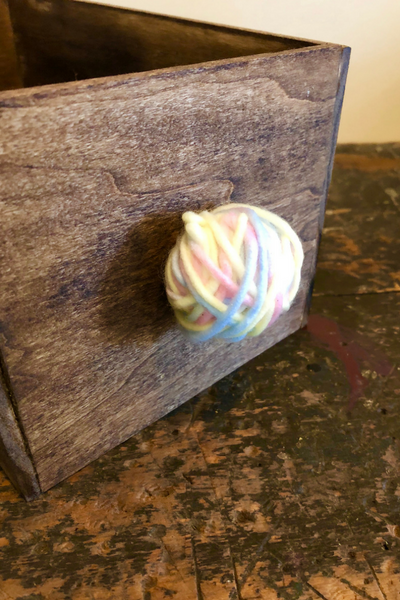
Your box is done and all ready for Easter morning!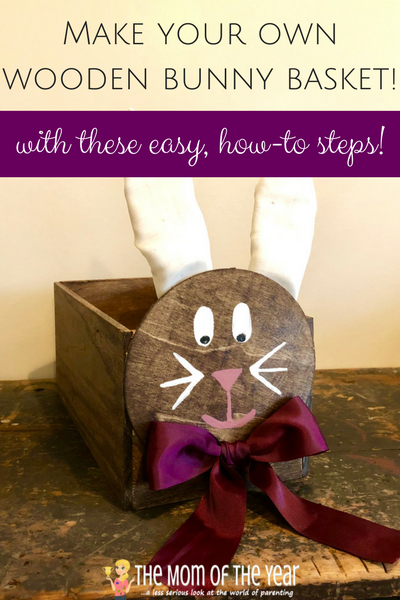
I had so much fun creating this DIY Wooden Easter Bunny Basket and know my children will love the creative, personal touch of this basket when they wake up on Easter morning. Try it yourself and let me know how it works out!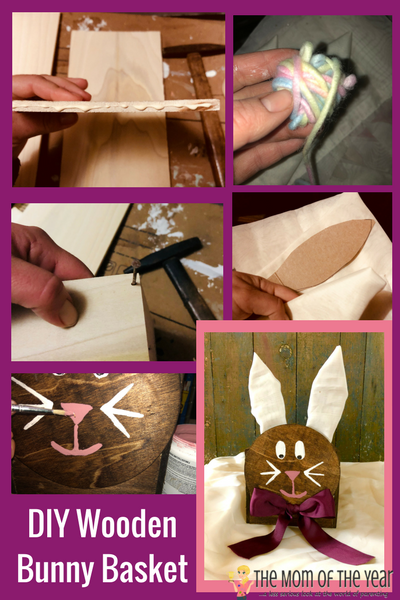
Lindsay H
Latest posts by Lindsay H (see all)
- Easy DIY Peel and Stick Tile Flooring for Under $100 - February 9, 2023
- Tips for Visiting Dutch Winter Wonderland in December - December 21, 2022
- Caring for a Leopard Gecko – All you Need to Know! - December 7, 2021


Janine Huldie says
Omg, this is adorable and totally going to try to make this bunny for my girls now, too 🙂
Lindsay says
Have fun! They will love it!
Anne says
I love this Lindsay! Plus, I think my kids are old enough to tackle this on their own, or with a little help!
Lindsay says
Yes! It would be a perfect project for older children!