With four school age children, it seems we are constantly losing teeth in our house. Sometimes, we even lose the lost teeth! So I decided to make a pillow for all the lost teeth. That way, my kids can put their tooth treasure right into the little pouch and under their pillow instead of what they normally do: putting it next to the sink and accidentally knocking it into the drain or losing it somewhere else in the house. Another benefit of this tooth fairy pillow is the size of it–it easy for the tooth fairy to reach under a child’s pillow and grab it versus rummaging around for a tiny lone tooth. Plus, this is an easy DIY project: if you can sew a straight line, you can make this tooth fairy pillow!
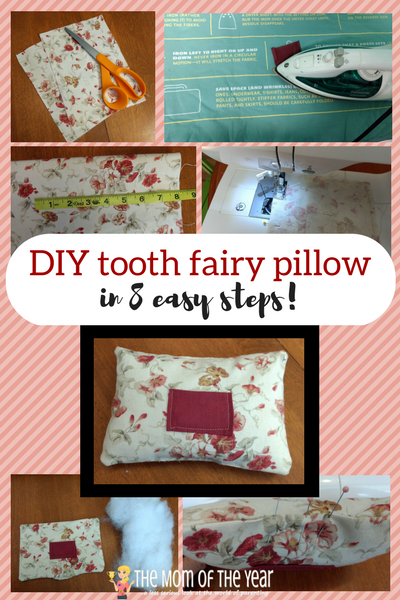
8 Easy Steps to a DIY Tooth Fairy Pillow
1. First I rummaged around my craft closet and found two types of fabric that paired well together.
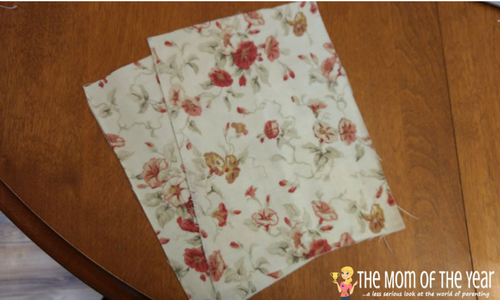
2. I folded the fabric, right sides together, and measured out the size I wanted, leaving a little extra for seams. I wanted my pillow to be approximately 7” x 5” so I measured out an extra inch all around.
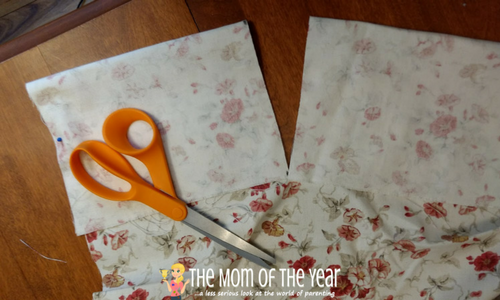
3. Then I cut out a rectangle. I never end up cutting perfectly straight, or measuring perfectly straight for that matter, so I always make sure to cut both pieces at once. Then, even if they are a little off, at least both pieces are a little off in the same way!
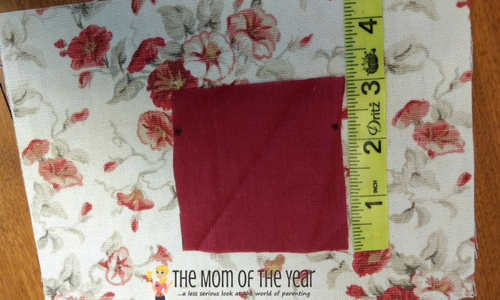
4. Then I measured out a smaller rectangle for the pocket. I wanted the pocket to also be a rectangle, so I measure out a 3”x2” piece, again leaving room for seams. I didn’t want the pocket to be too big, because I was worried a little baby tooth could fall out if the pocket was large.
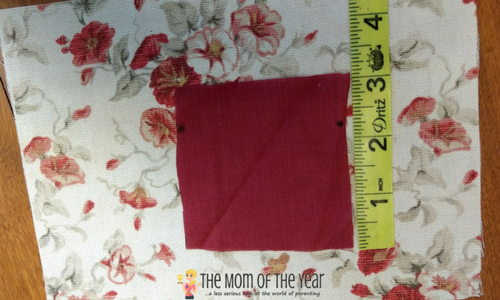
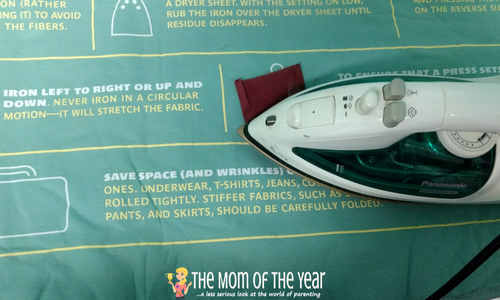
5. I ironed down the sides to leave a clean edge and to make the pocket easy to sew on.
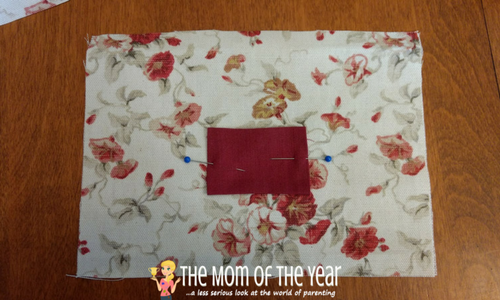
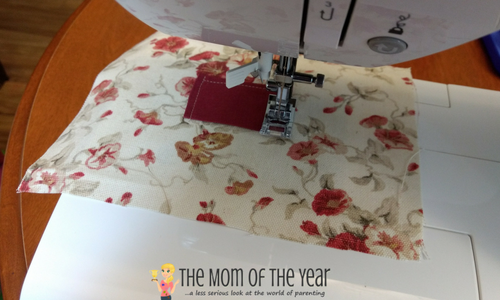
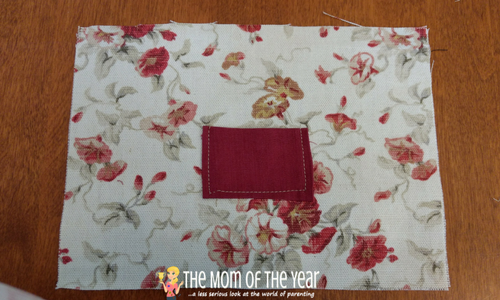
6. I pinned the pocket down on what I decided would be the front of the tooth fairy pillow and sewed three sides, leaving the top open for the tooth. Unfortunately I didn’t have matching thread so I had to use contrasting. Contrasting thread can be a nice look if you are a neat
seamstress; I, unfortunately, am not! I kept pulling the stitches and re-doing it to make it as neat as I could, but finally realized that my kids and the tooth fairy probably don’t care if my stitches went a little wonky at the end! Another option would have been to use fabric glue. Wish
thought of that earlier!
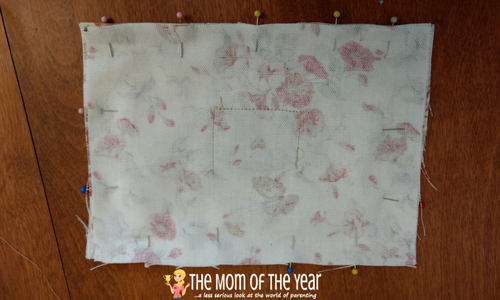
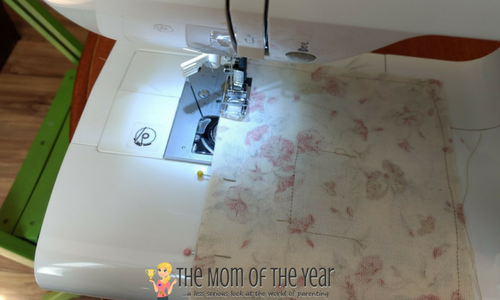
7. Once I had the pocket in place, I placed both pieces of fabric, right sides together, pinned them and stitched them together, leaving a space at the bottom for stuffing. Luckily, I always have stuffing on hand to re-fluff my daughter’s bear, “Fat Bear.” You can’t have a bear named
Fat Bear and just let him go flat from near constant hugs, can you?
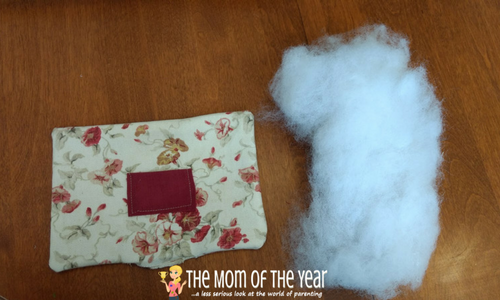
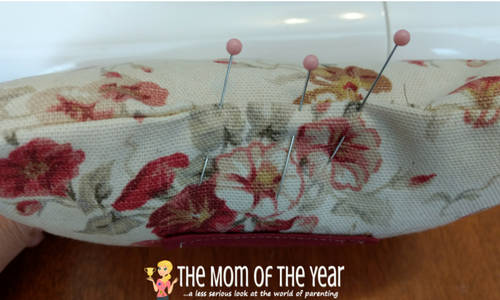
8. I stuffed the pillow, and stitched the bottom shut and viola, my simple tooth fairy pillow is done!
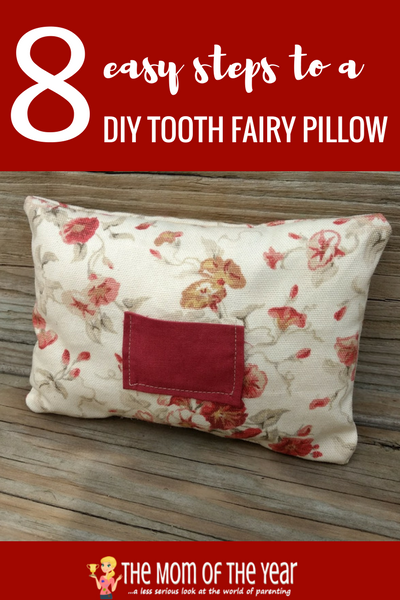
The thing I love most about this pillow, other than it being super easy to find in the middle of the night, is how customizable it is. Your child could pick out the fabric, and you can add their name, buttons, ribbons or trim to make it really special for your child. I’d love to see your pictures of your tooth fairy pillow!
Latest posts by Anne Metz (see all)
- 3 Super-Smart Tips for Teaching Kids to Manage Money - October 2, 2019
- Painting Metal Patio Furniture How-to - June 28, 2019
- 4 Budget-Friendly Upgrades for a Fun Backyard - May 17, 2019


Janine Huldie says
This looks easy enough to make and may have to try as a backup tooth fairy pillow for my girls now. Thanks for sharing 🙂
Kathy Radigan says
What a cute idea!!! This would make such a cute little gift too! Thanks!
Anne says
Thanks Janine! It is super easy!