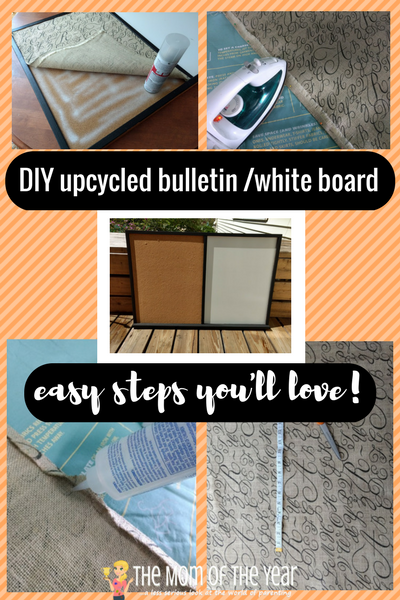
I’m really excited to share my latest DIY project–an upcycled bulletin board/white board combo! This endeavor combines a lot of my loves: organizing, crafting, and shopping for fabric. Plus this DIY project only takes a single afternoon and is incredibly inexpensive. So if you’re looking to spruce up your command center, follow the steps below for giving your old bulletin board a fresh new look!

What you need for your upcycled bulletin board/white board combo:
Paint Your Upcycled Bulletin Board:
In my opinion, my bulletin board/white board was too brown. So I sanded the polyurethaned wood to prep it for painting. I was on the fence about what color to paint it, but I ultimately went with black because it matched my fabric and I thought it would contrast nicely with the whiteboard side. I used acrylic paint because it’s what I had on hand. If you are using acrylic too, just know that you’ll need many coats! Luckily it dries quickly. After about five coats, I sealed it with mod podge.
Measure and Cut the Fabric for your Upcycled Bulletin Board:
I love choosing fabric! I have plenty of fabric leftovers from other projects I could have used, but I was too tempted go pick out something new. Also, I wanted to use something that had a little texture to it, since corkboard itself has such a nice texture. I also love that the fabric I chose has the alphabet on it, since it will be going near my mudroom area and will be used for school notices and reminders.
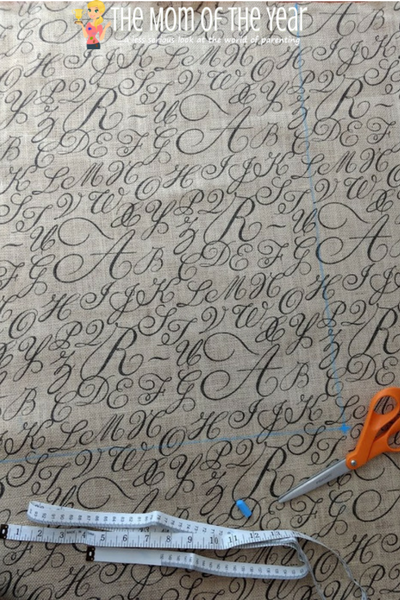
Once I selected my fabric, I measured the corkboard section and cut my fabric to size. adding about a half inch all around.

Prepare the Fabric for your Upcycled Bulletin Board:
I have a confession to make: I hate measuring fabric! So instead of measuring and cutting out my fabric to a very exact size I needed, I came up with a little cheat. I pinned the fabric to the bulletin board with pushpins then I folded the extra fabric and pinned it. Originally I had planned on putting the fabric right side down, but since the bulletin board is older, the frame wasn’t totally square and I was worried about it not matching up properly once I flipped it. Voila! Perfectly measured without measuring!
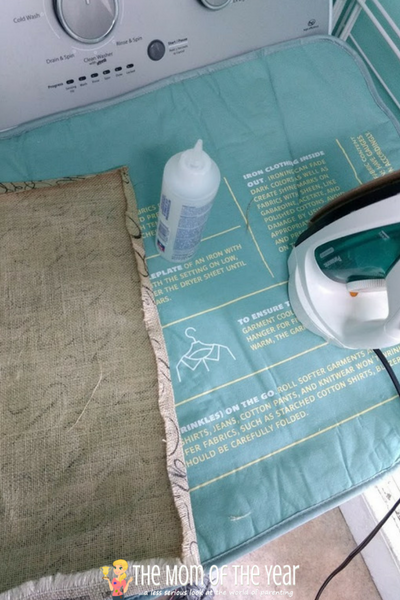
Then I ironed the folded section down. Since I measured the fabric right side up, I then flipped the fabric over, folded the sections back the opposite way and ironed them down again. Honestly, if I had to do this over again, I would do it differently or have used a different fabric, because when I refolded and ironed the flaps down, the fabric did not stay in the same exact shape. I’m wondering if it would have worked better if I used a less textured fabric?
So it became a make-it-work-moment and I made it work! I used fabric glue to tack the edges down. Make sure you put a towel or something down underneath as the glue will seep out all over your ironing board.

Attach the Fabric to your Upcycled Bulletin Board:
Once I finally got the fabric to the exact size of the corkboard section, I sprayed on adhesive and smoothed the fabric in place. I recommend working from the top down and checking to make sure the fabric is lined up as you smooth it down.
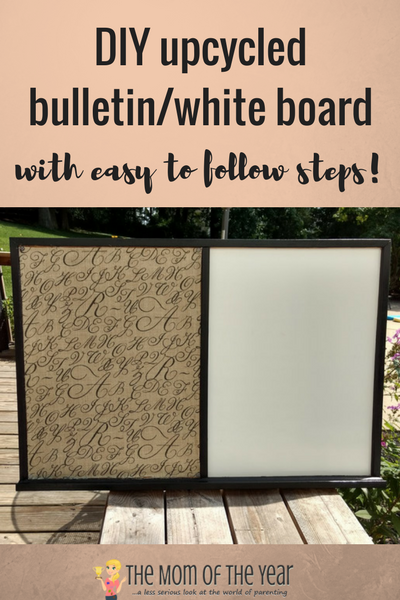
And there you have it! Now this upcycled bulletin board/white board is a chic addition to my mudroom area!

What I would do differently with my Upcycled Bulletin Board:
- Use latex or oil based paint. The acrylic works fine, but it was a pain to do so many coats!
- Measure properly. I thought my cheat would work well and save me time, but it didn’t! If I had to do it again, I would measure exactly an extra half inch all the way around.
- Be more careful with my fabric glue. Next time, I will be sure to put a towel down under my fabric when I’m using fabric glue. The fabric glue seeped right through the burlap material and my ironing board was a sticky mess.
Now that you have the whole scoop, it’s time to tackle your own DIY upcycled bulletin board/white board project. It’s easy, fun, and you will love the results. Happy DIY-ing, friends!
Latest posts by Anne Metz (see all)
- 3 Super-Smart Tips for Teaching Kids to Manage Money - October 2, 2019
- Painting Metal Patio Furniture How-to - June 28, 2019
- 4 Budget-Friendly Upgrades for a Fun Backyard - May 17, 2019


Janine Huldie says
I am with you on cutting fabric. That said love what you did here and may just have to buck my fabric cutting aversion and try this one out now. Thanks for sharing 🙂
Anne says
Thanks Janine! I hate measuring fabric!!! I have no idea why! But it’s worth it for this project for sure!