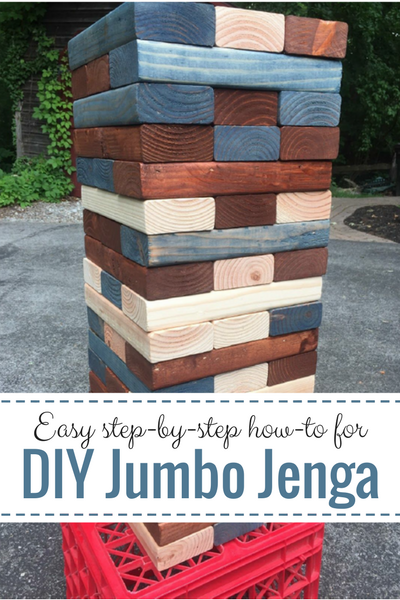
Need a fun homemade gift for someone in the family? Or another game to play at those summer parties? How about bringing back those childhood memories with the classic game of Jenga? DIY Jumbo Jenga is easy to make and something the whole family will love.
In Jenga, the point of the game is to go around taking turns pulling one piece out of the three row structure and then stacking or adding it back to the top without the whole thing falling on you. DIY Jumbo Jenga, was easy to make (even if homemade projects aren’t your thing) and the final project looks amazing.

Materials needed for a DIY Jumbo Jenga:
To make this lawn game, there’s a few materials you are going to need.
- 6 or 7 boards of 2×4 wood to make a full 54 piece set game. I say “6 or 7” because if you have a smaller car, Home Depot will cut the boards down to make it easier to transport home but this also means you have a little less material for each board so you will need seven rather than six.
- sandpaper
- pencil
- tape measure
- wood stain (optional). Staining pieces of isn’t necessary, but overall it makes your project look sharp.
- safety glasses
- work gloves
- Miter Saw (also called the Chop Saw). Before you panic, take a deep breath…the Miter Saw might look scary but it really isn’t hard to use. I suggest taking this equipment outside as it creates lots of sawdust and this will make clean up easier and give you more space.

Steps to making a DIY Jumbo Jengo:
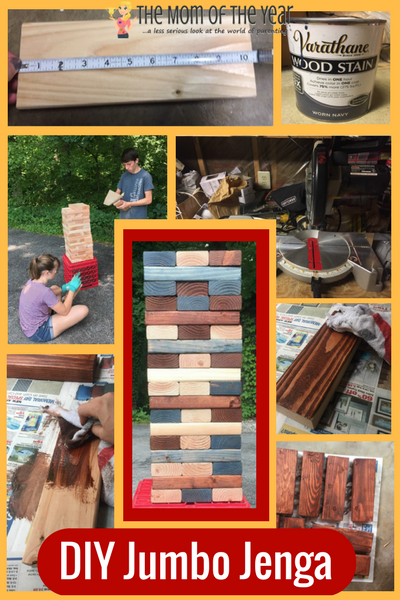
- Measuring out the Jenga pieces. Each of the 54 pieces should be 10 1⁄2 in. long.
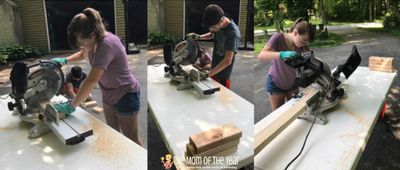
- Cut the pieces. For this step, wear the gloves and safety glasses and use the Miter Saw make your cuts (if you have seven boards then you will end up with two extra Jenga pieces). If you’re not sure how to use a Miter Saw, you should get help from someone before you start cutting, but to briefly explain, line the measured wood up with where the blade will cut it and keep the wood pressed against the far back. Then move your fingers away and hold the wood with one hand while pressing the button and pulling the saw down over the wood with the other hand. Soon, you will get the hang of it and cutting the pieces will take no time at all.
- Sand the edges of the Jenga pieces to prevent splinters when laying the game. Sanding is the most time consuming step but definitely not one you want to skip.
- Stain the pieces (optional). You can choose to stain some, all, or none of the pieces–whatever suits your preference. In my case, I choose to stain the pieces to give the game a more more finished look. I used two different stains. I separated the 54 pieces into groups of 18. I stained one group with a blue stain called “Worn Navy”, one group with a brown stain called “American Walnut”, and left one group its natural color. I would recommend staining outside or in a garage with the doors open if possible to prevent unnessary mess and prevent overwhelming odors in your home.

As shown on the back of the can, there are two ways of staining wood. I tried both and recommend dipping a the corner of a rag in the can and then wiping it directly onto the wood. I used this technique with the brown stain. With the blue stained wood, I used the other technique and used a paintbrush to brush on the stain. I then let it sit for 3-5 min. before wiping it off using an old rag. Both techniques worked well but the first one made less of a mess.

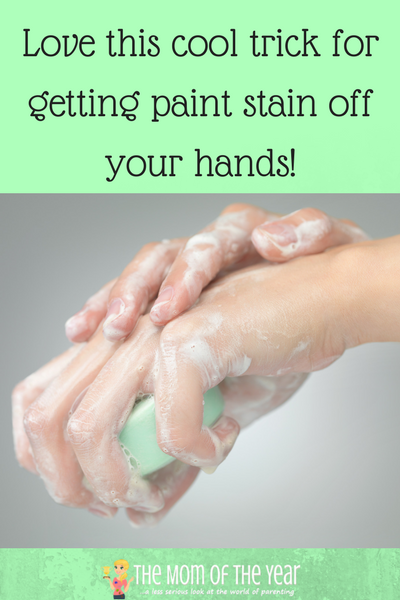
In case you forgot to get gloves for staining and realized that it is incredibly hard to wash off, a quick hint is to use nail polish remover first on your hands and then wash them with soap!
Now your DIY Jumbo Jenga Game is finished. Time to grab your family and play a game!
Last image credit: depositphotos.com, Image ID:17592223, Copyright:shotsstudio
Tessa Datte
Latest posts by Tessa Datte (see all)
- DIY Jumbo Jenga - July 17, 2017
- Teen Girl Bedroom Re-do that Wins! - October 25, 2016


Shamara Latham says
So fun! I definitely want to try!!
Meredith says
Such a neat project, huh? 🙂
Janine Huldie says
My girls love the game of Jenga. So I am definitely going to see if we can make this DIY version for the summer time now. Thanks for sharing 🙂
Meredith says
It’s perfect for a family yard game–bring on the fun! 😉
Rebecca Gallagher says
I have seen these at pool parties! I think any backyard games ‘jumbo-fied’ are pretty cool. Awesome post!
Meredith says
I love this new yard game craze too! So much fun!
Jada says
I love the idea of this but you should never wear gloves while operating a power saw. If the blade grabs a part of the glove it will pull your hand under before you can react.
Meredith says
Thanks for the important tip, Jada!
Heather says
I must ask… Do you have them on the crate… Did you store them in the crate? If so, did they all fit in the crate?
Meredith says
With careful arranging, they do fit! Great question–they would be a mess otherwise!
rober says
please , what’s the measure of the pieces? 10,5 inches x ? x ?
Meredith says
Use 2x4s, then each of the 54 pieces should be 10 1⁄2 in. long. Hope this helps!