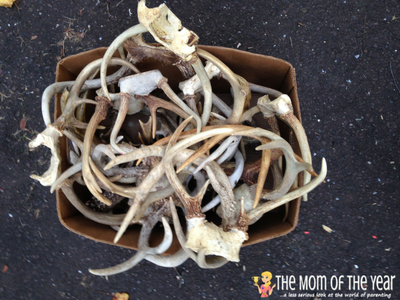
My family is very lucky in that my husband is very successful at deer hunting every year. This means many pounds of (practically free!) meat for our freezer and many useful deer parts like skin and antlers. For years I have been swooning over a gorgeous deer antler chandelier from Cabelas but can never justify the price point. Instead, I have been collecting antlers for years now and accumulated quite a box I could use to make my own DIY deer antler chandelier!
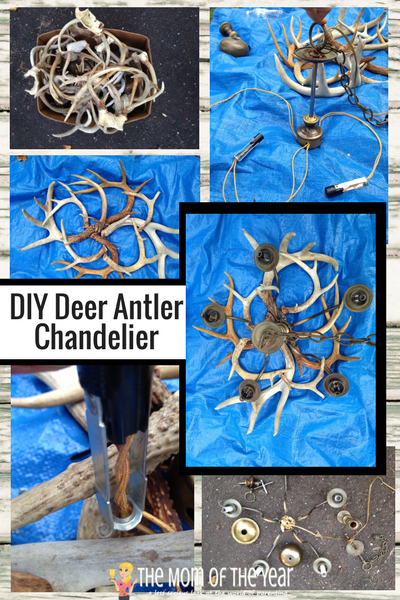
Not a hunter? Keep in mind that bucks shed their antlers every year. If you live near the woods where deer frequent, take a walk (January is prime shed time, but you may be able to find other times as well) to search for dropped antlers. Or, you can purchase the faux version online.
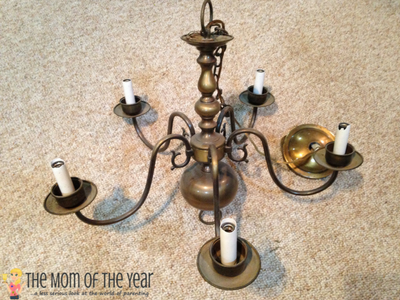
With my overflowing box of antlers, it was finally time to make my deer antler chandelier dream a reality! I snagged a free used chandelier from a friend to use as my base and was ready to begin. As far as the lighting and wiring goes, you can either start from scratch with wires you purchase, strip the chandelier and use the wires from that, or use an already built chandelier as a base for your project.
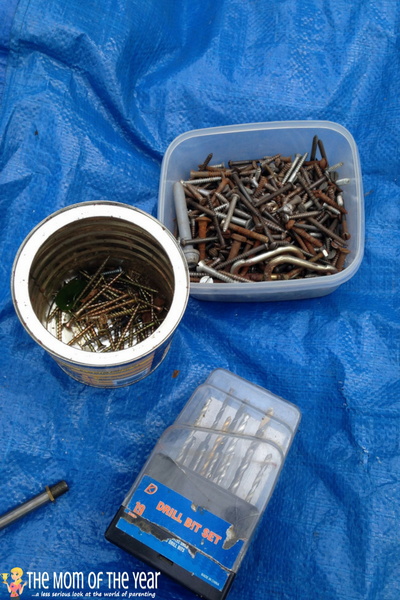
For your DIY deer antler chandelier project you will need:
- antlers
- a chandelier (or the wiring to make one)
- a drill and a drill bit
- long screws
- spray paint (optional)
Let’s begin!
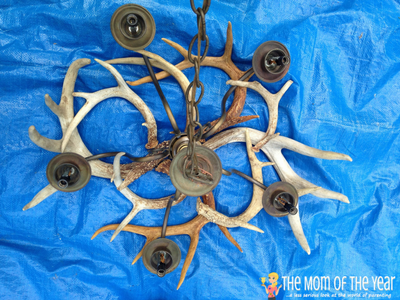
Strip the chandelier. Every light is different, but with most you can twist off all of the excess pieces that you won’t need. Once you start taking off pieces, it is relatively straight forward on which piece comes off next. I stripped mine down to only the wires, electrical box, and hanging equipment, since I wanted minimal metal showing through my antlers.
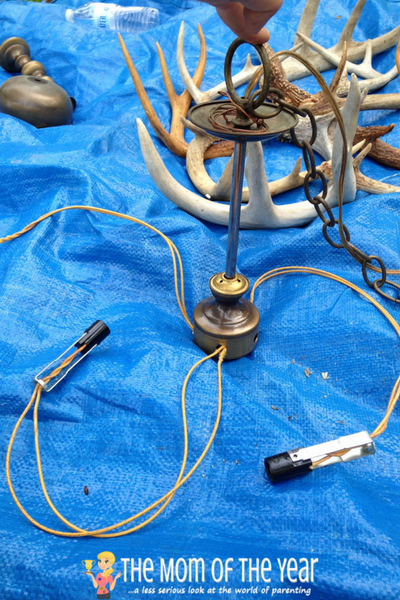
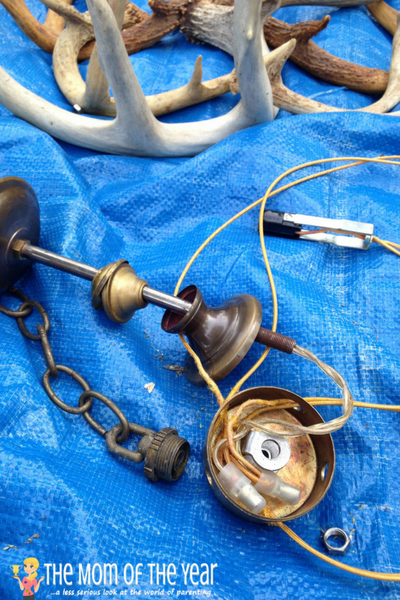
If this is too tedious for you, you could alternatively strip down to the part housing the lights so that it will be mostly hidden underneath the antlers and you won’t have to deal with wires.
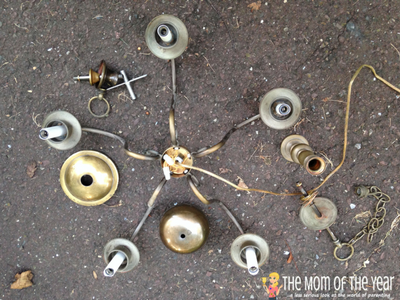
Paint your chandelier and antlers (optional). I prefer a more natural look so I skipped this step. If you are crushing on the newest style of rustic chic with white or colored antlers, this is the time to paint your chandelier base and antlers any color you want! Find a good spray paint that will stick to all surfaces and give it a coat or two of a nice even spray. Then let it all dry for a full day before continuing. Make sure to tape off the light bulb housings before you spray so that it doesn’t interfere with the lighting.
Sort your antlers
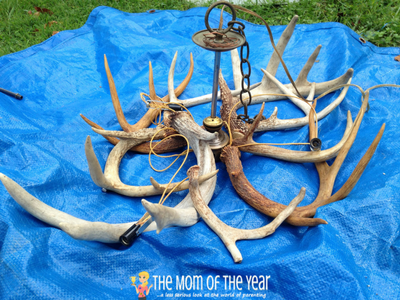
Take out your collection and figure out what will it best where. The best part about a custom project is it’s up to you! Generally speaking, however, the largest antlers work best on the base. You will want to begin with designing your base so that your chandelier/electrical box can be placed in and more antlers can be added to disguise it as you work your way up to the top of your light.
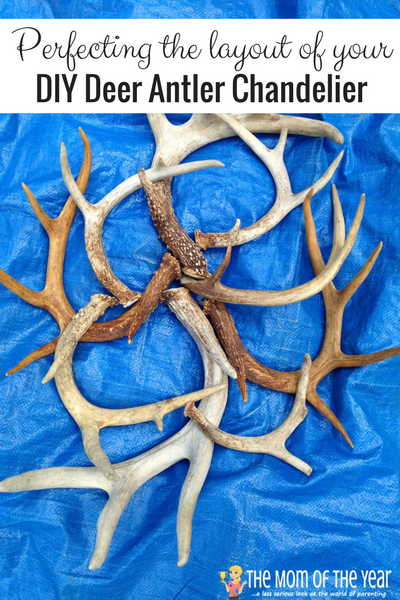
Begin connecting antlers
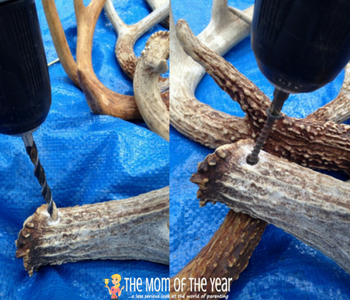
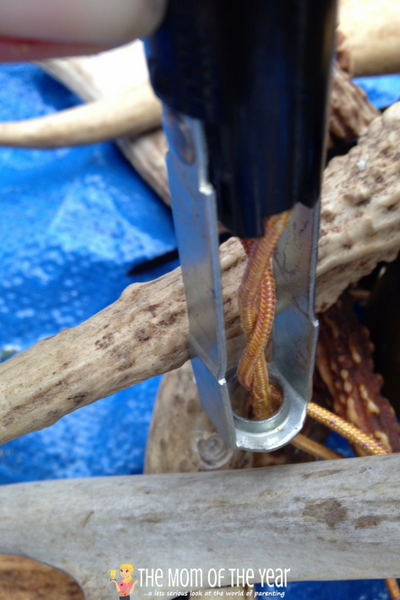
Get out your drill and add in a drill bit similar in size to your screws. Anywhere the antlers overlap is where you will want to pre drill holes so that your screws go in easier and do not break. Antlers smell rotten when drilled or cut so this part really needs to be done outside! Once the holes are pre-drilled, put in the screws to hold everything together. Keep working your way up until the base is disguised enough or the antler chandelier is large enough. If using only wires, attach the light bulb housings on whichever antlers you want and run the wire along the antlers into the electrical box.
Finish the chandelier
Put the light bulbs in, hang it up and you have a beautiful accent light for your home! I chose to make my light smaller as I do not have much room in my foyer, but the more antlers you collect, the larger you can make it.
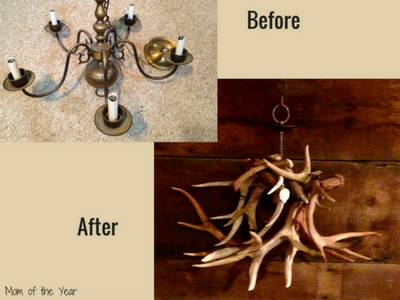

Antler chandeliers are a beautiful rustic décor that goes with any style home. Before you take the plunge to pay a hefty fee for one already made, take a shot at making a DIY deer antler chandelier on your own–it’s easy and cheap!
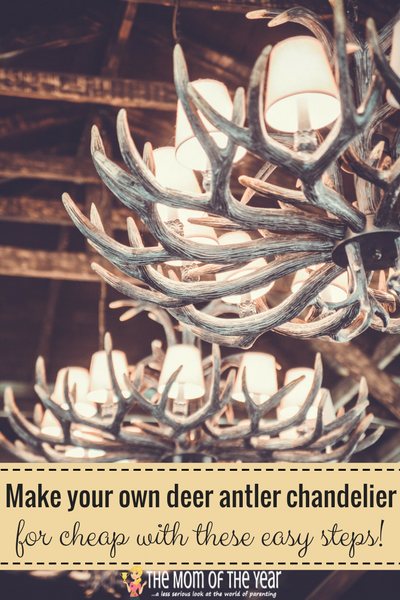
Disclaimer: Before doing any electrical work or wiring please consult an electrician!
Fifth image credit: depositphotos.com, image ID:5468580, copyright:amoklv
Last image credit: depositphotos.com, image ID:58008981, copyright:Bajneva
Lindsay H
Latest posts by Lindsay H (see all)
- Easy DIY Peel and Stick Tile Flooring for Under $100 - February 9, 2023
- Tips for Visiting Dutch Winter Wonderland in December - December 21, 2022
- Caring for a Leopard Gecko – All you Need to Know! - December 7, 2021



Janine Huldie says
What a clever and unique idea. Seriously never would have thought to make a chandelier from deer antlers! Thanks for sharing and again really love the ingenuity here 😉
Lindsay says
Thanks! Such a creative light!
Kathy Radigan says
I’m always in awe of people who can look at something like antlers and see a chandelier! Thanks for sharing!
Lindsay says
Isn’t it such a neat combination?!
Anne says
This is so cool Lindsay!!
Lindsay says
🙂
Anonymous says
My husband has a bunch of antlers he has collected. I couldn’t find anyone that does this so I thought I would just Google “how to make a chandelier out of deer antlers ” and there it this. Thank you, I figure will do it myself.
Lindsay says
That’s great!! It’s a bit of work but so worth it!
Kate Hansen says
It’s good to know that you can take a walk and find antlers that buck have shed each year! My husband and I were thinking about making an antler chandelier for our cabin that we go to in the summer. We aren’t that good at crafting things, so we might find a professionally made one to get. We’ll make sure to keep this information in mind if we do end up making our own antler chandelier!
Lindsay says
Start taking walks January through March. That’s when many sheds can be found. Even if you don’t make one yourself, they are still fun to decorate with and would be perfect in a cabin!
Barbie says
Thanks for the info. Now l know what to do with all those antlers. Really awesome
Lindsay Houser says
This is a great solution for your collection! Have fun!
Jennifer Mulryan says
This is amazing! I have looked everywhere for one of these. I could never find one with enough antlers. I will definitely be following these steps. Thanks for sharing!! 😉🙃🙂
Lindsay says
Thanks for following along!! Let me know how yours turns out!
Amandavz says
Any special drill bit requirements or recommendations for antlers?
Lindsay says
Just a regular drill bit works fine but not too small or they can break. Find screws that are longer and pair with a bit that matches the screw size and you’ll be good! Just give. A little shoulder push when you drill as the antlers are quite strong! Happy creating!
jen says
Thank you! how many would you say I’d need for a small chandelier?
Lindsay says
You should be able to make a nice small one with about 15!
Alex says
This is so cool! My husband is always bringing home antler sheds, so I love the idea of using it in my home decor and giving it that personal touch. Unfortunately, I’m not that skilled in the art of electrical work or wiring, so I will probably just buy an antler chandelier already wired, and maybe I can work in our own antlers in there. Thanks for sharing!
Beth madison says
I am making one of these to go on a hanging light I have above my bed head board … also I made coat hooks , two antlers for an old gun to sit on above mantle , and also I have door handles for my man/woman man cave door that goes to garage !! I love this idea , wish me luck !!
Beth
Meredith says
This so cool, Beth! I want to see pictures! I love how you are theming out the house with antlers 🙂
Ken McBroom says
What a great idea. I just so happen to have a metal chandler that I should have tossed years ago. Now I’m making an antler chandelier because of your website. Thanks for sharing
Meredith says
This is awesome, Ken! Enjoy your project and send a pic if you can! 🙂