As a mom of triplet girls, two of the questions I hear most often are, “Do they look alike?” (not at all) and “Do they have different personalities?”. The answer to the last question is a loud yes with a capital Y! So as their 7th birthday approached, I was doubtful they’d be able to agree on what type of celebration they’d like to have. Turns out I was right. One wanted to go to a salon, one wanted to go to a trampoline park and one wanted to have some friends over to play video games. Since I wasn’t going to throw three separate parties, we were at an impasse…until they all sat down to watch their favorite show about kids in a baking competition. This inspired me to suggest a baking party and the girls were thrilled! The only problem was that I didn’t think my nerves could handle a kitchen full of 7 year olds cracking eggs, using an electric mixer, and putting things in the oven. So I decided to make the baking party a no-baking baking party, and I’m here to share with you how to do it!

5 steps to a winning no-baking baking party:
Prep the cupcake activity
In order to have a no-baking baking party, you’ll need to do a lot of prep work. Although this step might take a long time, believe me, it’ll be much easier than letting a bunch of kids actually bake in your kitchen.
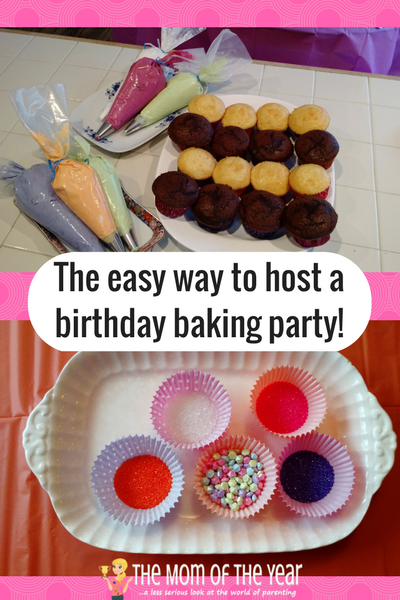
First I started by baking two cupcakes for each kid, one chocolate and one vanilla. Un-iced cupcakes can be wrapped individually and stored in the freezer so I did this step a week before the party and pulled them out the day before.
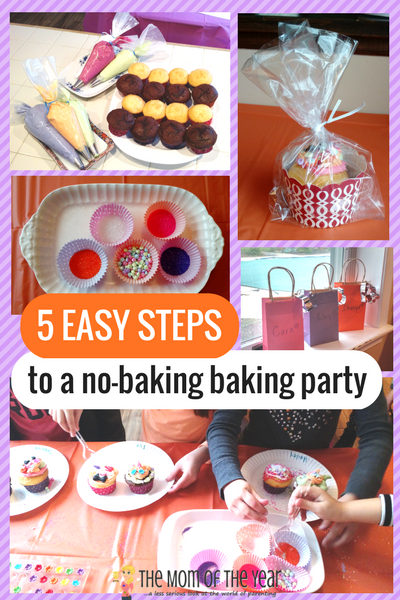
Then I prepped the icing bags. Luckily, I had taken a cake decorating class a few years back so I already had some icing tips and pastry bags. If you don’t have these on hand, you can find them at any craft store or you can buy pre-made tubes of decorating icing. If you don’t want to spend the money, you can simply fill large ziplock bags with icing and cut the tip off the bag.
I bought a large tub of white icing, divided it up and added color. You can buy dye specifically made for icing or simply buy the food dye in the baking and spices aisle of the grocery store.
After I filled the bags, I used twist ties to keep the kids from squeezing icing out of the top of the bag. I prepped these the night before the party.
Decorate the house
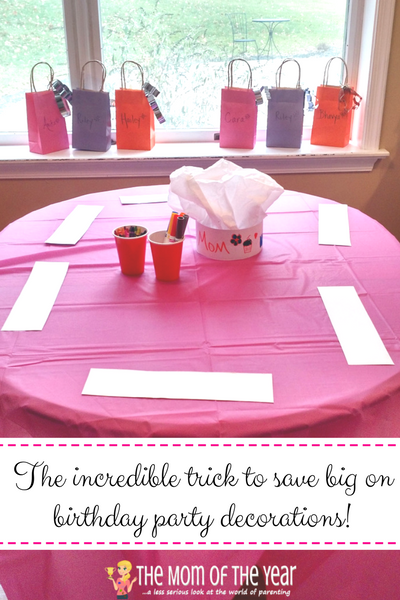
One thing I love about kids parties are decorations, but I hate spending a lot of money on them. Instead I pick a color scheme and use that as the basis for the decorations. For this party, my girls each picked their favorite color, which are orange, pink, and purple. Luckily these colors go really well together. I hit the dollar store and the craft store to grab table cloths, gift bags, plates, napkins, cupcake liners, and decorations for the cupcakes. Staying in this color scheme helped make the party look bright and cheerful and gave it a unified look without a costly price tag.

Do a costume craft
When all the friends arrived, we made chef hats. These hats are super simple to make. The girls each decorated a long strip of white paper and added their name. Then I taped white tissue paper inside and taped the band to fit their head and voila, a super cute chef hat. I even made one for myself!
Decorate the cupcakes
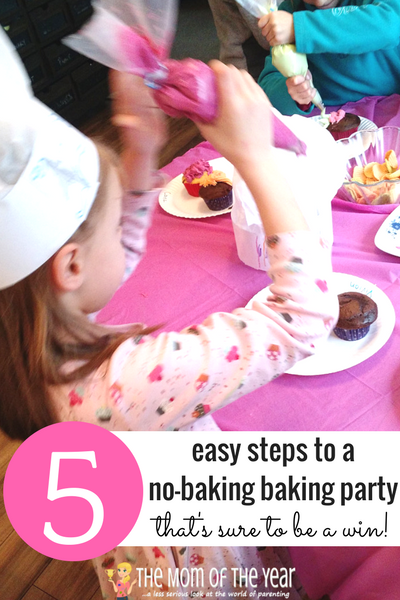
Then it was time to decorate the cupcakes. Each kiddo had two cupcakes to decorate, one they could take home and one they could eat after we sang “Happy Birthday”. I divided the girls into two tables and had plates on each table filled with lots of icing colors and sprinkles. After the cupcakes were iced, they were decorated with lots and lots of sprinkles.
When the girls finished their masterpieces, I let them play with balloons in another room so I could sweep up and reset for lunch, which was pizza, of course. If you had a longer time frame and/or older kids, you could easily have the kids make their own mini pizzas.
After pizza, it was cake time. The beautiful thing here is that you don’t have to do a separate cake! The kids were so excited to eat their very own cupcake they decorated.
Make favors
I don’t know about you, but after years and years of kids’ birthday parties, I’m tired of bags of trinkets. So I try to keep my party favors simple, either candy or something I think children will actually use. For a baking party, cookie cutters were the perfect fit. The second cupcake also worked as a favor. I found little cupcake holders, tied them up in sandwich baggies and then put them in favor bags with two cookie cutters tied onto each bag.

Something important to consider for your no-baking baking party:
Allergies! I contacted all the parents before the party to make sure they knew that we would using lots of different kinds of foods and to see if their kids had any allergies. I also took pictures of all the ingredient lists on the box cake, icing, sprinkles, etc… in case the parents needed to know exactly what their child would be eating.

All the kids had a great time at the no-baking baking party! Even though there wasn’t any actual baking involved, the kids felt like real chefs with their hats and icing bags and sprinkles. I think we definitely have another baking party in our future as the kids get older. Maybe I’ll let them do some actual baking too next time too 😉
Latest posts by Anne Metz (see all)
- 3 Super-Smart Tips for Teaching Kids to Manage Money - October 2, 2019
- Painting Metal Patio Furniture How-to - June 28, 2019
- 4 Budget-Friendly Upgrades for a Fun Backyard - May 17, 2019


Janine Huldie says
My oldest’s birthday is in July and we usually do parties outside the home, but this year we are thinking of doing a backyard movie night party. So definitely can’t thank you enough for the awesome at home birthday party tips, which I will definitely be referring back to now!! 🙂
Anne says
A backyard movie is a great idea for a party! It works for all ages and genders! Hope it’s a great time!