Reclaimed barn wood seems to be a growing trend in the design industry lately, which makes me happy because I love using this wood in my DIY projects. The older and more distressed things are, the more beautiful they are in my eyes. Not to mention, it’s wonderful to be able to utilize 100 year old wood as décor in my home versus buying something inexpensive and poorly made. Enter my barn wood pile. I was driving by a farm, saw a construction crew tearing down a beautiful barn, and after I dried my eyes (seeing old beauty torn down is seriously depressing!); I walked right up to them and asked for the wood. They were more than happy to oblige as it was less work for them to clean it all up. Now it lies in the woods next to my house and is my go to for many, many projects, like this easy DIY barn wood frame.
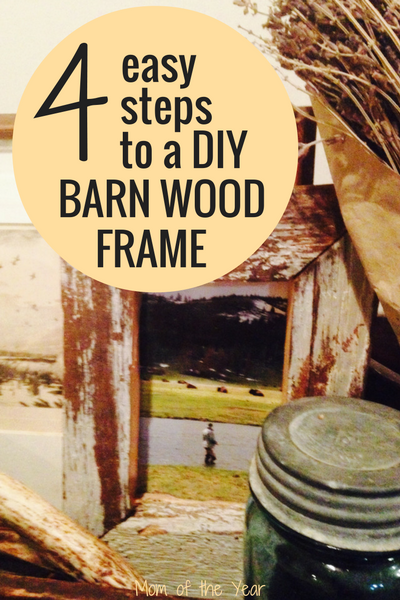
One of my easiest go-to barn wood projects is picture frames! I love the rustic, worn look it can give a photo, while also enhancing my home furnishings. Today my friends, I am going to share my wonderfully easy barn wood frame process step by step.
What do you need for this easy DIY barn wood frame project?
- A saw of some form. Since I’m slightly obsessed with building, I have many different saws and my Miter saw is my favorite for this specific project. Don’t have a Miter saw? Not to fret, you can use a circular saw, hand held saw, jigsaw… you get the idea.
- Protractor or way to measure 45 degree angles
- Tape measure
- Wood glue
- Staple gun or staples
- Cellophane
- Thumb tacks
- Cardboard cut slightly smaller than your photo (old cereal boxes work well)
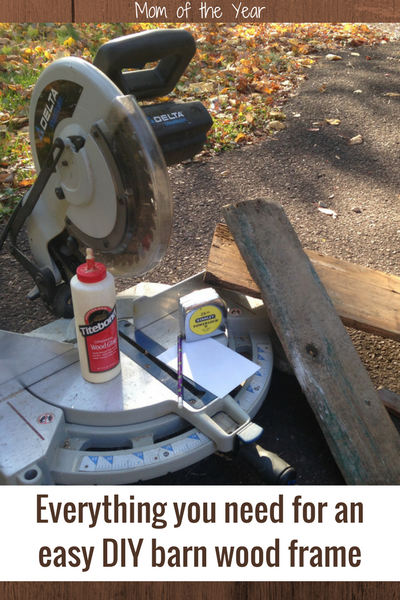
How to make this easy DIY barn wood frame:
Step 1: Choose a photo and cut your wood according to the size.
I chose a 4×6 photo that I took of my husband fishing. It is such a striking photo that deserves a rustic frame to surround it. The piece of wood you choose is entirely up to you, this will work with any thickness!
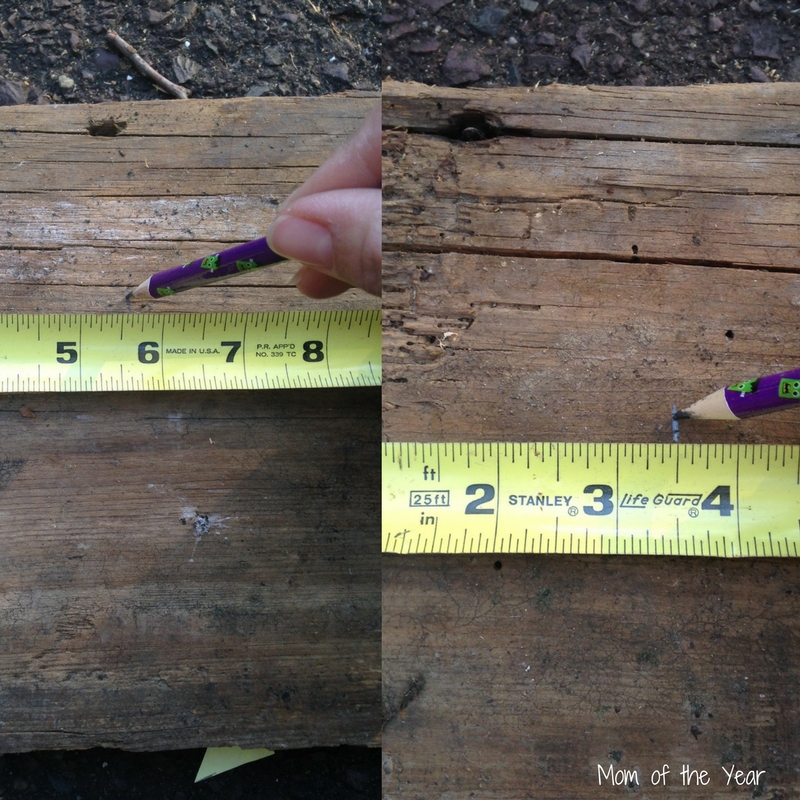
First, cut four pieces of wood 2” longer than your photo size to allow for angle cutting. So for a 4×6, I cut two pieces of wood 6” long and 2 pieces 8” long.
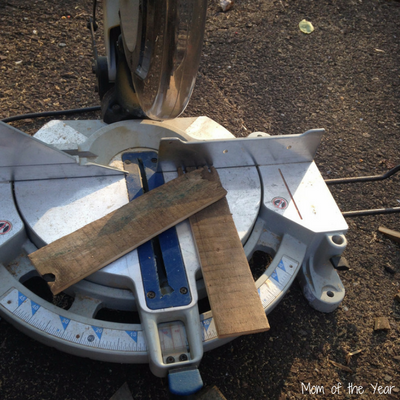
Step 2: Cut 45 degree angles on both sides of the wood.
The nice thing about a Miter saw is it does the work for you and you can adjust angles for cutting. If you don’t have a Miter Saw, look into using any form of measuring tool such as a protractor. Your angles will need to start at the edge of where the openings of the frame will be. For example, I measured out 3.75” and 5.75” to allow for enough space to show the picture but still hold it in.
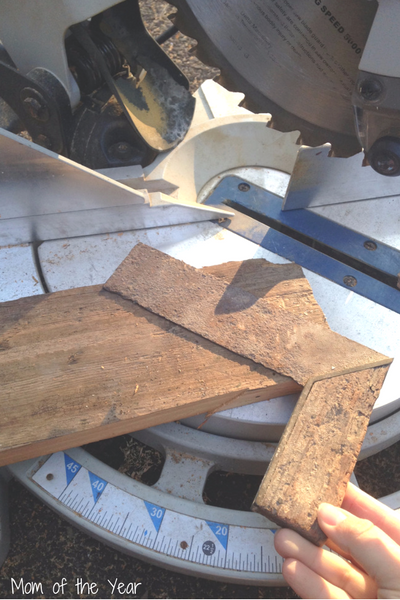
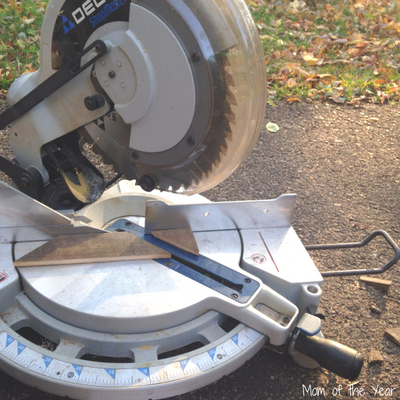
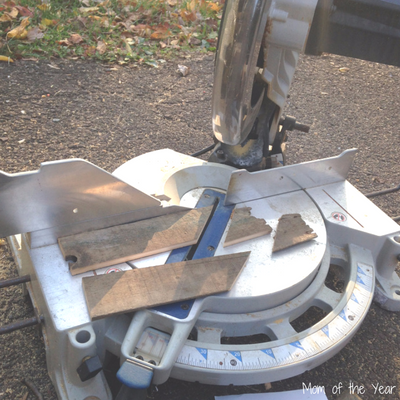
Step 3: Put your frame together
Once your angles are cut, take wood glue and glue your frame together! You can use a vice or some good old fashioned arm muscle to hold the edges long enough to stick. Once they are together enough, flip the frame over and on the back use a staple gun (or even just hammer in some staples) in the creases to give some extra security.
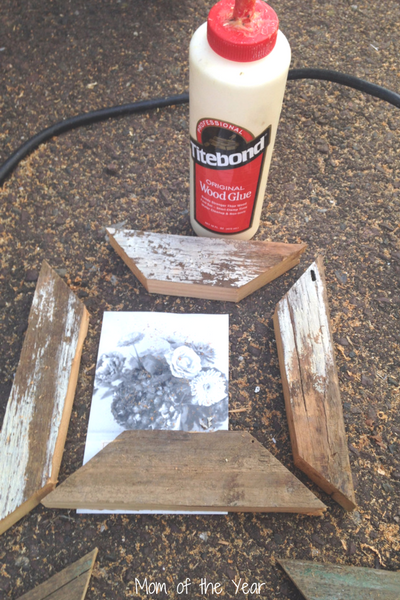
Step 4: Add your photo
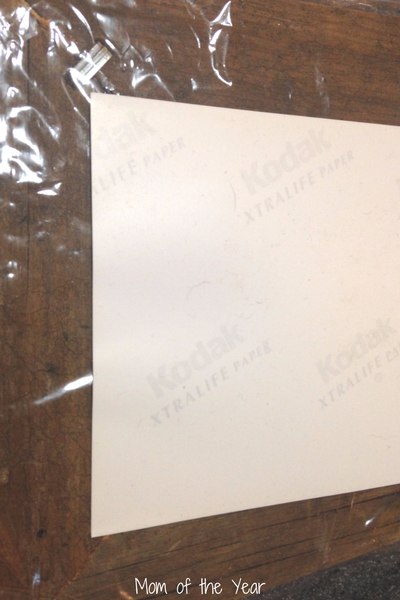
Once your frame has dried, take some cellophane and very tightly stretch across the opening in the back. This will act as the “glass” for your photo to protect it. Behind that goes your photo and behind the photo goes a piece of cardboard to hold everything in. Secure the cellophane and cardboard with thumb tacks so that the photo can be replaced if need be. If you prefer yours to hang, you can purchase hanging kits at your local craft or hardware store.
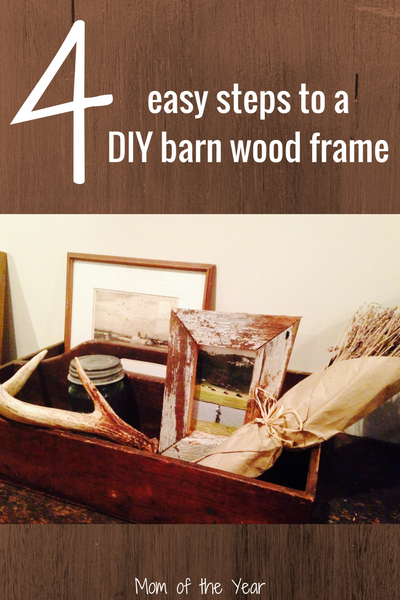
After you are done comes the fun part, decorate! I love how the imperfection in barn wood gave each side of the frame a slightly different size and color, giving my photo a rugged look. I had so much fun choosing a space for this frame, and I know you all will too once yours are done!
Lindsay H
Latest posts by Lindsay H (see all)
- Easy DIY Peel and Stick Tile Flooring for Under $100 - February 9, 2023
- Tips for Visiting Dutch Winter Wonderland in December - December 21, 2022
- Caring for a Leopard Gecko – All you Need to Know! - December 7, 2021


Janine Huldie says
Love that you used old bran yard wood to make gorgeous, distressed wooden frame. Going to have to see if we can try this here soon, too. Thanks for sharing 😉
Lindsay says
If you can’t find barn wood, you can try this with any type of wood and stain/paint whichever color you love!