I’m taking my bedroom back.
When my husband and I were newlyweds, it started as a nice, clean, orderly room. There was a new bedspread, freshly painted furniture, and light, airy curtains freshly matched for our new life together. Over the past 14 years it has morphed into something completely different. The bedspread has grown old and worn and has been puked on (kids). The furniture has gotten nicked and scratched (again, kids). The curtains have been pulled down (you guessed it–kids yet again!) and clawed (the cat!). In addition to damage, it’s not uncommon for us to settle in at night to find stuffed animals, toys or even a kid or two under the covers.
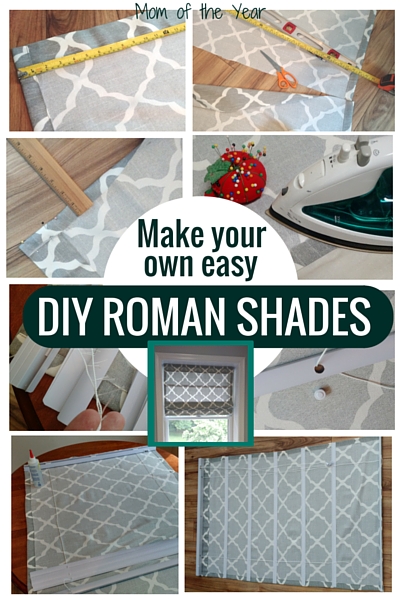
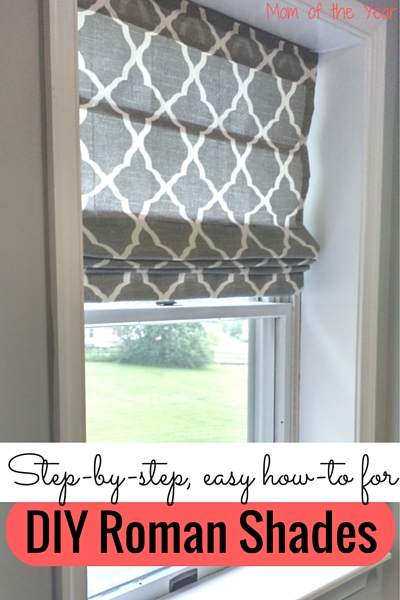
So I decided it was high time to take our master bedroom back–make it the one room in the house just for adults! I replaced the old bedspread, bought two matching nightstands, and a headboard. (Listen, if you don’t have a headboard in your master bedroom, get one! Honestly! This is the one thing in my whole house that actually makes me feel like I’m a real grown up!). And then I made DIY Roman shade window treatments. They are pretty, too short for the kids to reach and ruin, and easy to make–basically, they are perfect.
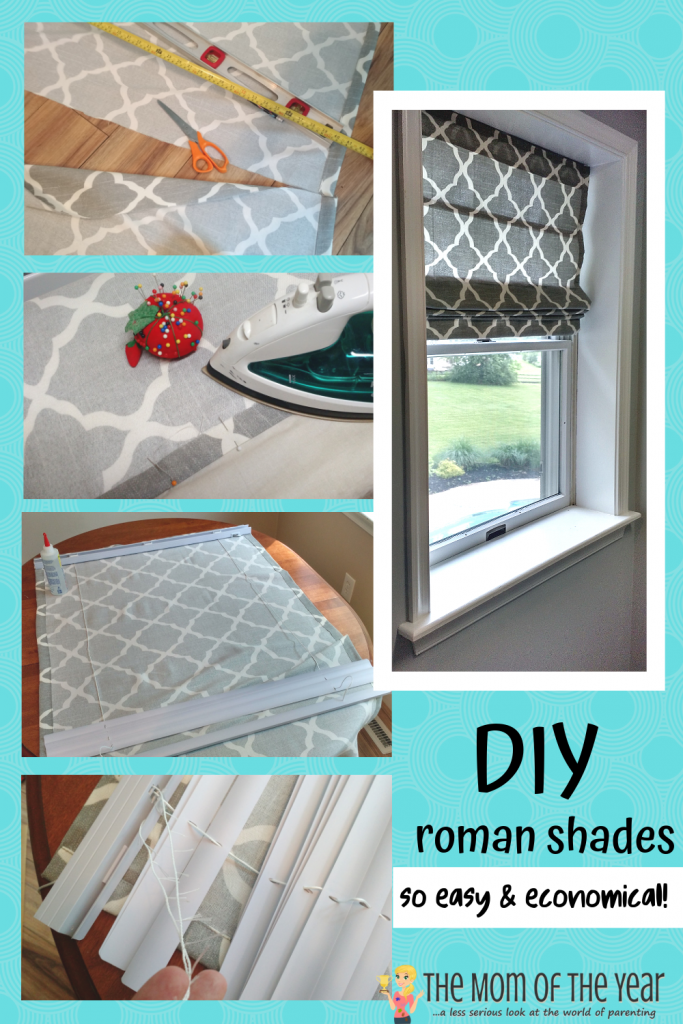
Originally I’d purchased long panels for the windows, but I realized they would cover up the our pretty window trim. But I loved the fabric. So instead of returning them and getting blinds, I decided to use the mini blinds mechanism and attach the fabric to it.
How to make your own easy DIY Roman shades:
First, I purchased the cheapest ones mini blinds I could find–about $5. I didn’t want to spend more than that in case I messed up and had to buy more.
Then, since I was working with window panels, I decided to save time and take advantage of the finished edges.
For the width: I cut the fabric 1 ¼” wider than the blinds. Then I folded in the edge one inch, pinned, ironed, and glued the fabric down to make a nice seamed edge. If I were working with fabric from the store with raw edges, I would have done this on both sides and the top.
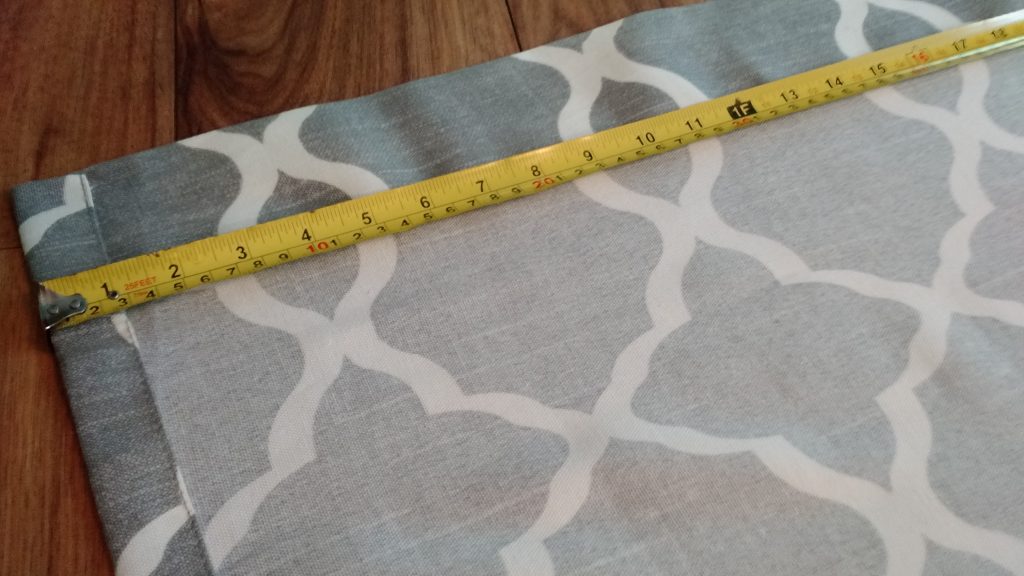
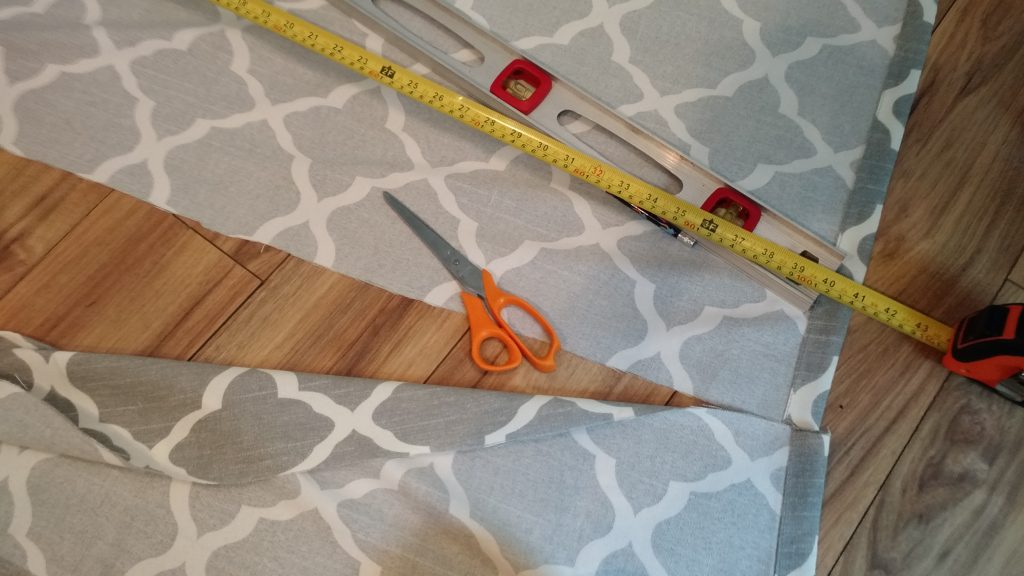
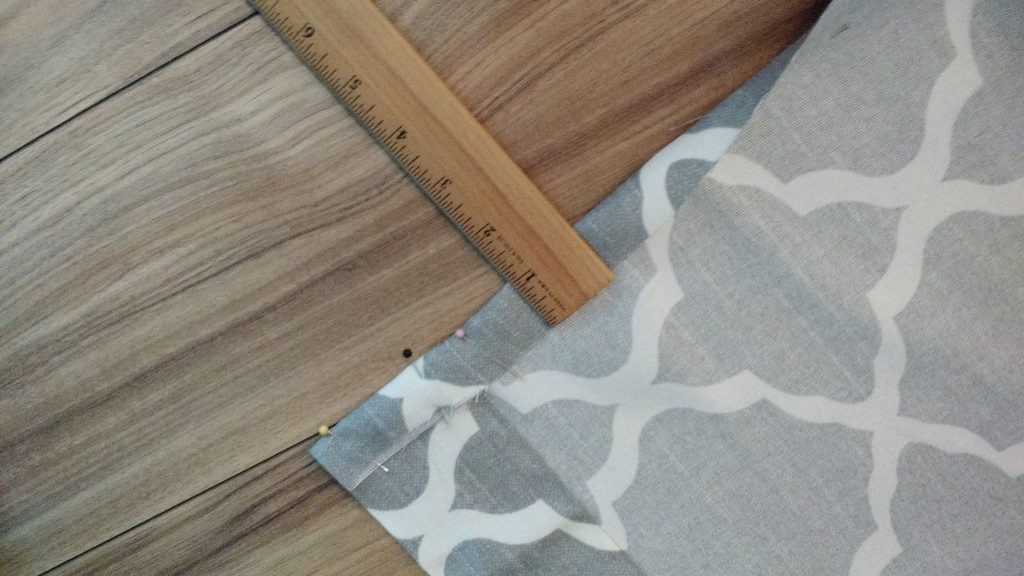
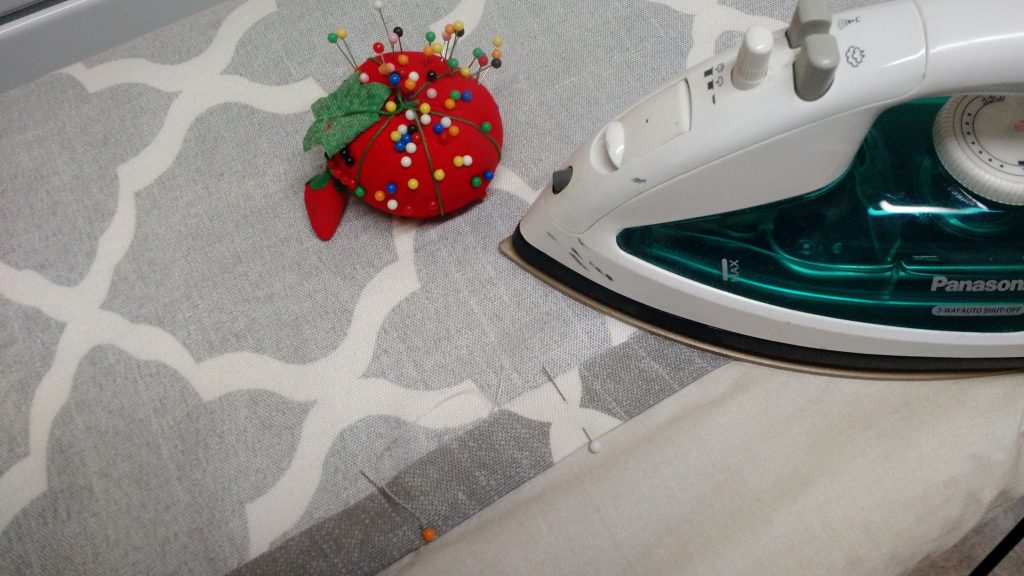
For the height: The mini blinds I bought were 64” long, but my window is only 46” long. So I cut an extra two inches to make the fabric 48” long and left that edge raw.
Then I set to work modifying the blinds.
I’m not going to lie, this felt scary. I’ve never even hung mini blinds, and now I was about to take these things apart and cut them up? But I talked myself down, took a few deep breaths and pulled out my scissors.
There are two main strings on mini blinds. One is the pull cord that runs through all the blinds and that is what you use to pull the blinds up and let them back down. If you are attempting this project, do not cut that cord! The other is the ladder cord that holds the blinds and tilts them open or closed. This is the cord to cut! I cut all three sets of ladder cord off the blinds.
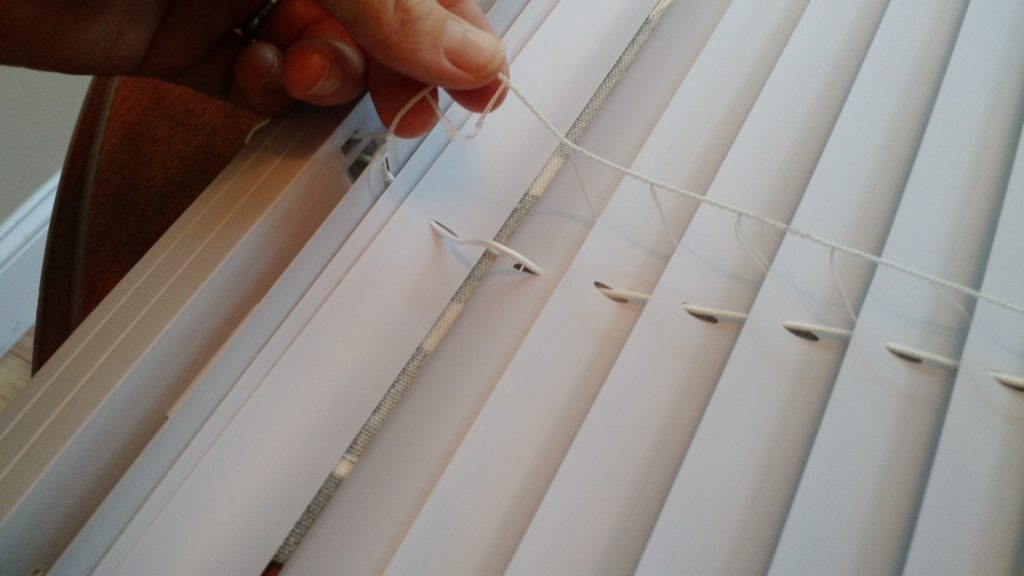
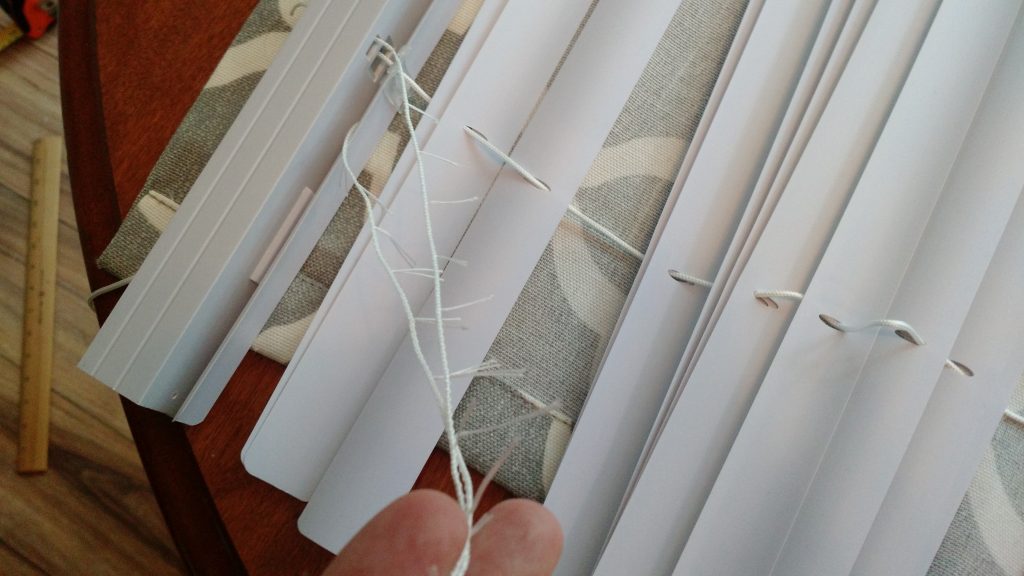
Then I removed these plastic thingies (that’s the technical term I think) from the bottom of the mini blinds. I undid the knots on the pull cord, pulled the bottom off and removed most of the blinds. For my size window, I wanted six pleats in my roman shade.
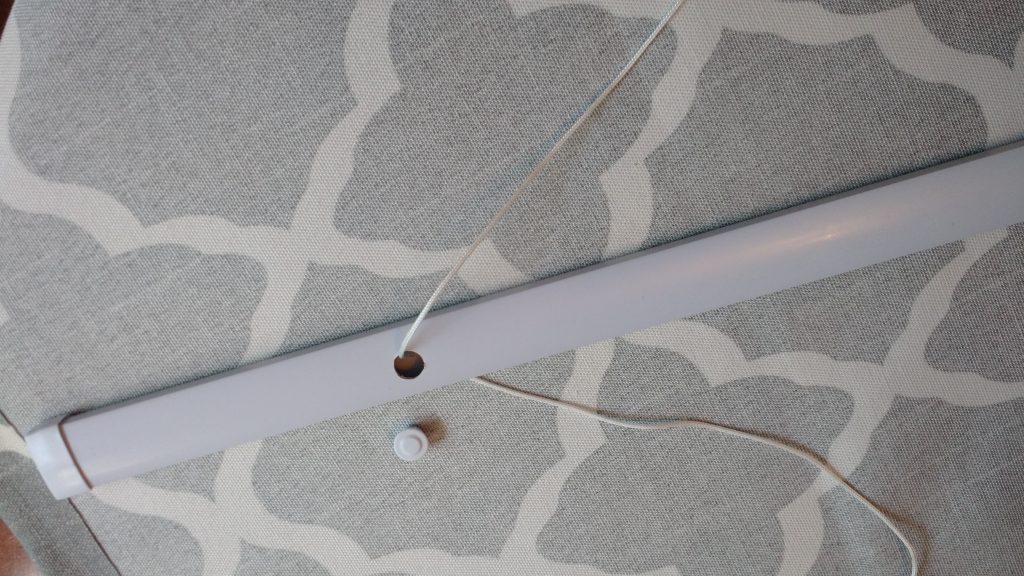
Now, remember how I mentioned the mini blind was way longer than my window? I cut the pull cords down to about 1” longer than my window height. Then I slid the bottom piece back on, tied new knots, and replaced those plastic thingies.
I’ll confess I spent a ton of time trying to get the knots on my pull cords the exact same length until I realized it didn’t have to be perfect. I could use the pull cord strings to even up the bottom!
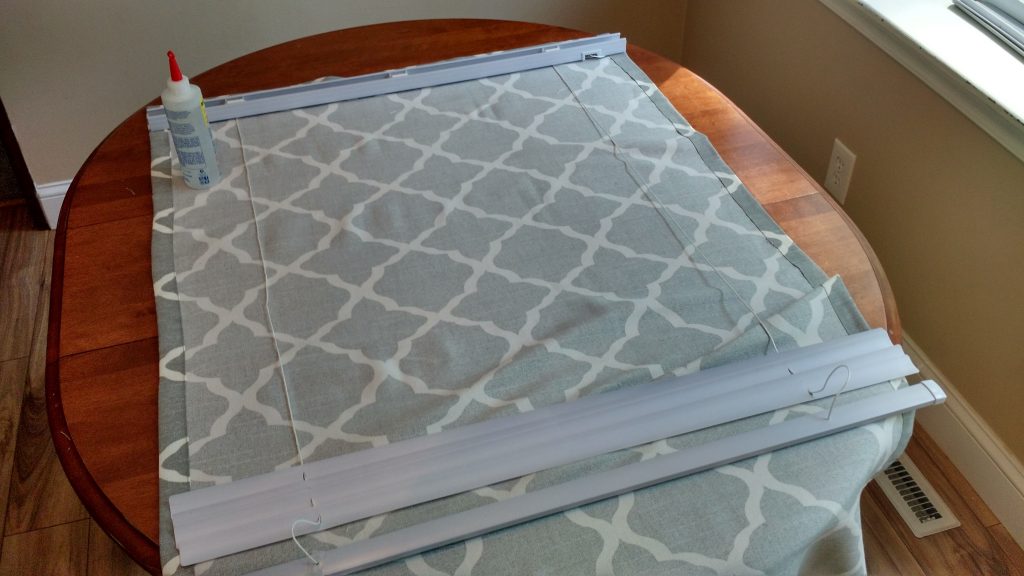
I laid the newly modified blinds on top of my fabric and was excited and a little surprised that I actually cut my fabric correctly! It looked like it was going to be a perfect fit.
Next I measured out where I wanted my remaining slats to go. You can do a lot of these or just a few depending on what look you are going for, but you have to space them evenly.
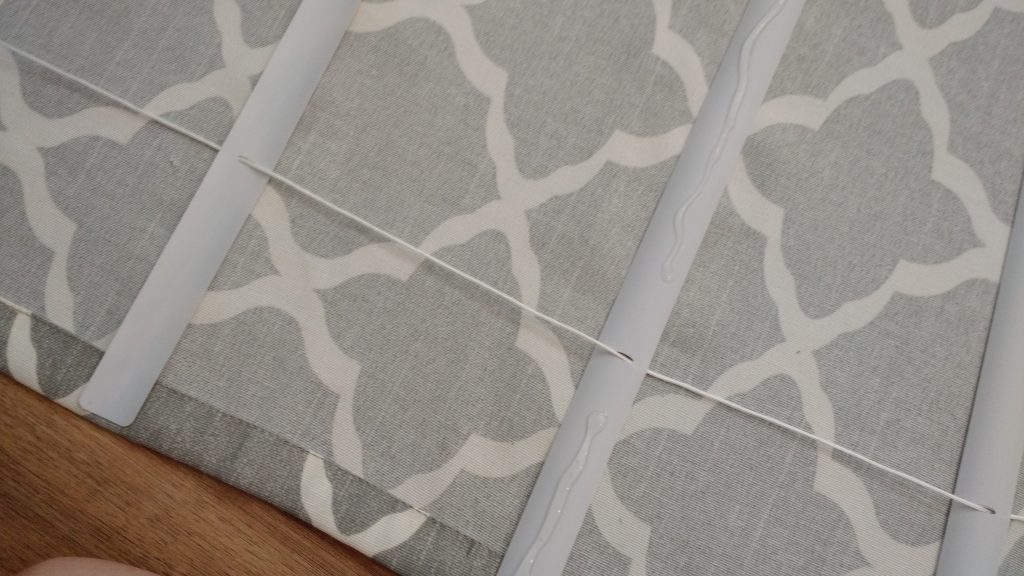
Once I had it all measured out, I glued each piece of the mini blind onto my fabric, starting with the top piece that fits into the mount in your window. I worked my way down with each slat, making sure to glue the curved side down. When I got to the bottom piece, I folded up my raw edge to make a nice seam, glued it shut, then glued the bottom of the fabric on to the front and underside. It’s important to avoid getting glue on your pull cord or else you’ll have to head back out for another $5 mini blind and start the process all over again.
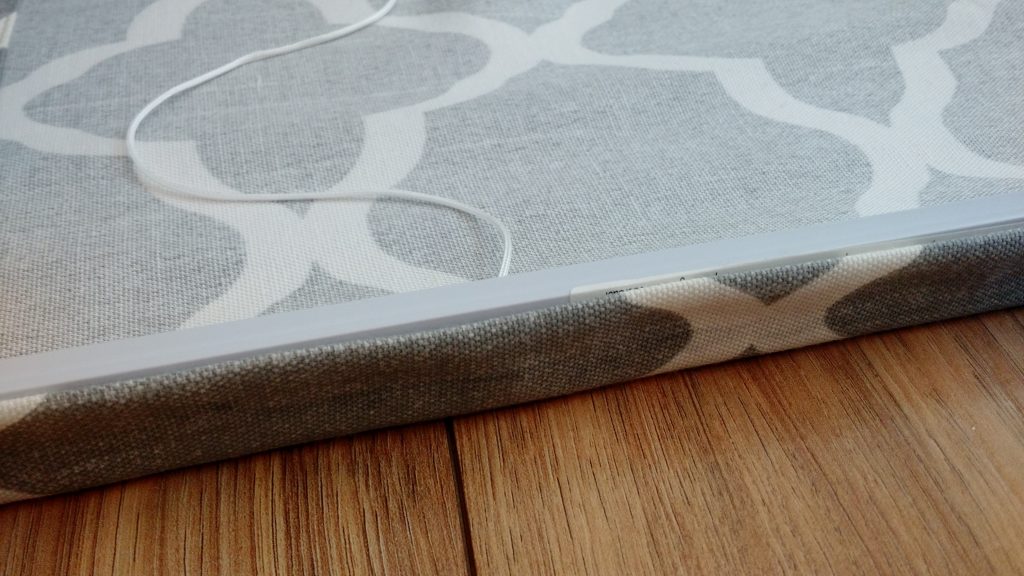
I’d like to say that I then hung the mini blind, but I didn’t. I let my husband do that so I could have a few minutes walking around in a daze saying, “Wow, it really worked! I can’t believe it!”
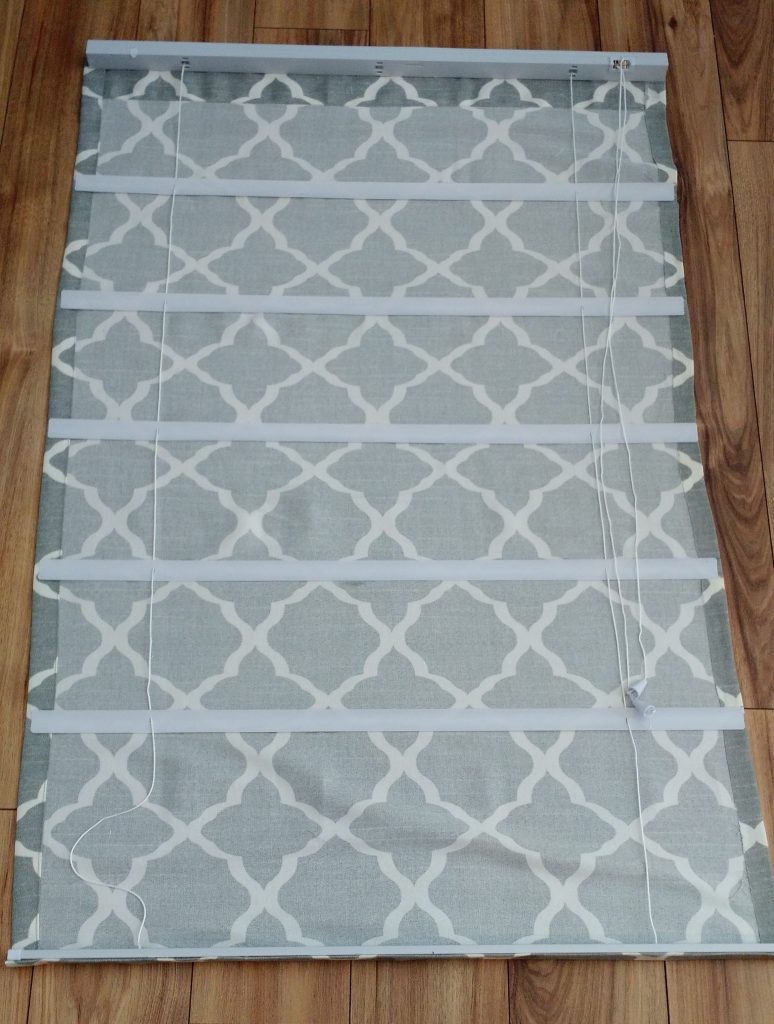
If I had to do it again I would probably have sewn a liner on the back of the fabric because it has a see-through look I don’t love.
But overall, I really like result of my easy DIY Roman shades. They look pretty and give us privacy in our room. Also, they don’t cover up the molding that I love so much. Plus, I have extra fabric from the panels that I can now use to make throw pillows (another item that makes me feel oh-so- grown-up!). For help with this and more, you can find more great sewing tips and product reviews from our friends at Teach You To Sew!
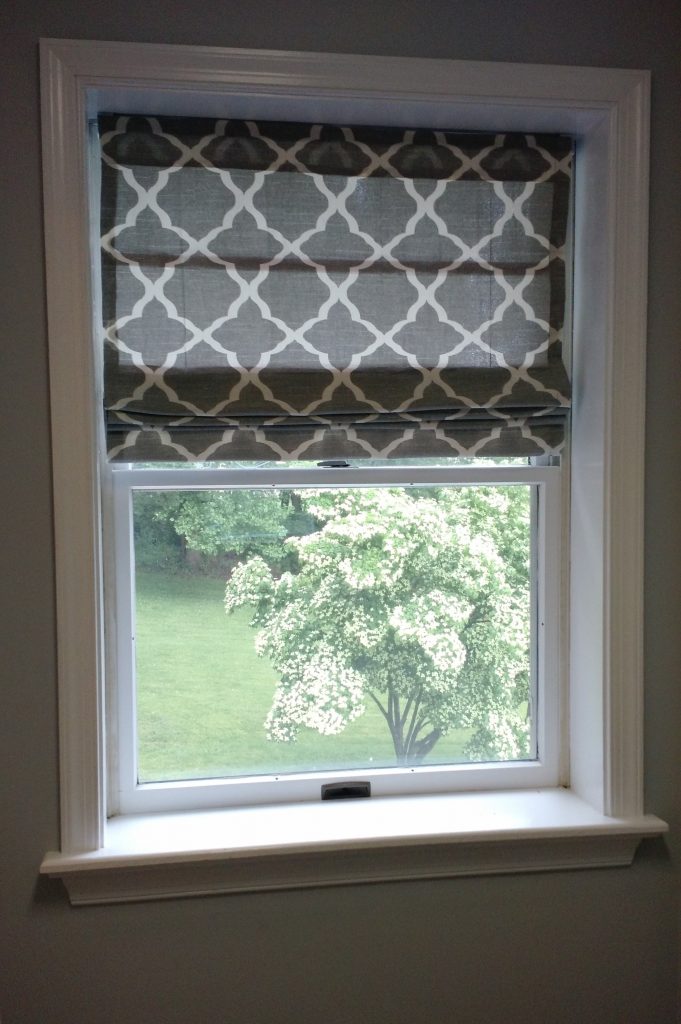
These roman shades are the perfect addition to Operation Master Bedroom Takeback. Now I’m off to make a “No Toys Allowed” sign for the door to the bedroom!
Latest posts by Anne Metz (see all)
- 3 Super-Smart Tips for Teaching Kids to Manage Money - October 2, 2019
- Painting Metal Patio Furniture How-to - June 28, 2019
- 4 Budget-Friendly Upgrades for a Fun Backyard - May 17, 2019


Janine Huldie says
Omg, we seriously must be twins, because you pretty much describes out master bedroom here to a tee and we also have been debating doing something about it, especially the blinds that have seen better days on our windows. Definitely going to to show this to my husband and see if we can use your instructions to make new Roman shades to spruce up our space, too. Thanks so much Meredith for sharing!!! 🙂
Anne says
So glad you liked it Janine!
Jen says
Omg love! And I love the fabric… You’re so crafty! Are you taking orders???!!! I wish I didn’t buy shades for my kitchen. Ill have to Try this somewhere else!!!!
Anne says
Isn’t that fabric cute? I have a leftover if you want some!
Sheila Qualls says
Impressive! I’ve never been crafty in that way. You instructions were so clear that I think I could follow them. They look great.
Anne says
Thanks so much Sheila! So glad the instructions were clear!
Christin says
I love the fabric, where did you find it?
Anne says
I actually repurposed curtains to make these Roman shades. I’m pretty sure I picked them up at Target, but I’m can’t remember for certain.
Joanna says
What does the Roman curtains look like from the outside looking in, I am wanting to put mine in a window that is in front of the building. Don’t want it to be an eye sore from the outside.
Anne says
If you are concerned about the way it will look from the outside I would see a liner on the underside of the fabric so it will look nicer.
RoseMary Gerhart says
Do you have the pullstring on the underside of the shade?
Anne says
I do have the pull string on the underside of the shade, so you don’t see it at all,but it does make it a little inconvenient when you want to make them go up or down. It’s okay for us though because we mostly leave them in the same place.
Candice says
Great job! Can’t wait to try!!! Where did you find a blind for $5.00, though? And what kind of glue did you use? Thank you
Anne says
Hi Candice! I found a the blinds at Kmart. They aren’t super great quality, but they were perfect for what I needed them for. I used fabric glue, not sure what brand though, just something I picked up at the craft store. Are you going to try out this project? I’d love to see a picture if you are!
Candice says
Hi, Anne… Thanks for all the information! So I have tackled my guestroom, almost done with my Roman Shades! Yay! If I get brave and it turns out alright, I’ll send you a pic. How do I send a pic to you? Thanks again, Candy 🙂
Anne says
Can you cut and paste a picture in the comment section? If not, email it to me and I’ll see if I can post it! 4onceuponamom@gmail.com
Amanda says
I think I may give this a whirl and see if I have a tiny craft bone in my body. Lol seems like the only way I will get the pattern/fabric I like. Lol
Anne says
It’s not as hard as it looks Amanda! Just take it one step at a time! And send me the picture when you are done. I’d love the see your finished blinds!!
Dorothy says
Using a mini blind for the “guts” is GENIUS! Kudos to you! I have sewn for years but stayed away from Roman shades. Your tutorial may have given me the nudge to try these! Thanks!!
Anne says
Hi Dorothy! Roman shades were beyond me too until I learned you could use mini blinds! Glad you found this tutorial helpful; hope you give it a try!
Susan Dennis says
Yours look great!! This looks perfect for our master bathroom window that we just put new craftsman style wood trim around. Like you, I don’t want to cover up the beautiful trim, but want some privacy. We took down 1″ mini blinds, and I still have them, so I can repurpose them for this project.
Meredith says
Let us know how it turns out! Your trim sounds lovely, Susan! 🙂
Anne Metz says
Hi Susan! I’m so glad you like them! And I’m glad you held on to your old mini blinds so now you can use them to make yours! I hope they turn out great!
Frances Dinn says
I’m getting ready to attempt this….my question is, if you were going to line the blind, how would you do that? You mentioned sewing a liner on the back of the fabric. Would you do this and then attach to the blind? Or would it work to glue the liners to the other side of the blind?? I’m afraid if you doubled the fabric with the liner then glued it might bunch up weird. What are your thoughts??
Thanks!
Anne Metz says
I would see a liner onto the fabric first for sure! Good luck with your project!
Angela Olivo says
Hi! Where did u find ur mini blinds for $5. They cheapest I found was on amazon for $9.97 plus $7 shipping. My window is 17” x 63”. I can’t seem to find one that fits that .
Angela Olivo says
I forgot to add. It’s for my French doors
Lorraine Lessard says
Do you know if cordless mini blinds can be used?
Lindsay says
The cords are what brings the whole blind together and are needed for this project. You could modify your cordless blinds by placing the fabric over the existing material if you wanted a different look!
g lipton says
thanks for the great post! was looking for a home project to do while homebound during corona – and it worked like a charm! used a lined panel from target (which I cut to size and now have material for a second), custom sized blinds from selectblinds.com and regular craft tacky glue and my project total was $25!
Meredith says
That is fantastic! So glad it worked so well and thanks for sharing with us 🙂
Lynnette Rancifer says
I want to attempt this but I am reading that they no longer sell corded blinds. Does anyone know if this is true amd if so, how do I modify?
Lindsay says
They do still sell corded blinds, I have seen them at Home Depot/Lowe’s in store and online. Let me know if you can’t find them and I’m happy to explain a modification!
Cathy says
What type of glue did you use?
Lindsay says
Gel tacky glue! Happy crafting!
Pat says
Love this idea, are they hung the same as a regular mini blind?
Lindsay says
Yes, they are!
Tiffany says
Since I just lost a set of blinds due being cordless (do they even make corded ones anymore?) don’t take the caps off at the bottom to pull the extra slats off. Just cut the slat itself and leave the cord attached. I took the bottom off mine and promptly lost my cords that sprung back up and inside.
Meredith says
This is great advice, Tiffany! Thanks for sharing–so appreciated!
Erin says
I want to do this and all the blinds I can find now is cordless and I was wondering how can use them to do this. I will try cutting slats out and see if works for me. Thanks for advise
Erin says
I am going to try this. Thanks for advise on the cordless blinds. I havn’t been able to find ones with pull cords anymore.
Meredith says
Hope it turns out so well, Erin! Enjoy 🙂
Donna Crutchfield says
Your instructions were easy to follow. My question is, how do you get the Roman Shade to have layers you can see when open?
Lindsay says
If you glue both sides of the shade to the fabric you should be able to achieve this look!