Today we welcome Lindsay to The Mom of the Year team! Lindsay blows me away with her can-do spirit and enthusiasm for DIY projects. She’s the kind of gal he won’t buy a table, but instead will MAKE HER OWN TABLE. Lindsay is incredibly talented and creative, and I’m delighted to share her ideas here so she can inspire us all. Welcome, Lindsay!
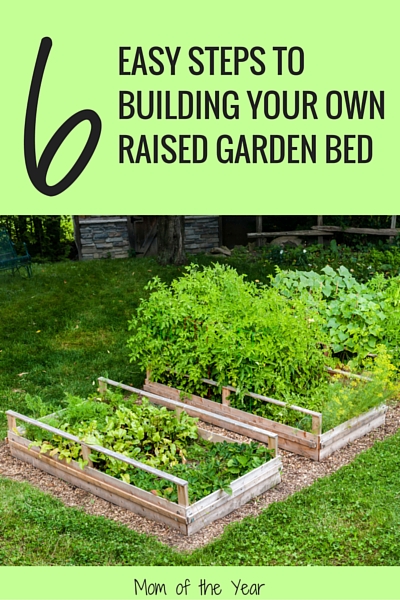
A few years ago I fell in love with gardening. I already loved buying delicious local produce so I figured, why not grow it myself? So began my adventure with dirt. I initially started small with container gardening but quickly ran out of room and my pot collection was looking a little ridiculous on my deck. The next year, I tilled up a large part of our yard to use which turned into quite the poison ivy fiasco (did you know when you till up poison ivy roots it is just as contagious as the leaves? So, you know, if you were to touch your face after that…well, let’s just say I avoided mirrors that week). The third year, I finally settled on building a raised garden bed and never looked back! Gardening is such an easy way for families to not only grow delicious vegetables, but to have a fun outdoor activity to do together! In this post, I wanted to share with you how to build a raised garden bed. Spoiler: it’s easier than you think! I know when I first started I was intimidated by all of the organized pictures online, but it does not have to be perfect and you can even use resources you have at home!

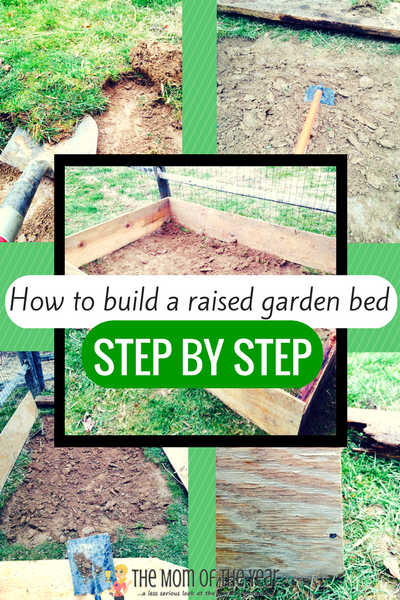
The first thing you want to do is figure out where you want your raised garden bed to be and what size. Think about how many vegetables you want and how much space they will take up. For example, if you want to grow squash, you’ll need to account for their large vines. Measure out on the ground an even rectangle (or square if you’re starting small) and get out a shovel to get started!
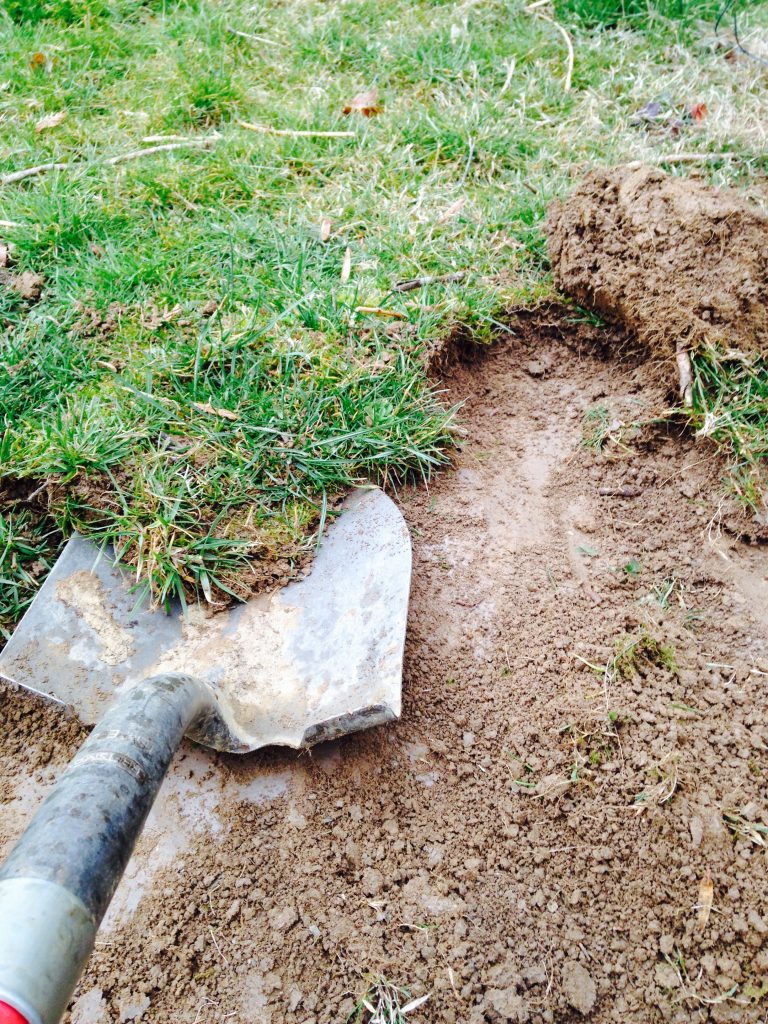
There is no point in keeping grass underneath your raised garden bed, and the roots of the vegetables will take better in dirt than grass anyway. Your next goal is to take your shovel and remove the grass and roots in such that it is like peeling sod off the ground. Do this for the entire area you measured out. Then, if your yard looks like mine, you can go around filling in and topping with sod all of the obnoxious holes your dogs have dug over time!
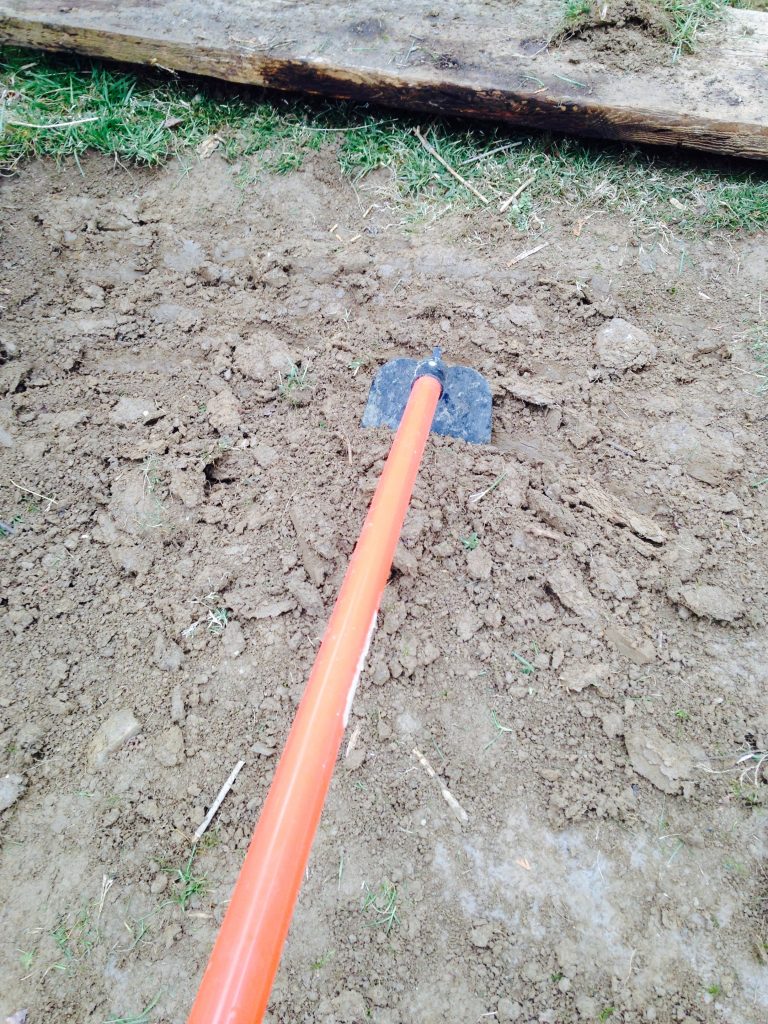
This next task is not essential (read: don’t do it if you’re feeling lazy), but I prefer to do it for my raised garden beds to give those new roots even more of a chance to acclimate to the soil. Simply take a hoe and loosen up the area…it is a great, easy stress reliever!
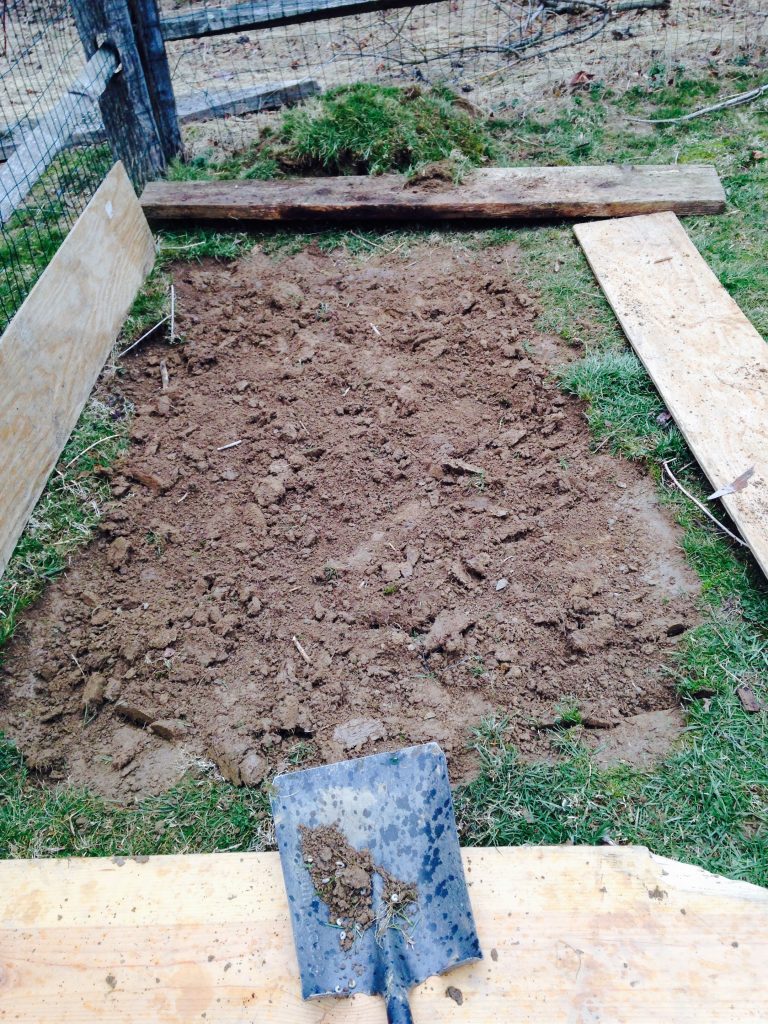
Now you are ready to get started on your frame. I have a tendency to up-cycle everything so finding spare wood around my house is no problem. If you have not reached hoarder status like me, head over to your local hardware store and have them precut your pieces for you so that you can avoid having to use a saw at home. Personally, I have used all types of wood and my gardens thrive, but many gardeners will swear by cedar. Most importantly though, if planting vegetables, do not use treated lumber!
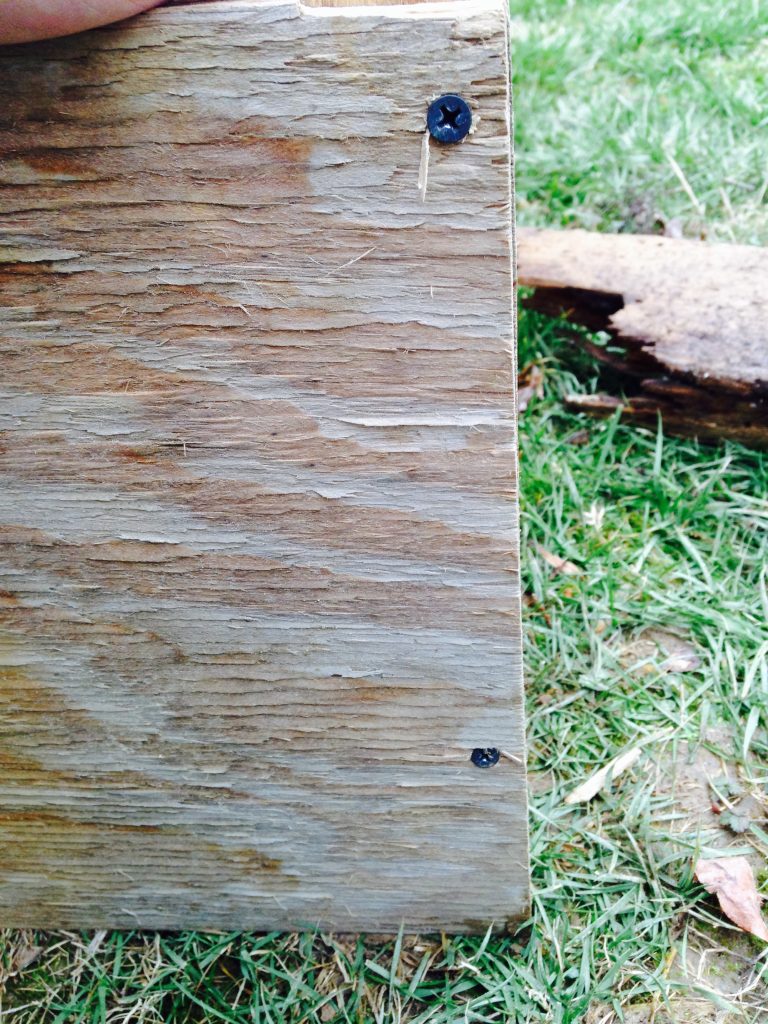
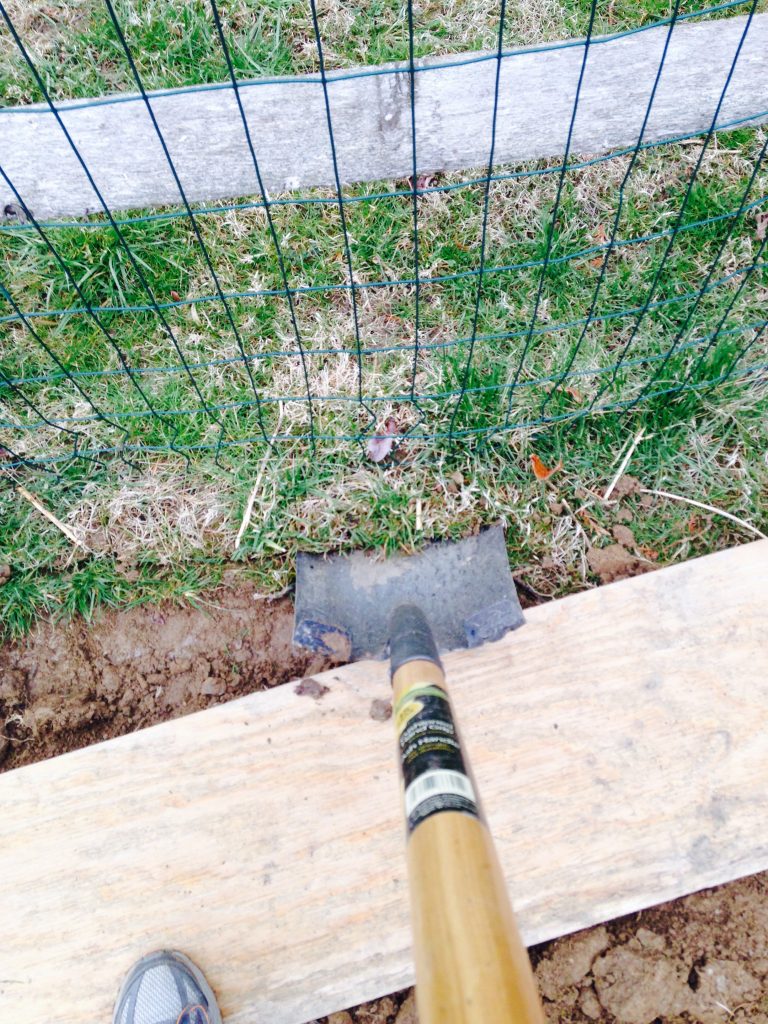
If you are using your own wood, get out your circular saw and cut everything to size. Then find your drill and some screws and fasten together all 4 corners of the frame. Whether you are using one large piece of wood like me, or 2 smaller pieces, you want your frame to be about 8” tall as you will want 6” of soil inside. After it is fastened, if you are using thinner wood like I did, take a flat shovel and dig the wood into the ground some to make the frame even more secure.
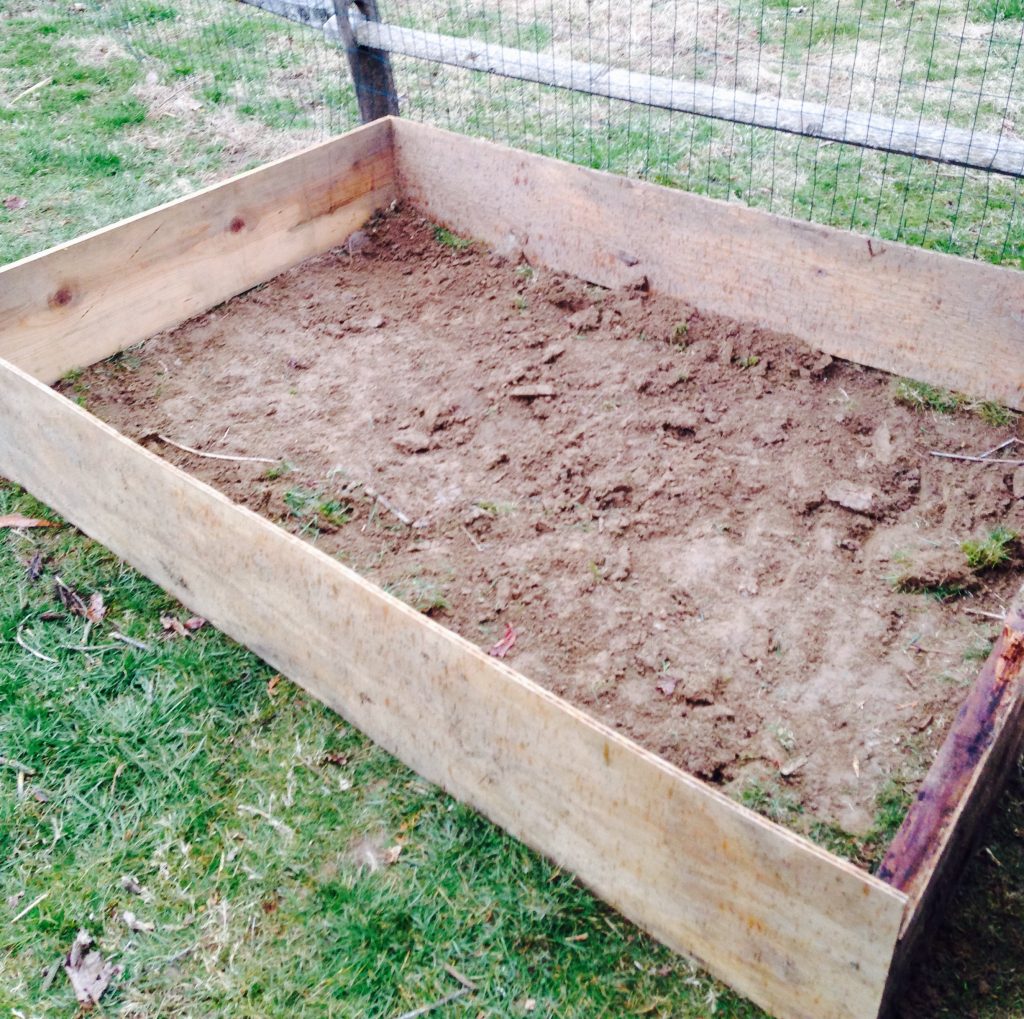
The next step is the easiest! Add soil! As I stated before, it is best to have at least 6” in there to help establish the roots.
I told you it was easy wasn’t it? Once you have the raised garden bed completed, you can add some finishing touches to it to make it more personal to you and your family. Maybe your kids can make vegetable markers, or maybe you can add some stepping stones around the bed.
If you want more fun ideas on how to add some great up-cycling techniques, check out Gardening on a Shoestring: 100 Fun Upcycled Garden Projects. By combining classic gardening skills with ultra-creative ideas, author Alex Mitchell teaches readers 100 ways to up-cycle their gardens by creating ingenious green-thumb DIY projects and grow lush gardens. From up-cycling common objects (such as tin cans, old potato sacks, and colanders) to revisiting basic garden techniques (growing from seed, for example), a garden’s overall cost can drop dramatically. Thanks to photography, illustrations, and plenty of additional tips, this book has plenty of fodder for readers to create a better garden.
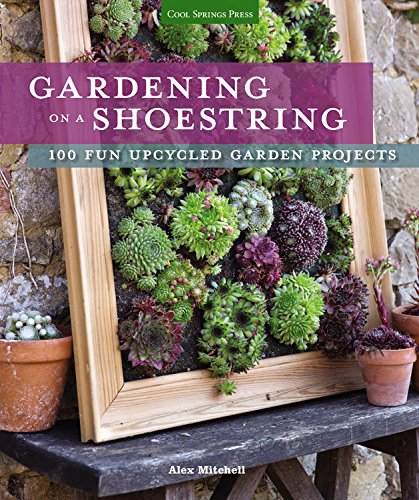
And super news for you? There are TWO copies of this book up for grabs! As long as you live in the Continental United States and are 18 or older, you are eligible to win. Comment below before 4/28/16 at 5:30am ET and let me know what vegetable you are planning to plant this year and two lucky people will win a copy of this book!
Now get to work on your raised garden bed and let the vegetable growing begin!
First image credit: depositphotos.com, image ID:25280507, copyright:wollertz
Ninth image credit: depositphotos.com, image ID:25280507, copyright:wollertz
Lindsay H
Latest posts by Lindsay H (see all)
- Easy DIY Peel and Stick Tile Flooring for Under $100 - February 9, 2023
- Tips for Visiting Dutch Winter Wonderland in December - December 21, 2022
- Caring for a Leopard Gecko – All you Need to Know! - December 7, 2021


Janine Huldie says
I have such a black thumb sadly, but still I can’t thank you enough for the gardening advice and going to have to see if I can try this still now this spring.
Lindsay says
The best time to plant is around Mothers Day so there is still time to try it out! Good Luck!
Jill says
Thanks for making this sound like someone other than Martha Stewart could do it. I don’t have a ton of yard space, but I’m thinking of asking my parents to consider planting tomatoes and cucumbers.
Lindsay says
I have found that those are two of the easiest vegetables to grow! You could always try a smaller container garden as well!
Meredith says
We have a raised bed garden….full of weeds! Sadly, it’s been that way since my daughter was born, hopefully we can take a whack at it (literally) next year.
Lindsay says
Haha! Well at least you have one task (the raised bed) completed!
Michele says
I just tried growing my own onions with the intent of transferring them to a raised garden that I tasked my hubby with. But sadly, my onions didn’t make it. I searched for You Tube videos and I think I followed the steps right, but when the stalks started growing, I think I was supposed to do the transfer then. I must have missed a step. Do you happen to have a step by step tutorial like the one above for onions? 🙂
Lindsay says
I’m sure you did everything right! Some plants can’t always take the shock of transplanting. If you were initially growing them inside, what I like to do is put the seedlings outside for a week to get acclimated to the weather before transplanting. Don’t give up, it took me 3 seasons before I got a green thumb!
Michele says
Thanks for the confidence Lindsay! I will try your suggestions on the next go around with my onions! 🙂
Nancy says
You mean we don’t have to buy a $300 kit?!? Thanks for the simple clear directions! I’m thinking lettuce, tomatoes and cucumbers for our first go at a raised bed.
Lindsay says
Yum! Hopefully within a couple months you will have a delicious, home grown salad!